Dashboard
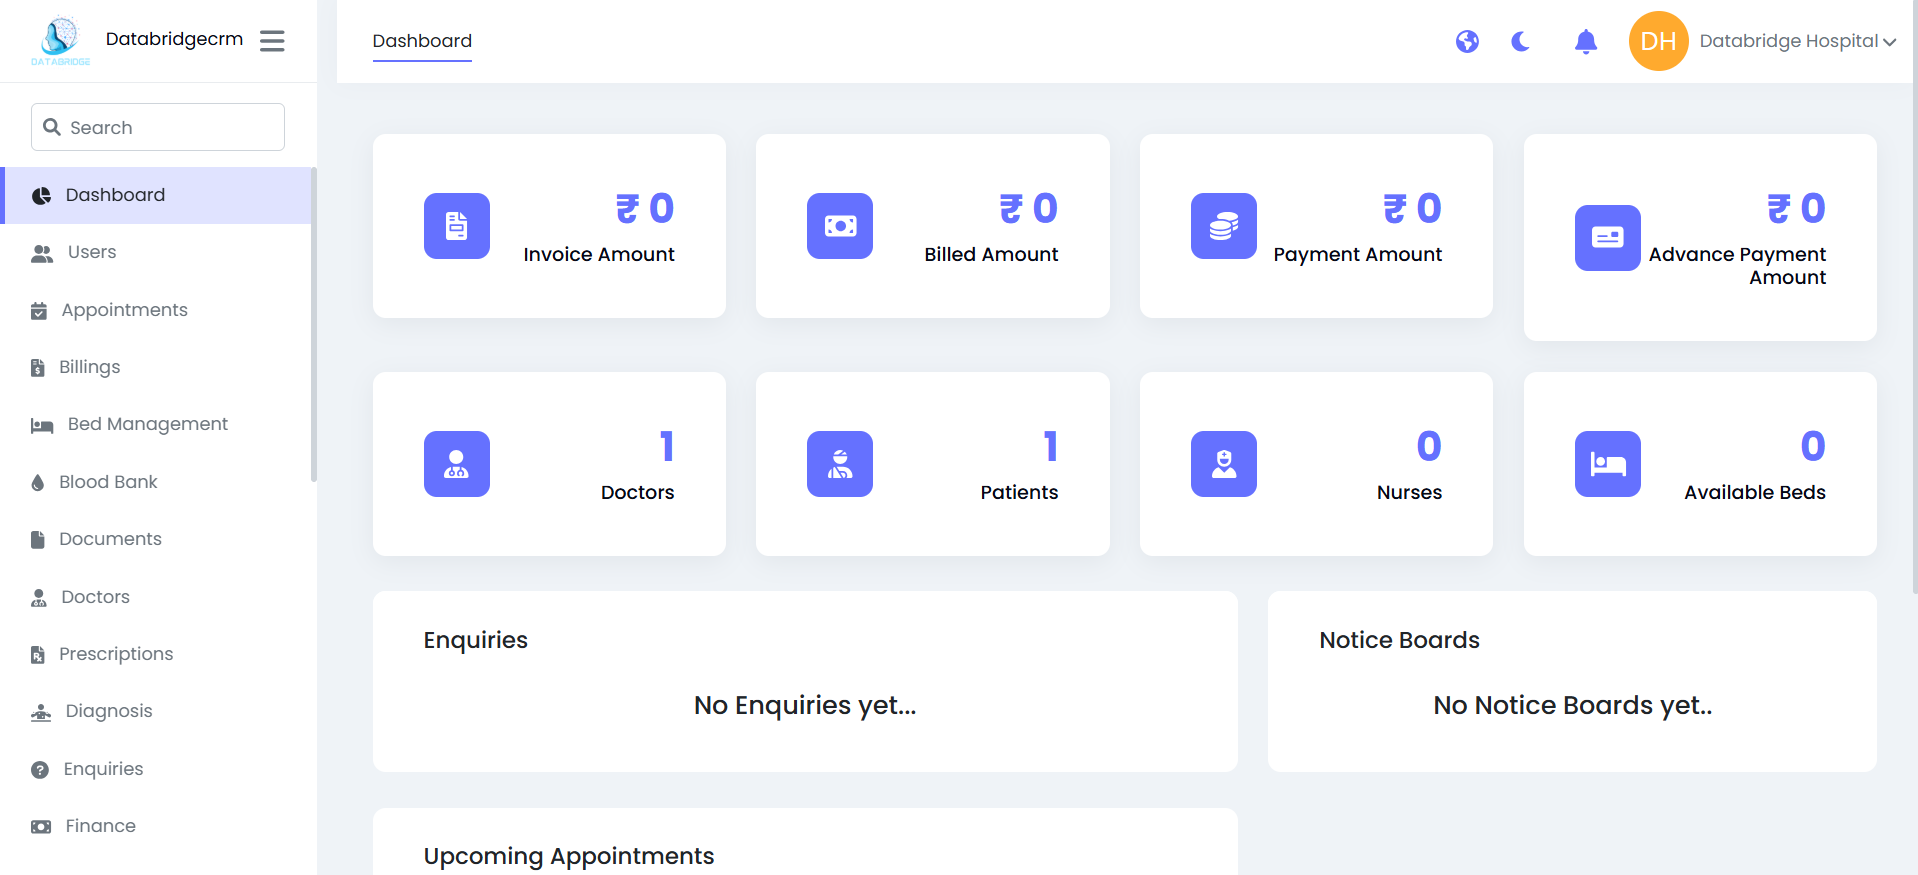
The Dashboard provides a real-time overview of hospital activities including financial summary, staff count, patient statistics, bed availability, enquiries, and upcoming appointments. It acts as the control panel of the HMS system.
🔹 Financial Summary Cards
Invoice Amount:
Displays the total generated invoice value.
Steps to View:
- Login to HMS.
- Click on Dashboard.
- View the Invoice Amount card at the top section.
Monitor total billing generated.
Billed Amount:
Shows the total finalized billed amount.
Track confirmed billing revenue.
Payment Amount:
Displays total payments received from patients.
Monitor collected revenue.
Advance Payment Amount:
Shows advance payments collected from patients before final billing.
Track advance deposits.
🔹 Staff & Resource Summary:
Doctors:
Displays total number of registered doctors.
Patients:
Shows total registered patients.
Nurses:
Displays total nursing staff count.
Available Beds:
Shows number of currently available beds for IPD admission.
Helps admin quickly check hospital capacity and staffing.
🔹 Enquiries Section:
Displays recent patient or visitor enquiries.
System shows “No Enquiries yet…”
🔹 Notice Boards:
Displays hospital announcements or internal notices.
🔹 Upcoming Appointments:
Shows:
Patient Name
Doctor Name
Appointment Date
Steps to Check Appointments:
Go to Dashboard.
Scroll to Upcoming Appointments section.
View scheduled appointments list.
Dashboard Purpose Summary:
- The Dashboard is used for:
- Daily hospital performance monitoring
- Financial tracking
- Staff & bed overview
- Appointment visibility
Users
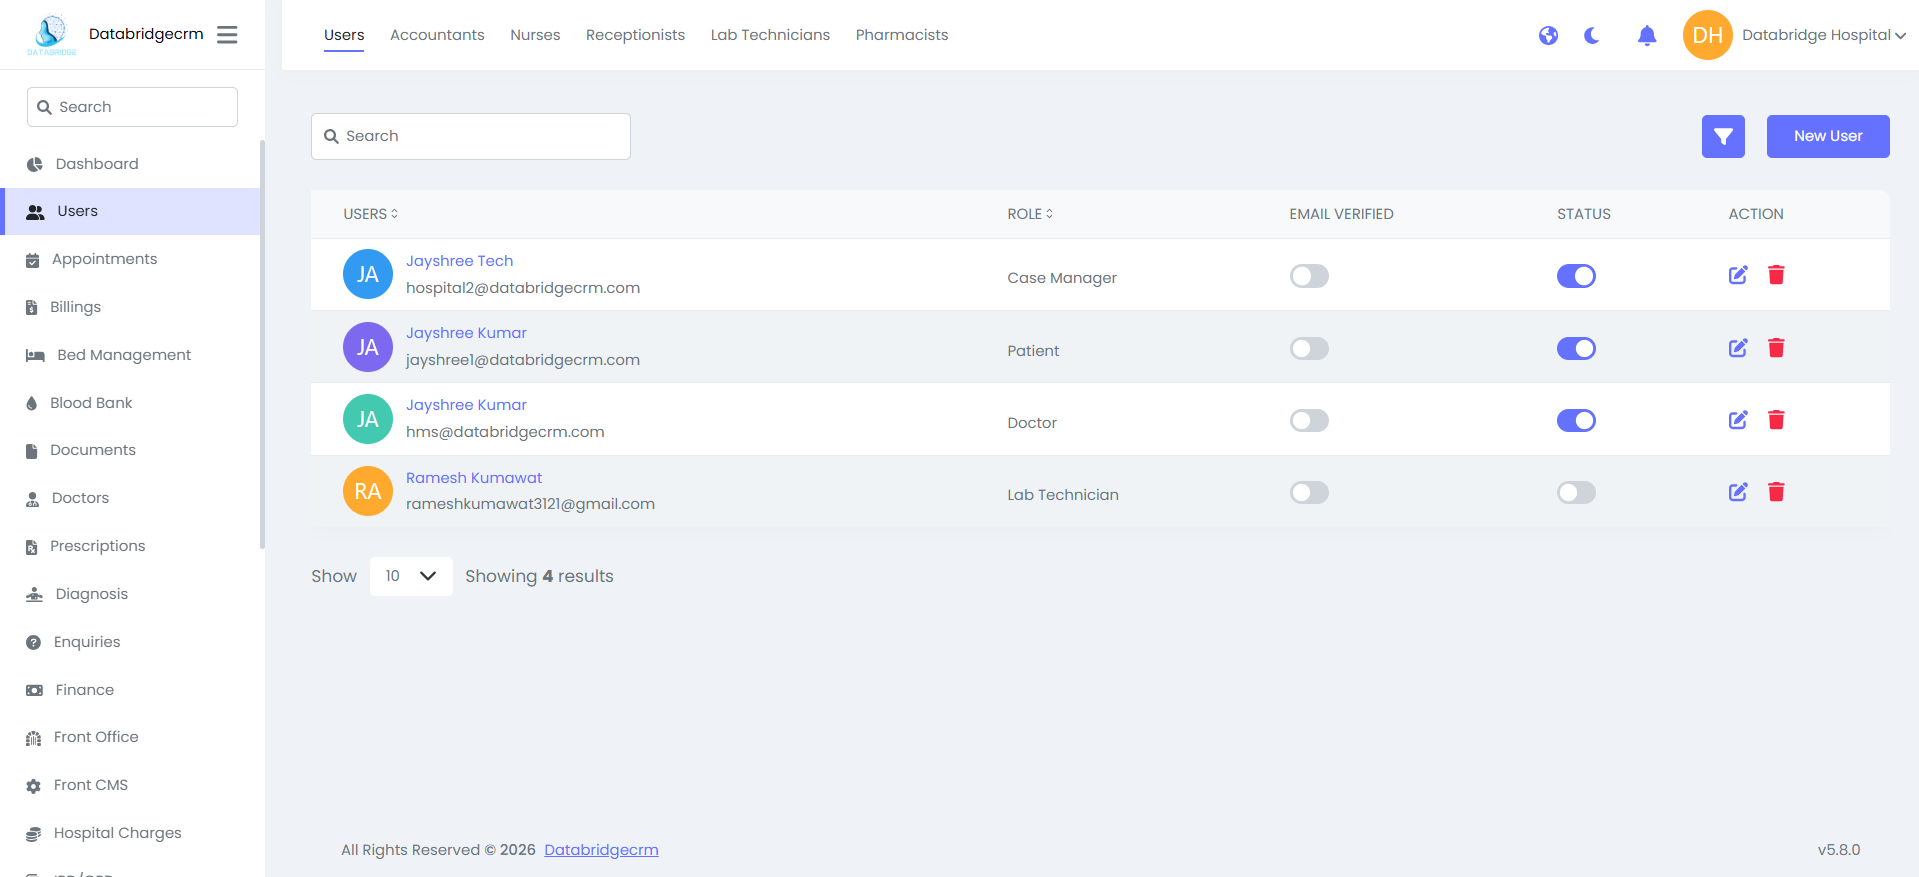
The Users module allows the administrator to manage all system users including Doctors, Nurses, Receptionists, Lab Technicians, Accountants, Pharmacists, and Patients.
This section controls:
- User creation
- Role assignment
- Email verification- Account activation / deactivation
- Edit & delete users
🔹 Users List View
Displays all registered users in the system along with their roles and account status.
Visible Columns:
- User Name
- Email Address
- Role
- Email Verified (Toggle)
- Status (Active / Inactive)
- Action (Edit / Delete)
🔹Add New User
Used to create a new system user and assign a role.
Steps:
Go to Users.
Click on New User button (top right).
Fill required details:
- Full Name
- Email Address
- Password
- Select Role (Doctor / Nurse / Receptionist / etc.)
Click Save / Submit.
- New user account is created.
- User appears in Users List.
- Login credentials are active.
🔹Role Assignment
Each user must have a defined role which controls system access.
Common Roles Visible:
- Case Manager
- Patient
- Doctor
- Lab Technician
- Receptionist
- Accountant
- Pharmacist
Role determines:
- Accessible modules
- Permissions
- Functional authority
Email Verification Toggle
Indicates whether the user email is verified.
Steps to Update:
- Locate user.
- Toggle Email Verified switch.
- Save (if required).
System marks email as verified/unverified.
User Status Toggle:
Used to activate or deactivate a user account.
Steps:
Locate user in list.
Toggle Status switch:
- ON → Active
- OFF → Inactive
- Inactive users cannot log in.
- Active users have system access.
🔹Edit User
Modify existing user details.
Steps:
- Click Edit (Pencil Icon).
- Update required fields.
- Click Update.
🔹Delete User:
Remove user permanently from system.
Steps:
Click Delete (Trash Icon).
Confirm deletion.
🔹 Role-Based Tabs (Top Section)
In the top menu you have:
- Users
- Accountants
- Nurses
- Receptionists
- Lab Technicians
- Pharmacists
These tabs filter users based on roles for easy management.
Workflow:
Admin → Create User → Assign Role → Activate Account → User Login → Perform Assigned Tasks
Admin → Create User → Assign Role → Activate Account → User Login → Perform Assigned Tasks
Appointments Module
The Appointments module allows hospital staff to schedule, manage, and track patient appointments with doctors.It ensures smooth consultation flow, proper scheduling, and billing integration for each visit.
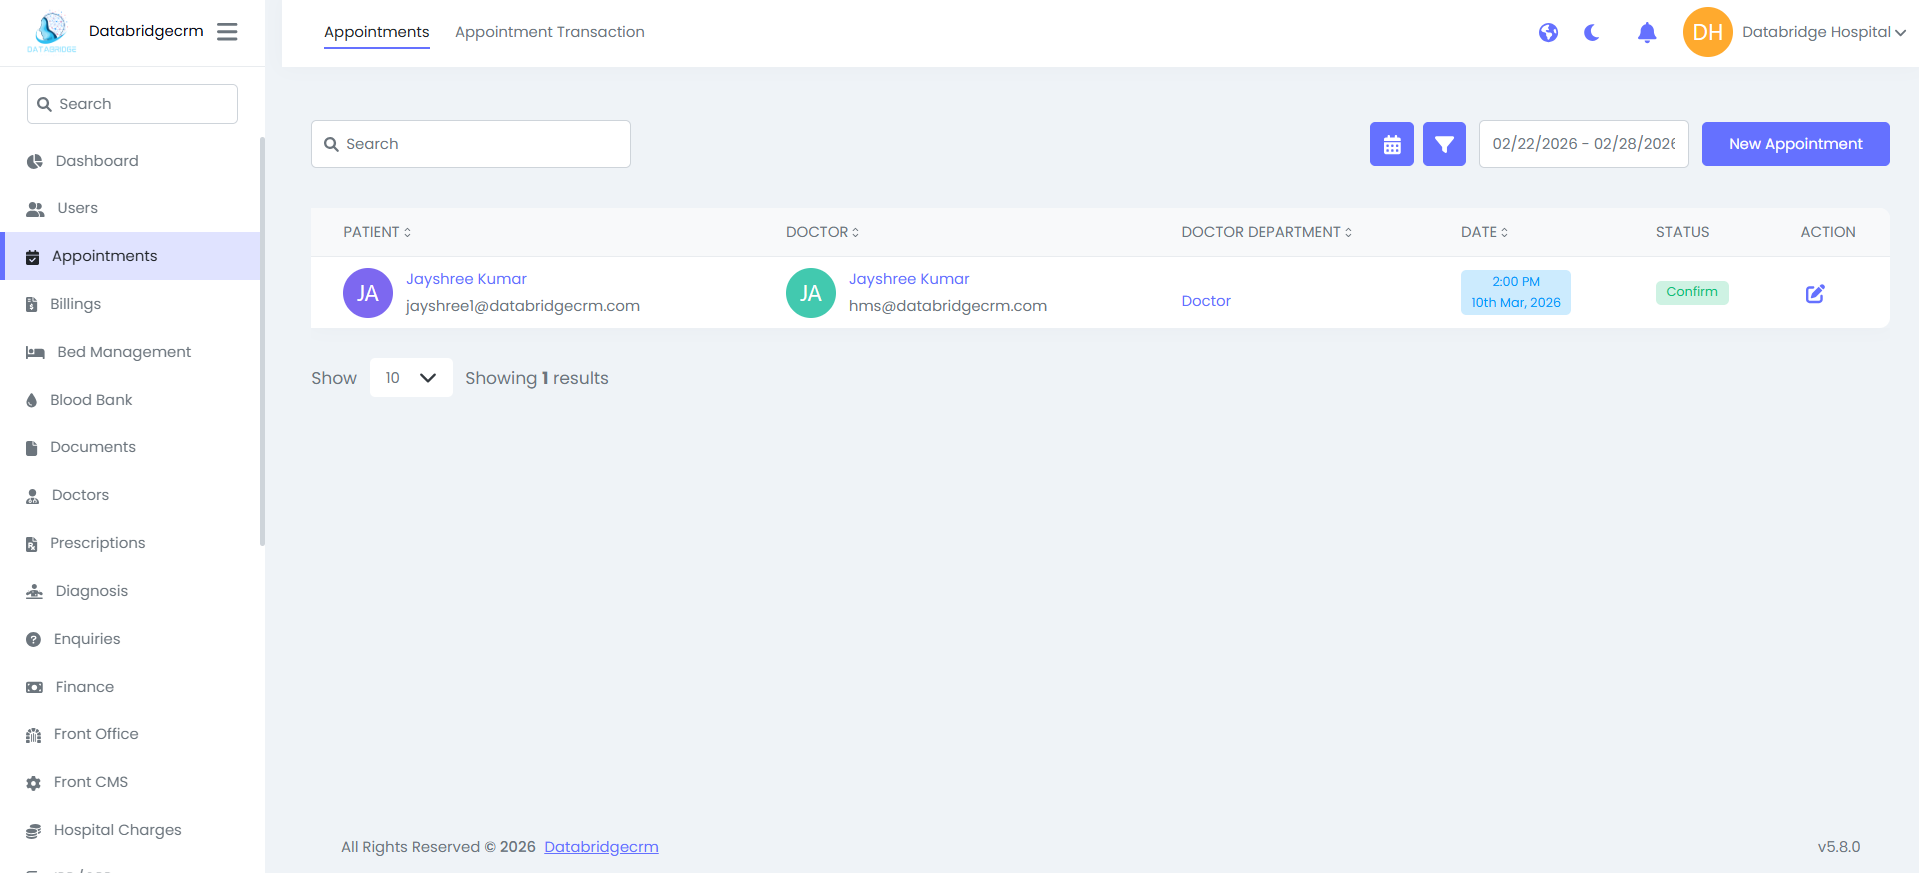
Appointment List View:
Displays all booked appointments along with patient, doctor, department, date, status, and action options.
Visible Columns:
- Patient Name
- Doctor Name
- Doctor Department
- Date & Time
- Status (Confirm / Pending)
- Action (Edit)
🔹 Search Appointment
Steps:
Go to Appointments.
Use the Search bar at the top.
Enter Patient Name / Doctor Name.
View filtered results.
Filter by Date:
- Click the Calendar Icon.
- Select date range.
- System will display appointments within selected dates.
🔹 Edit Appointment
Steps:
Click Edit (Pencil Icon) under Action column.
Modify details.
Click Update.
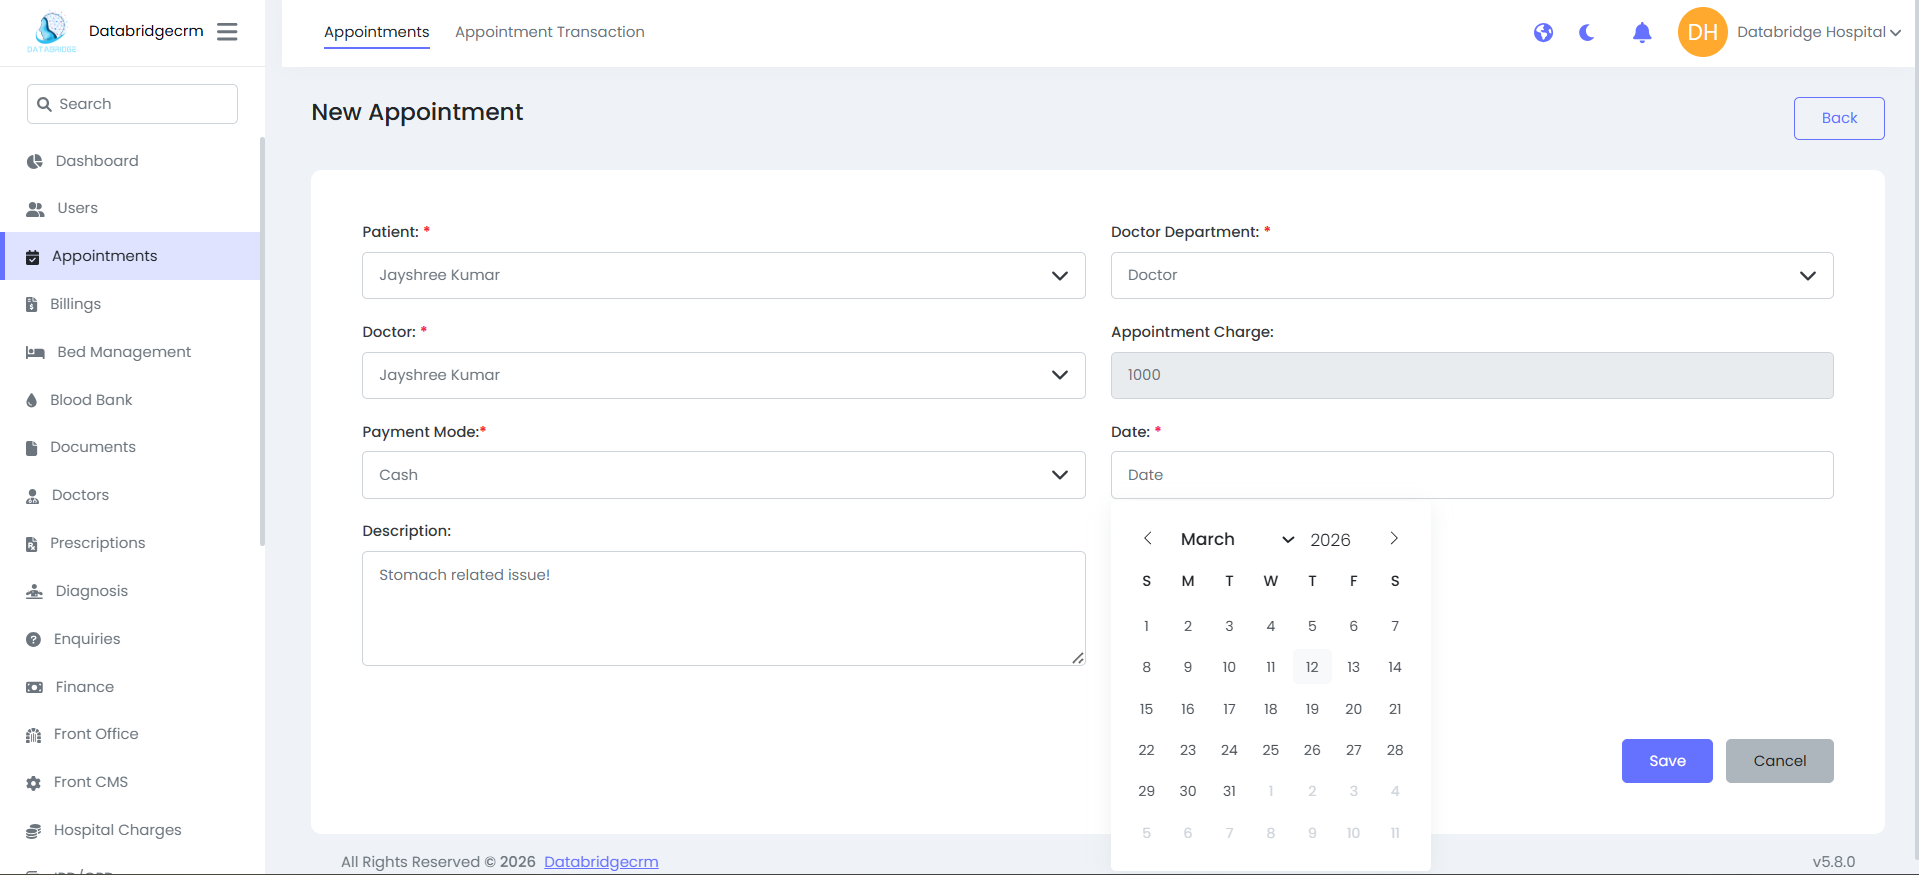
🔹Create New Appointment
Used to schedule a new appointment for a patient with a doctor.
Fields Explanation:
🔸 Patient :
Select the registered patient from dropdown.
🔸 Doctor Department:
Select department (e.g., General Medicine, Orthopedic, etc.)
🔸 Doctor:
Select doctor under chosen department.
🔸 Appointment Charge:
Displays consultation fee (auto-filled if configured).
🔸 Payment Mode:
Select payment method:
- Cash
- Card
- UPI
- Online
🔸 Date
Select doctor under chosen department.
🔸 Appointment Charge:
Displays consultation fee (auto-filled if configured).
🔸 Payment Mode:
Select payment method:
- Cash
- Card
- UPI
- Online
🔸 Date
Select appointment date using calendar.
🔸 Description
Add consultation reason or patient complaint.
1
Go to Appointments.
2
Click New Appointment.
3
Select: (Patient, Department & Doctor)
4
Verify appointment charge.
5
Select payment mode.
6
Choose appointment date.
7
Enter description (if needed).
8
Click Save.
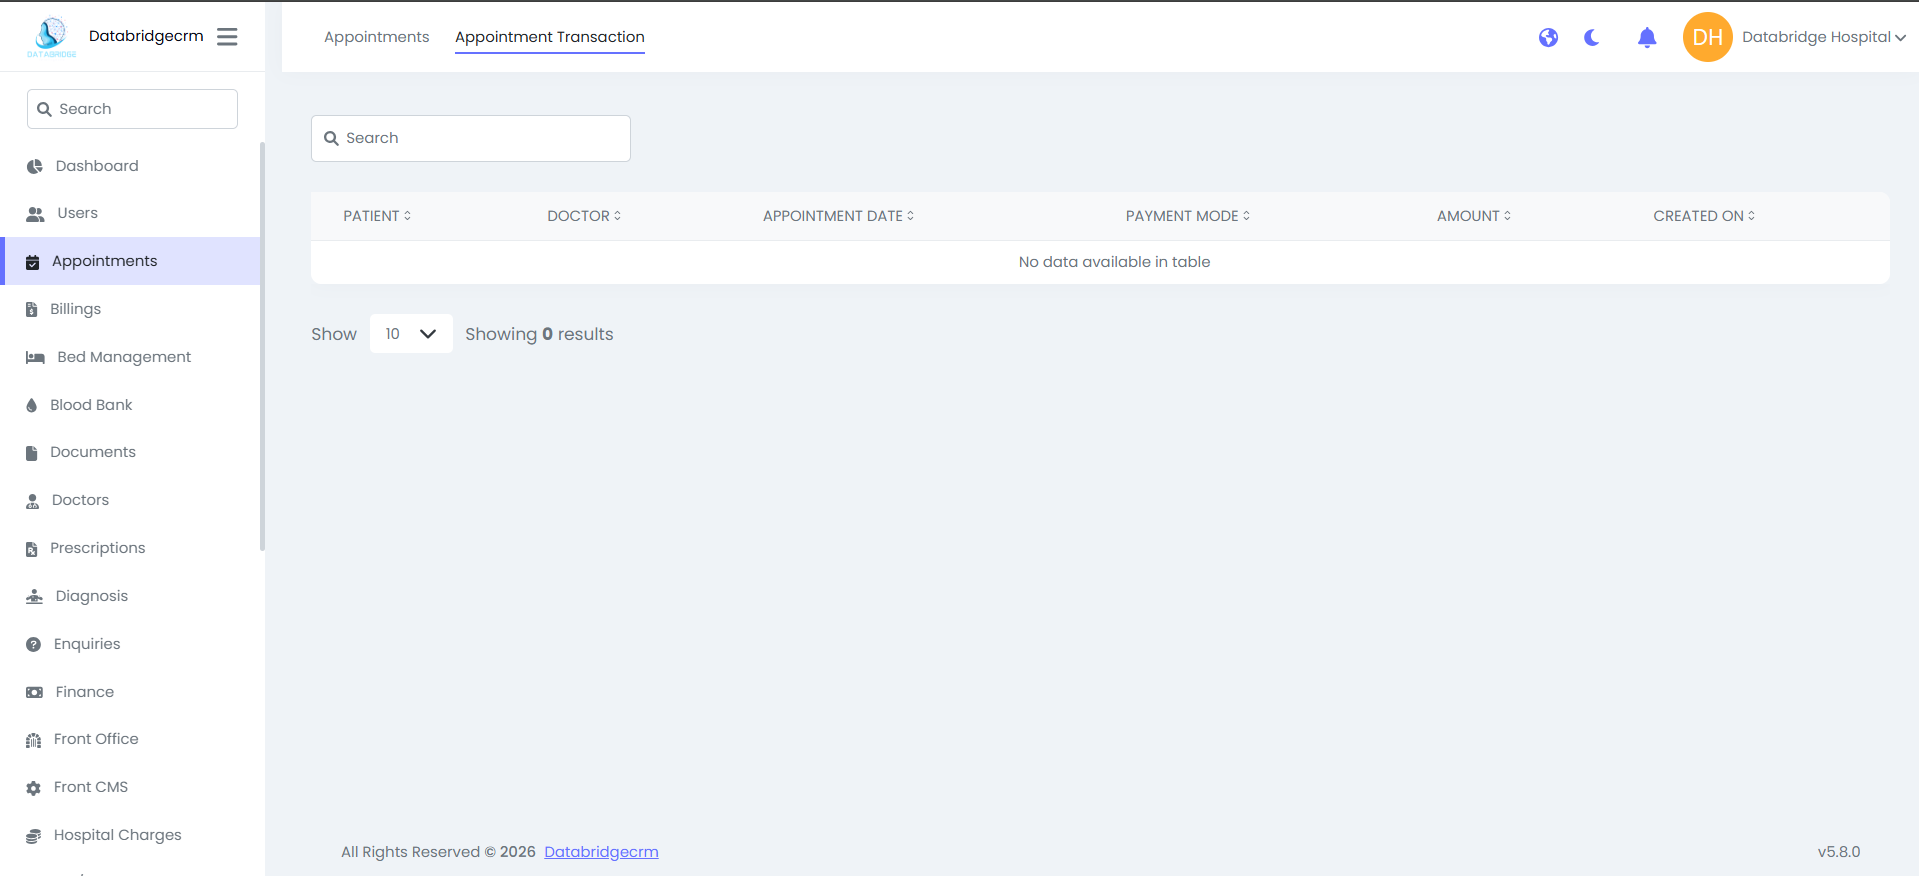
Appointment Transaction List View:
Shows all payment entries generated during appointment booking.
Visible Columns:
- Patient Name
- Doctor Name
- Appointment Date
- Payment Mode (Cash / Card / UPI / Online)
- Amount
- Created On (Transaction Date)
🔹 Search Transaction
Steps:
Go to Appointments.
Click on Appointment Transaction tab.
Use the Search bar at the top.
Enter Patient Name / Doctor Name.
View filtered results.
Appointment Created
⬇
Charge Applied
⬇
Payment Mode Selected
⬇
Transaction Recorded
⬇
Visible in Appointment Transaction Tab
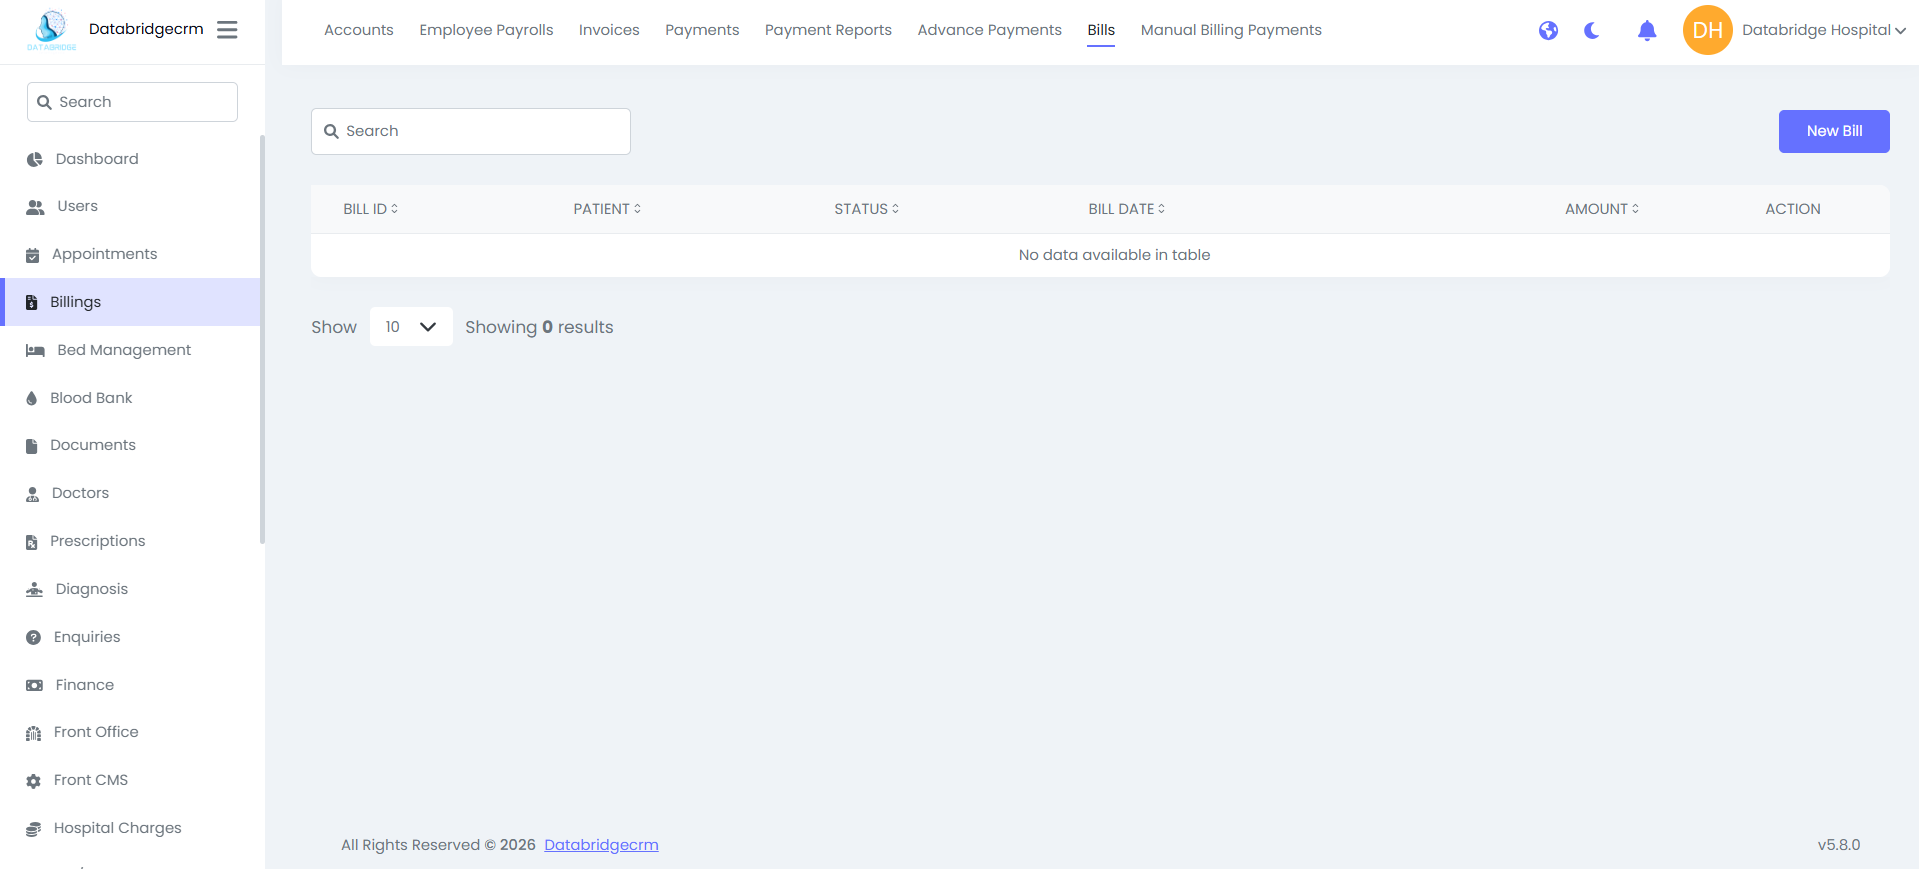
Billing
Shows all created bills. Columns: Bill ID, Patient, Status, Bill Date & Amount.

New Bill Create
Steps:
Steps:
1
Go to Billings
2
Bills
3
Click New Bill
4
Select Admission ID
5
Add Bill Items
6
Click Save
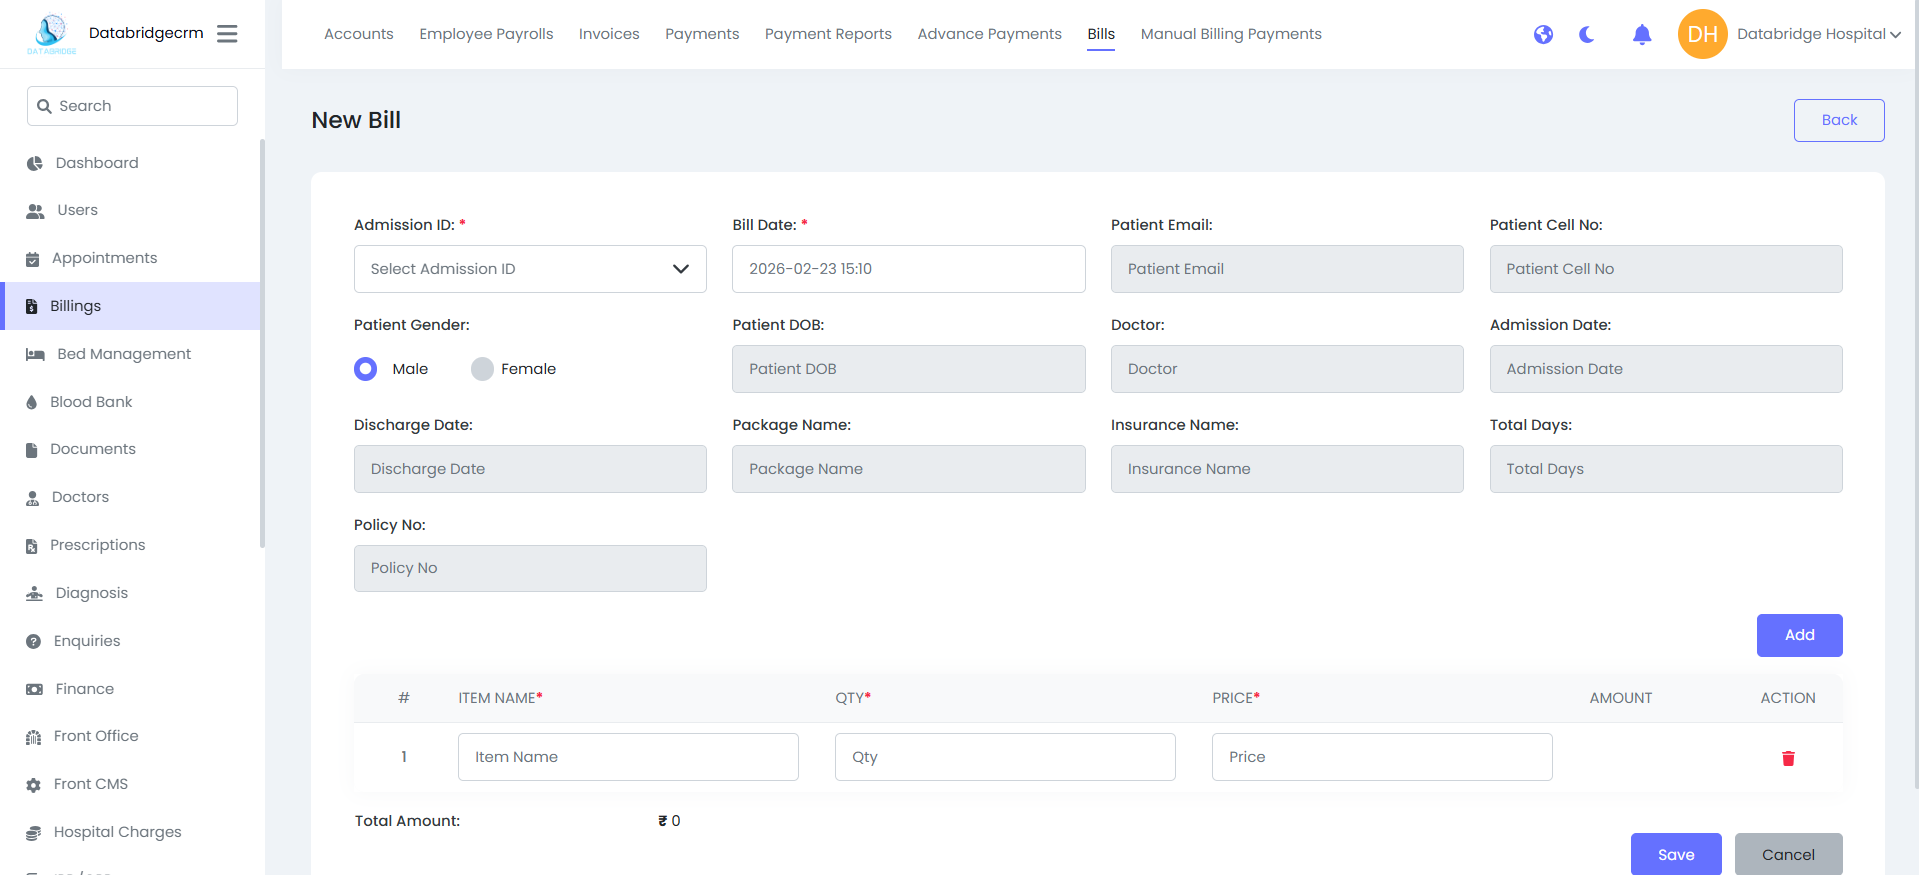
Create New Bill
Steps:
Steps:
1
Navigate to Billings → Bills
2
Click New Bill
3
Select the relevant Admission ID
4
Add bill items (Item Name, Quantity, Price)
5
Click Save
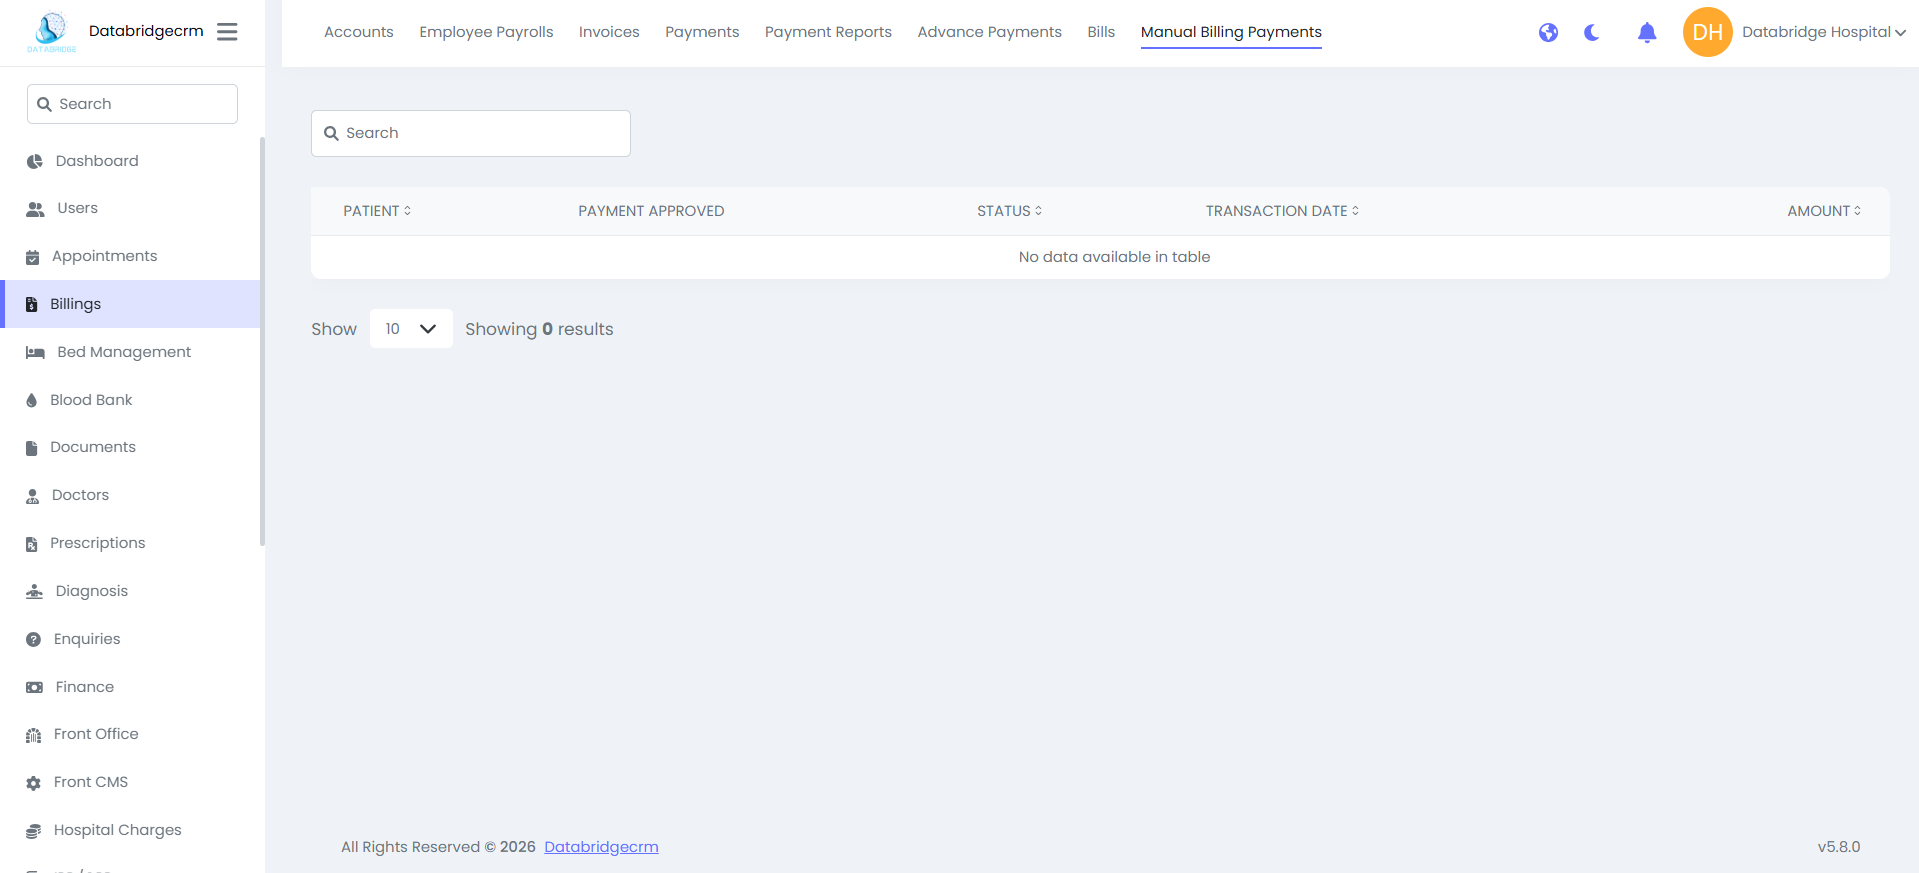
Manual Billing Payments:
This section is used to record billing payments manually when required.
Columns:
Patient
Payment Approval Status
Payment Status
Transaction Date
Amount
This section is used to record billing payments manually when required.
Columns:
Patient
Payment Approval Status
Payment Status
Transaction Date
Amount
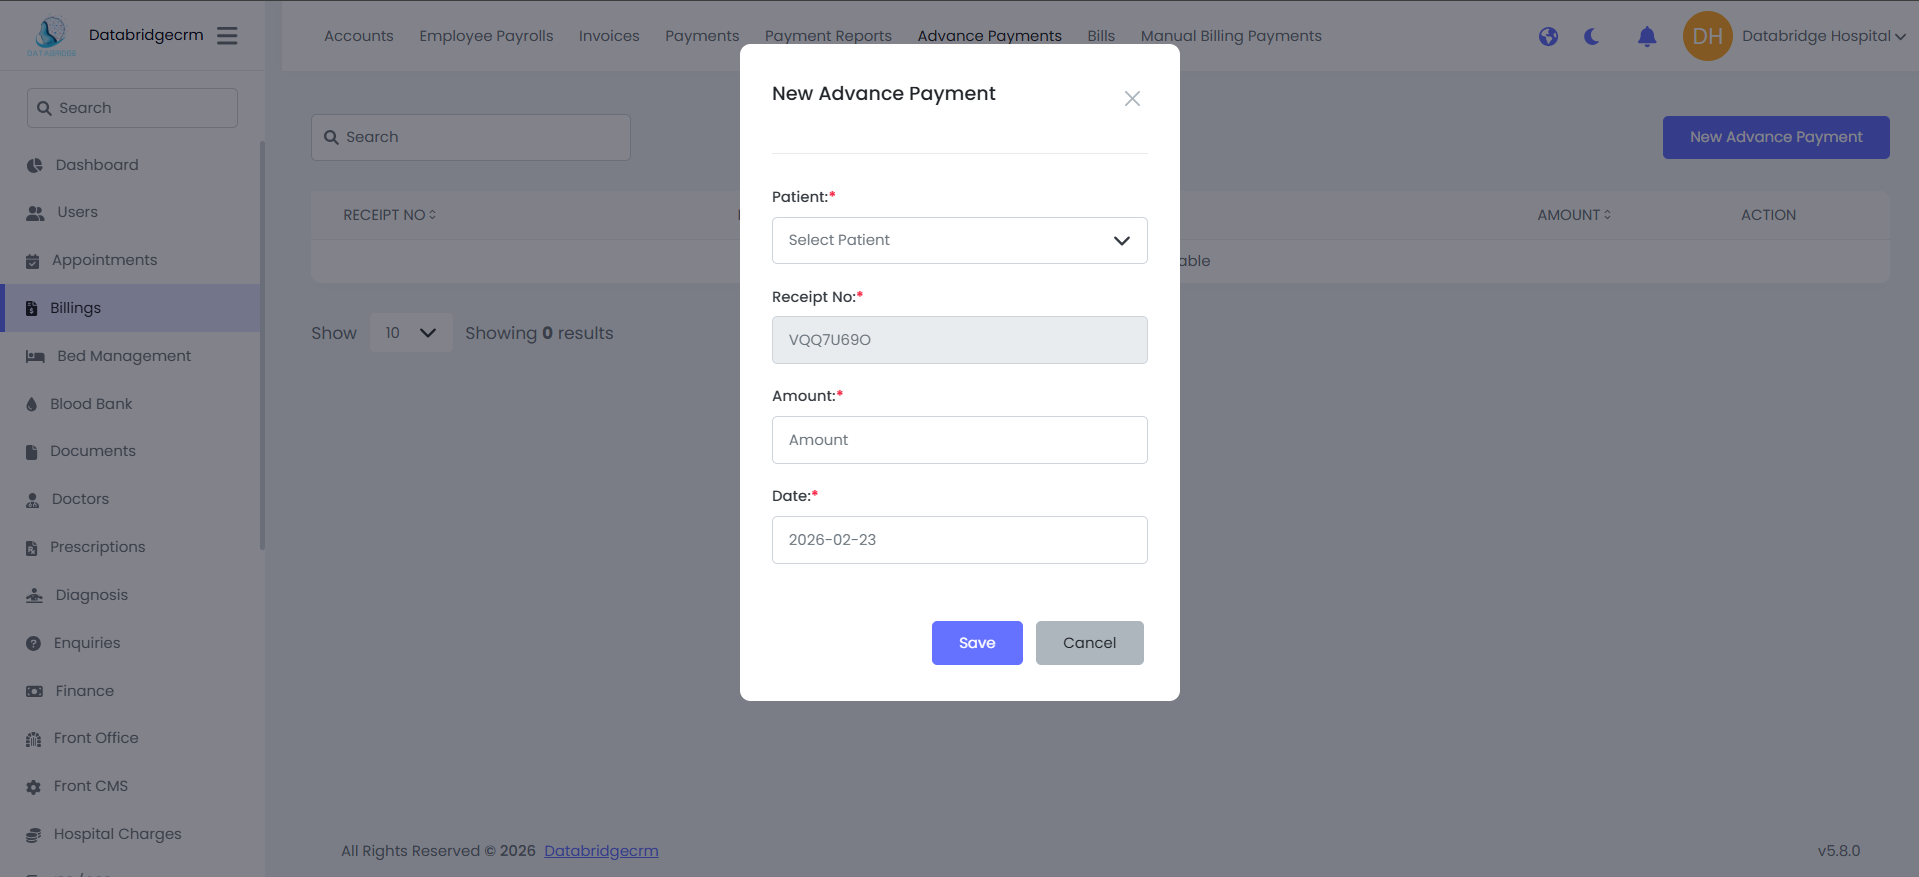
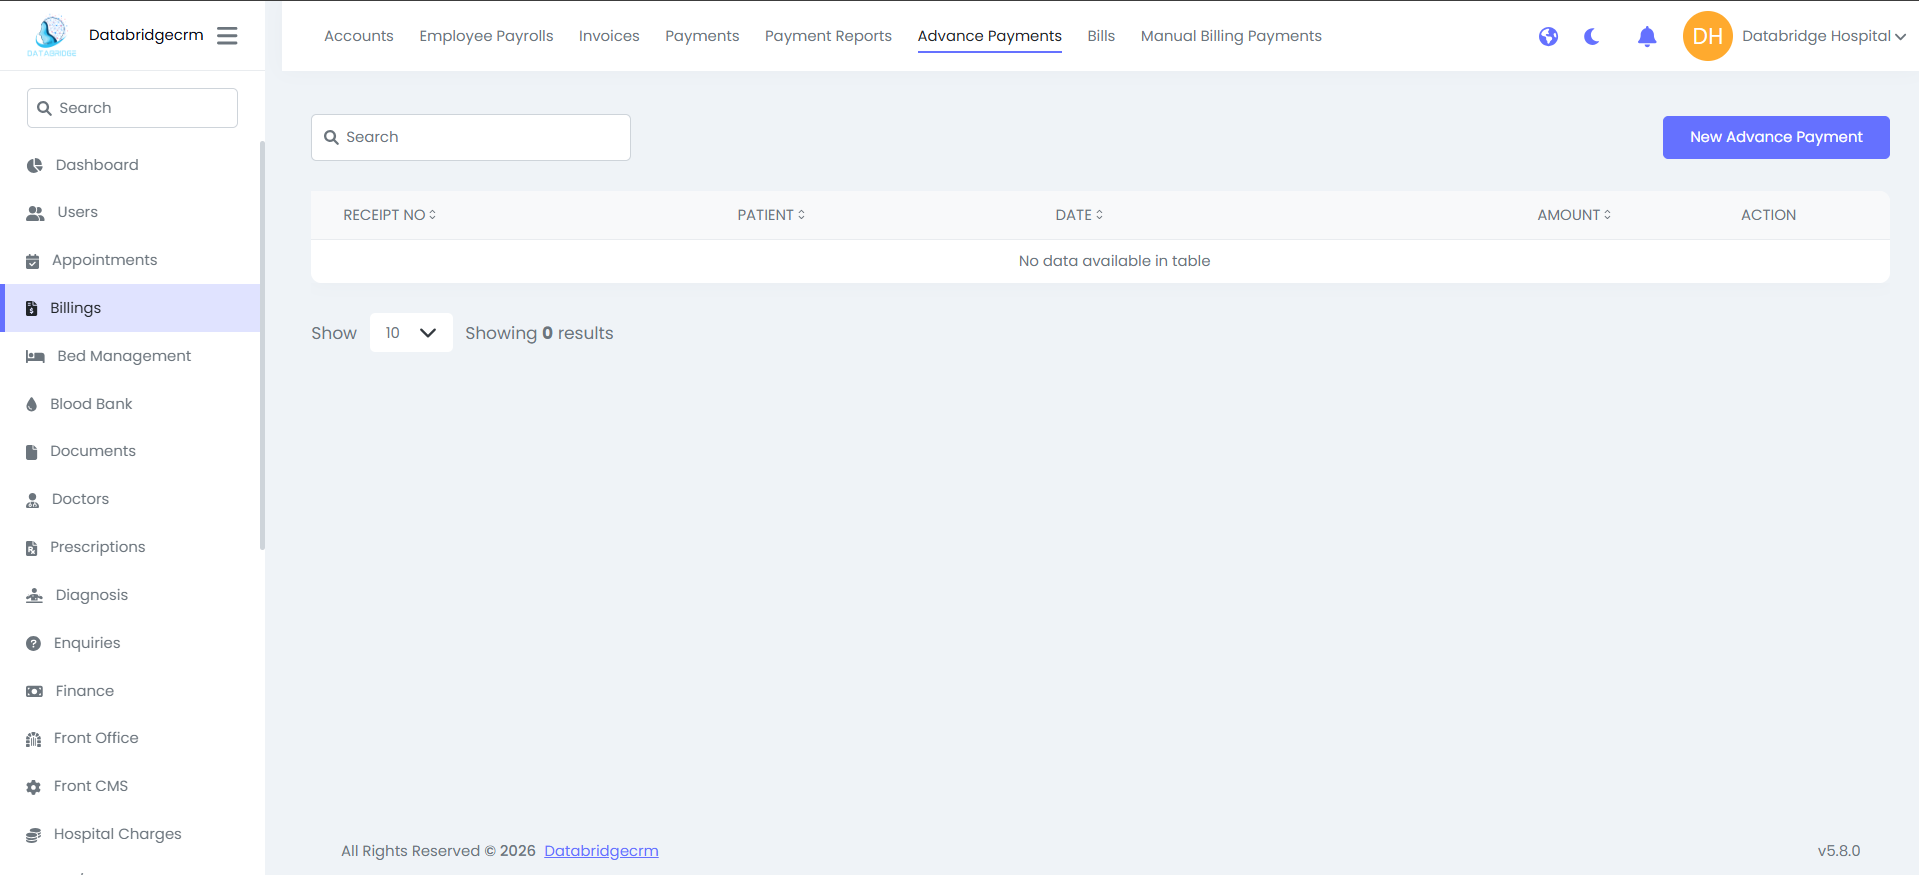
Advance Payments:
Used to record advance payments received from patients prior to final billing.
Add Advance Payment
Steps:
Used to record advance payments received from patients prior to final billing.
Add Advance Payment
Steps:
1
Navigate to Billings
2
Advance Payments
3
Click New Advance Payment
4
Select the patient
5
Enter the advance amount
6
Click Save
A receipt number is generated automatically for each advance entry.
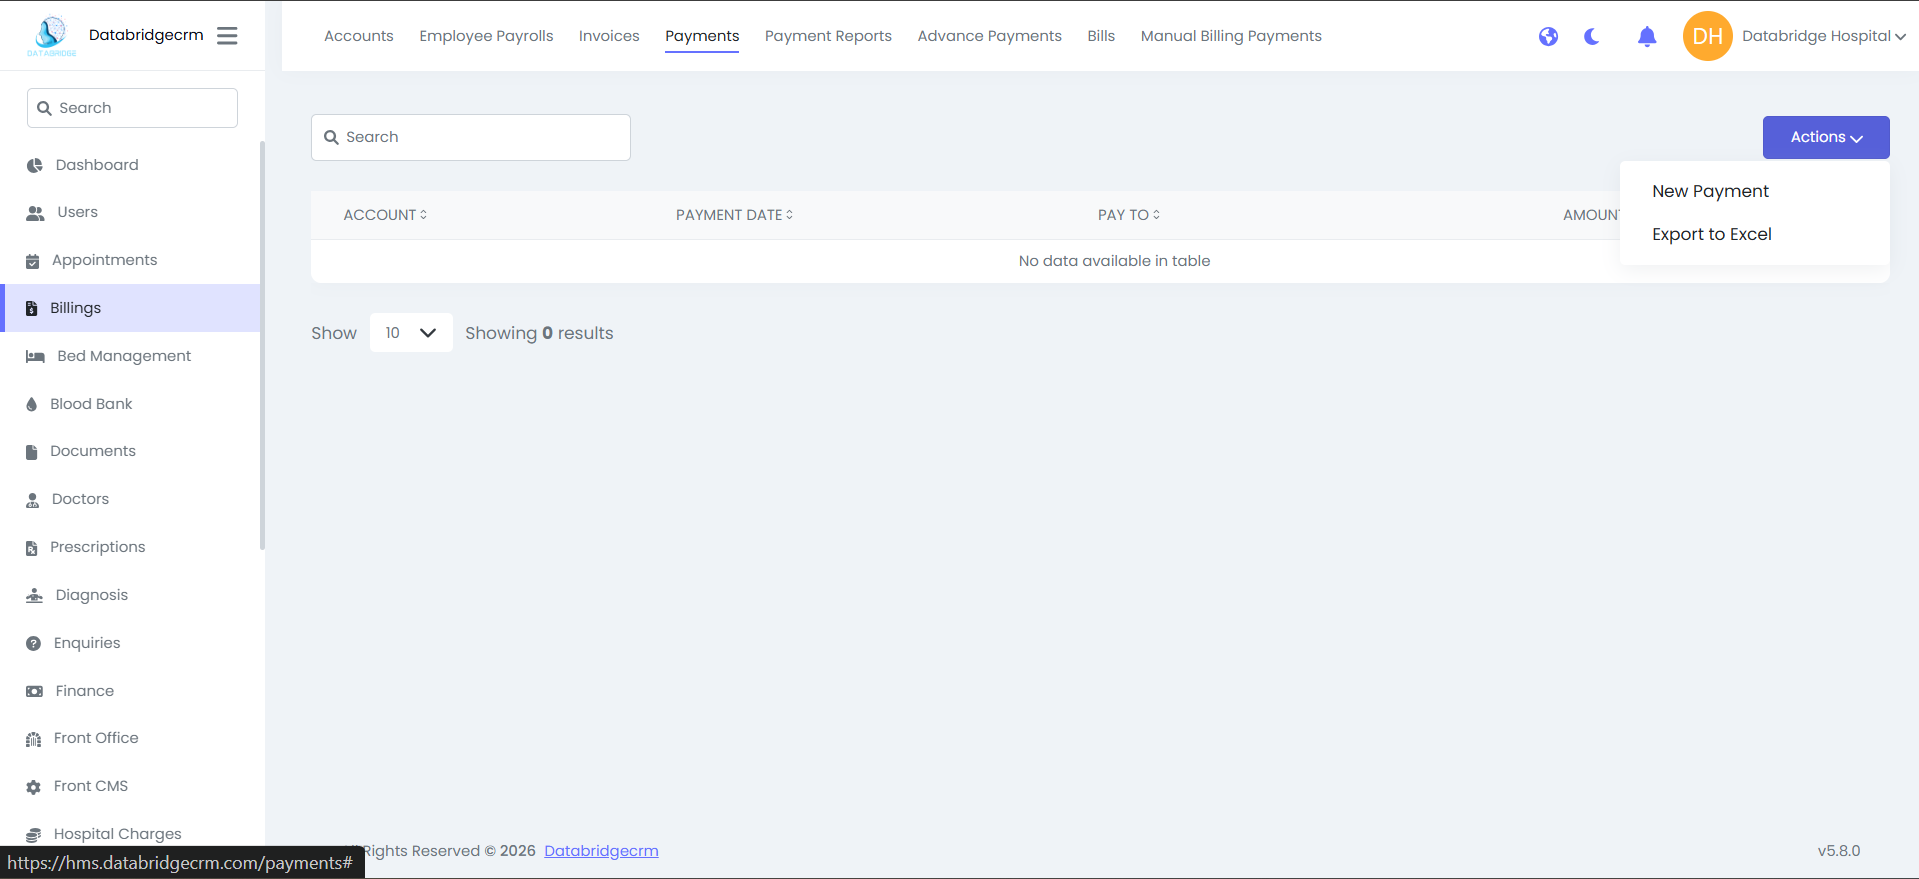
Payments:
Displays all recorded payment transactions.
Add New Payment
Steps:
Displays all recorded payment transactions.
Add New Payment
Steps:
1
Navigate to Billings
2
Payments
3
Click Actions
4
New Payment
5
Select the account
6
Enter payment details and amount
7
Click Save
The module also provides an option to export payment records to Excel.

Payment Reports:
Provides a summarized view of all payment records.
Details Included:
- Payment Date
- Account
- Payee
- Transaction Type
- Amount
Filtering and export options are available for reporting purposes.
Provides a summarized view of all payment records.
Details Included:
- Payment Date
- Account
- Payee
- Transaction Type
- Amount
Filtering and export options are available for reporting purposes.
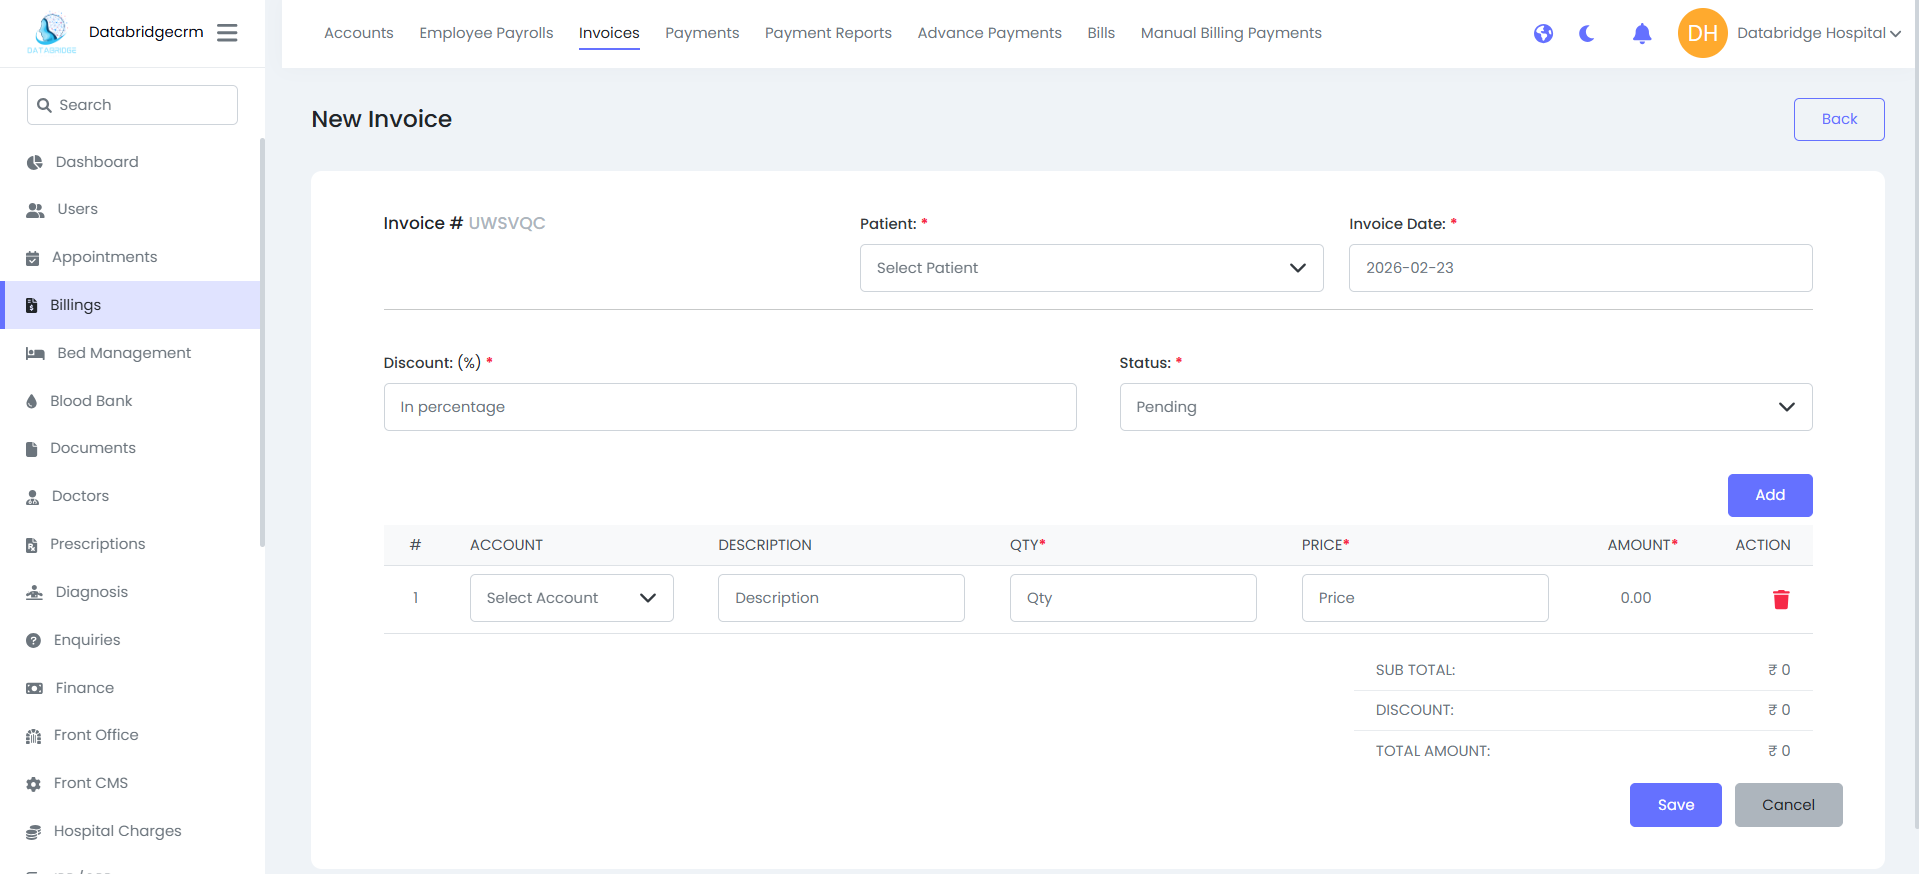
Invoices:
Used to generate invoices for patients.
Create New Invoice:
Steps:
Used to generate invoices for patients.
Create New Invoice:
Steps:
1
Navigate to Billings
2
Invoices
3
Click New Invoice
4
Select the patient
5
Add account details, quantity, and price
6
Apply discount if required
7
Click Save
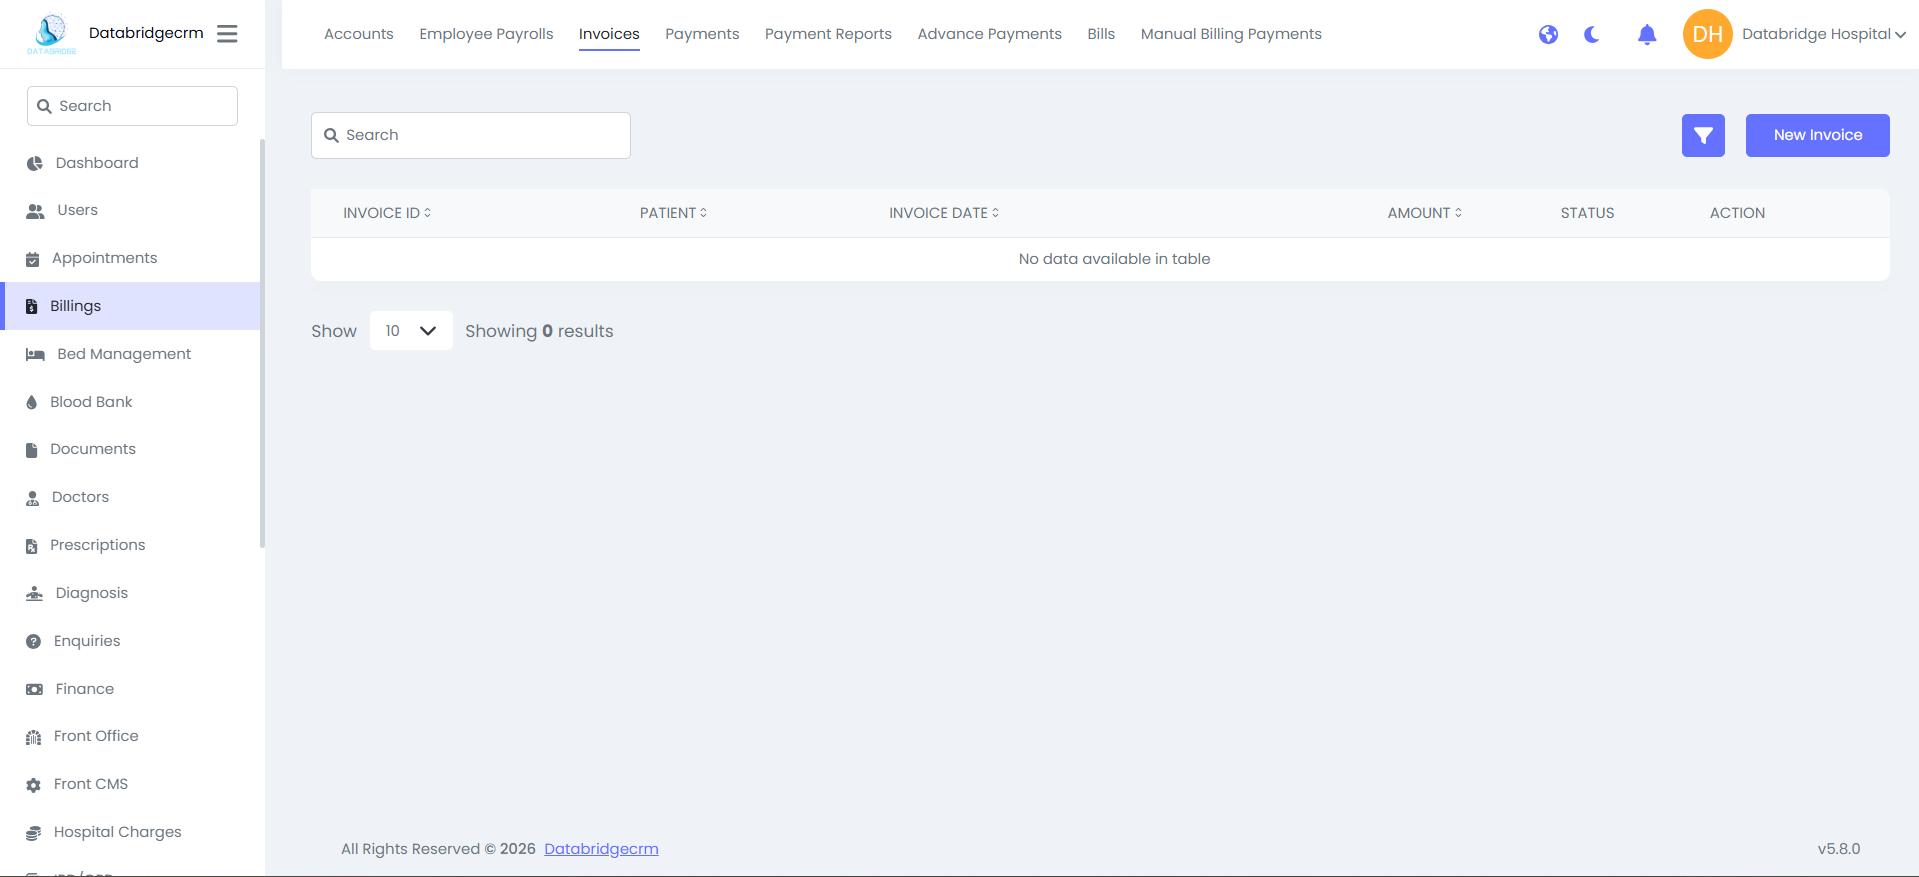
The system automatically calculates subtotal, discount, and total amount.
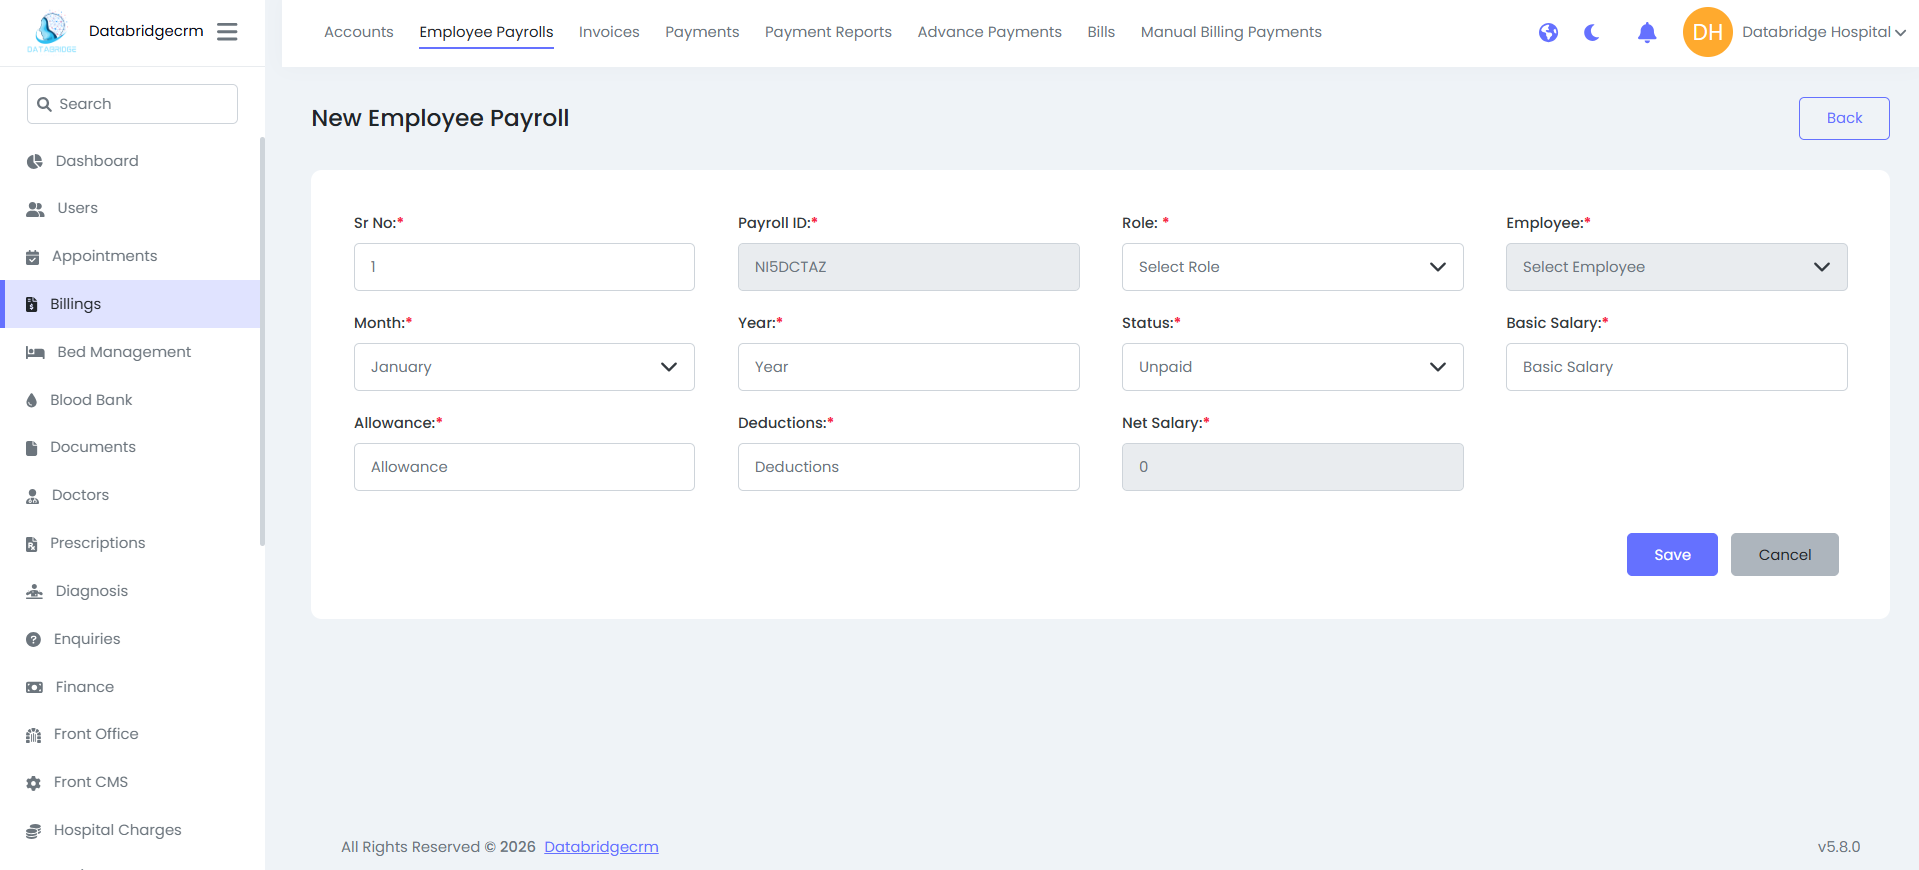
Employee Payrolls:
Used to manage employee salary records.
Create Payroll Entry:
Steps:
Used to manage employee salary records.
Create Payroll Entry:
Steps:
1
Navigate to Billings
2
Employee Payrolls
3
Click New Payroll
4
Select employee and role
5
Enter basic salary, allowances, and deductions
6
Click Save
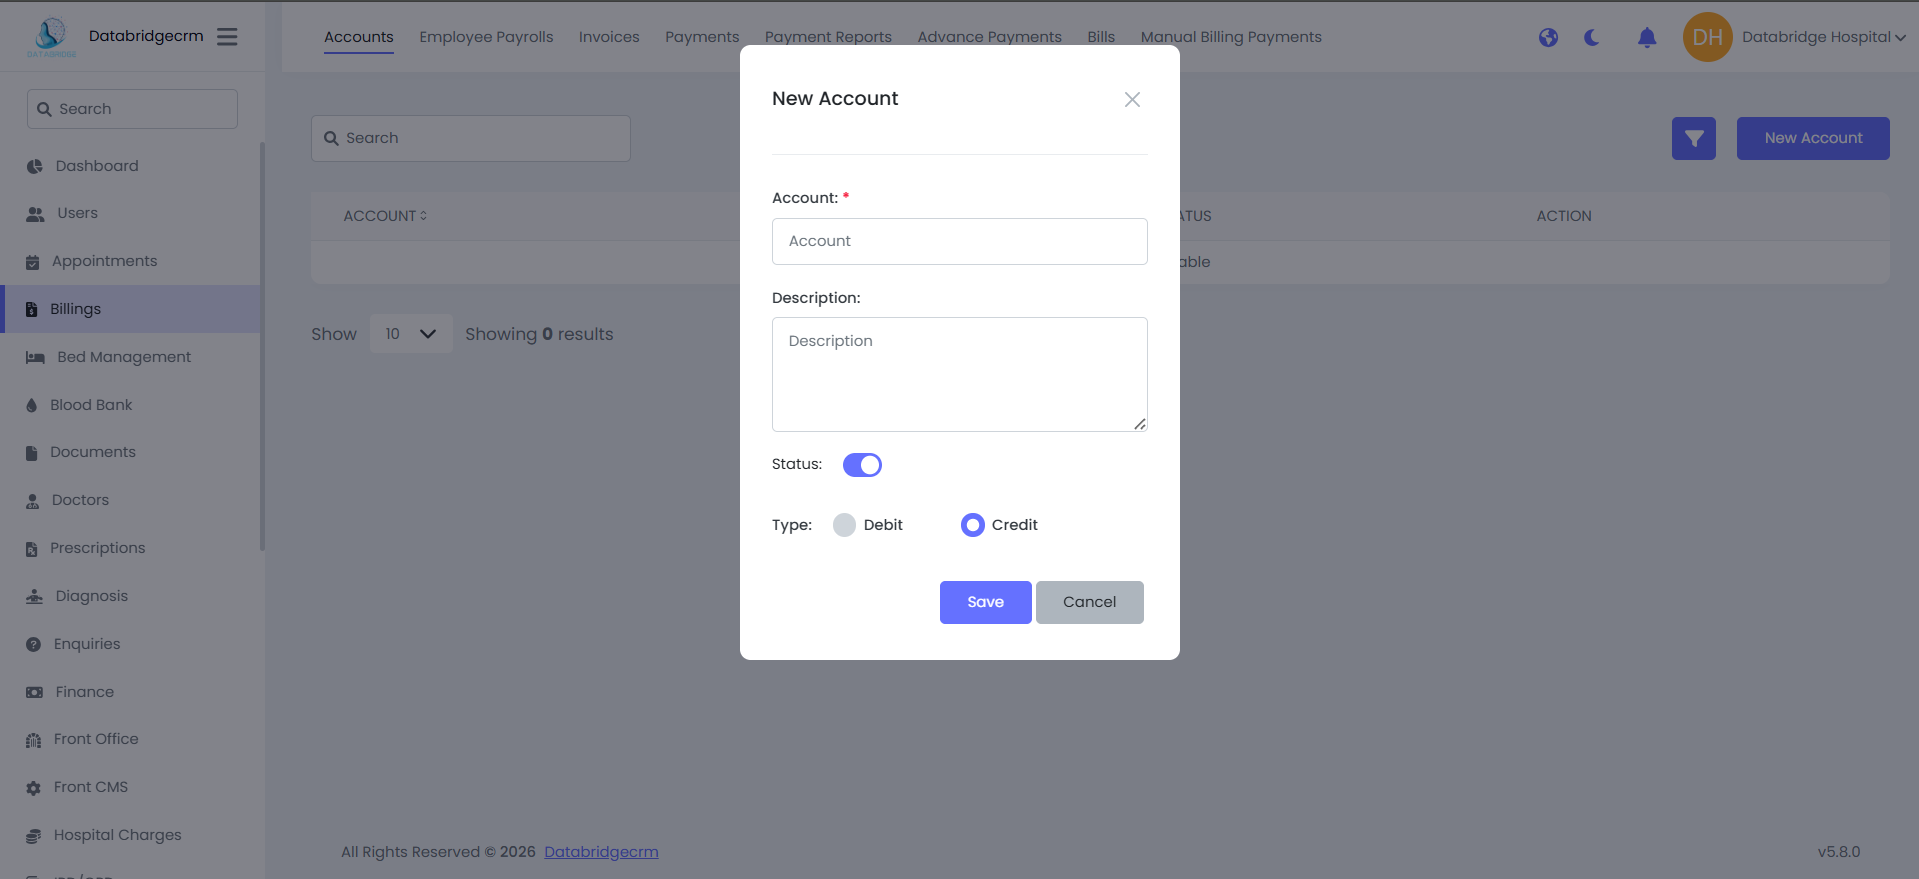
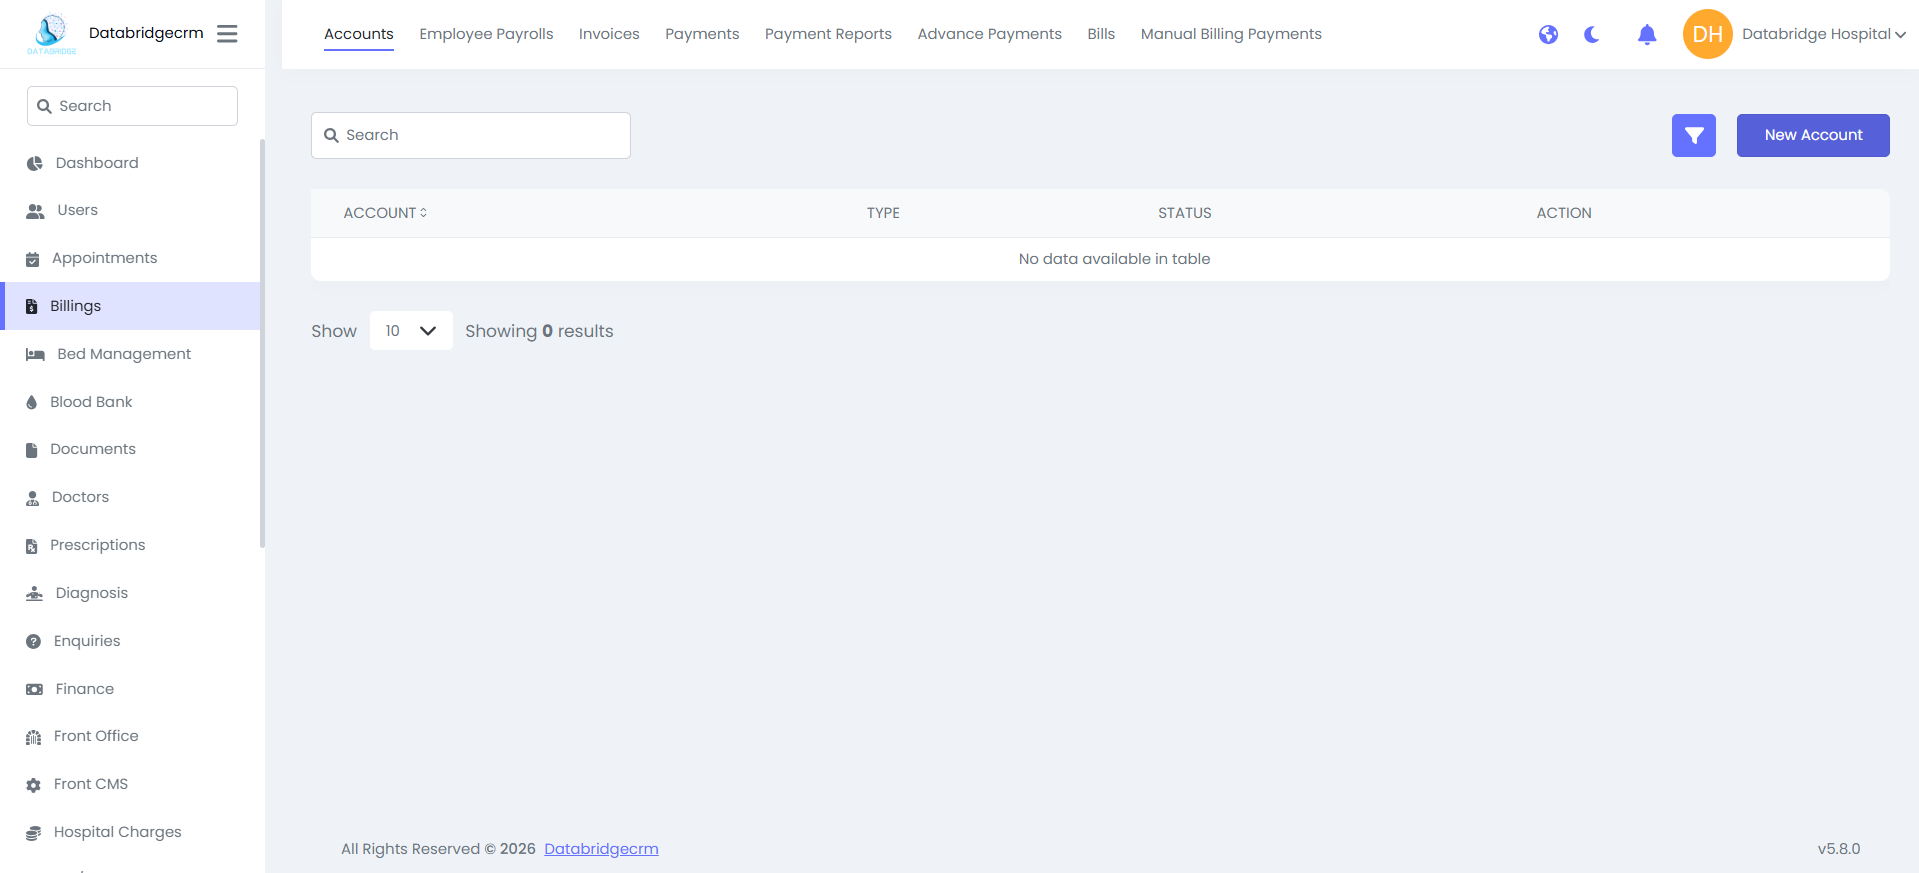
Accounts:
Used to manage financial accounts within the system.
Create New Account:
Steps:
Used to manage financial accounts within the system.
Create New Account:
Steps:
1
Navigate to Billings
2
Accounts
3
Click New Account
4
Enter account name and description
5
Select account type (Debit or Credit)
6
Click Save
Bed Management
The Bed Management module enables hospital administrators to define bed types, create beds, assign beds to patients, and monitor real-time bed availability and status.
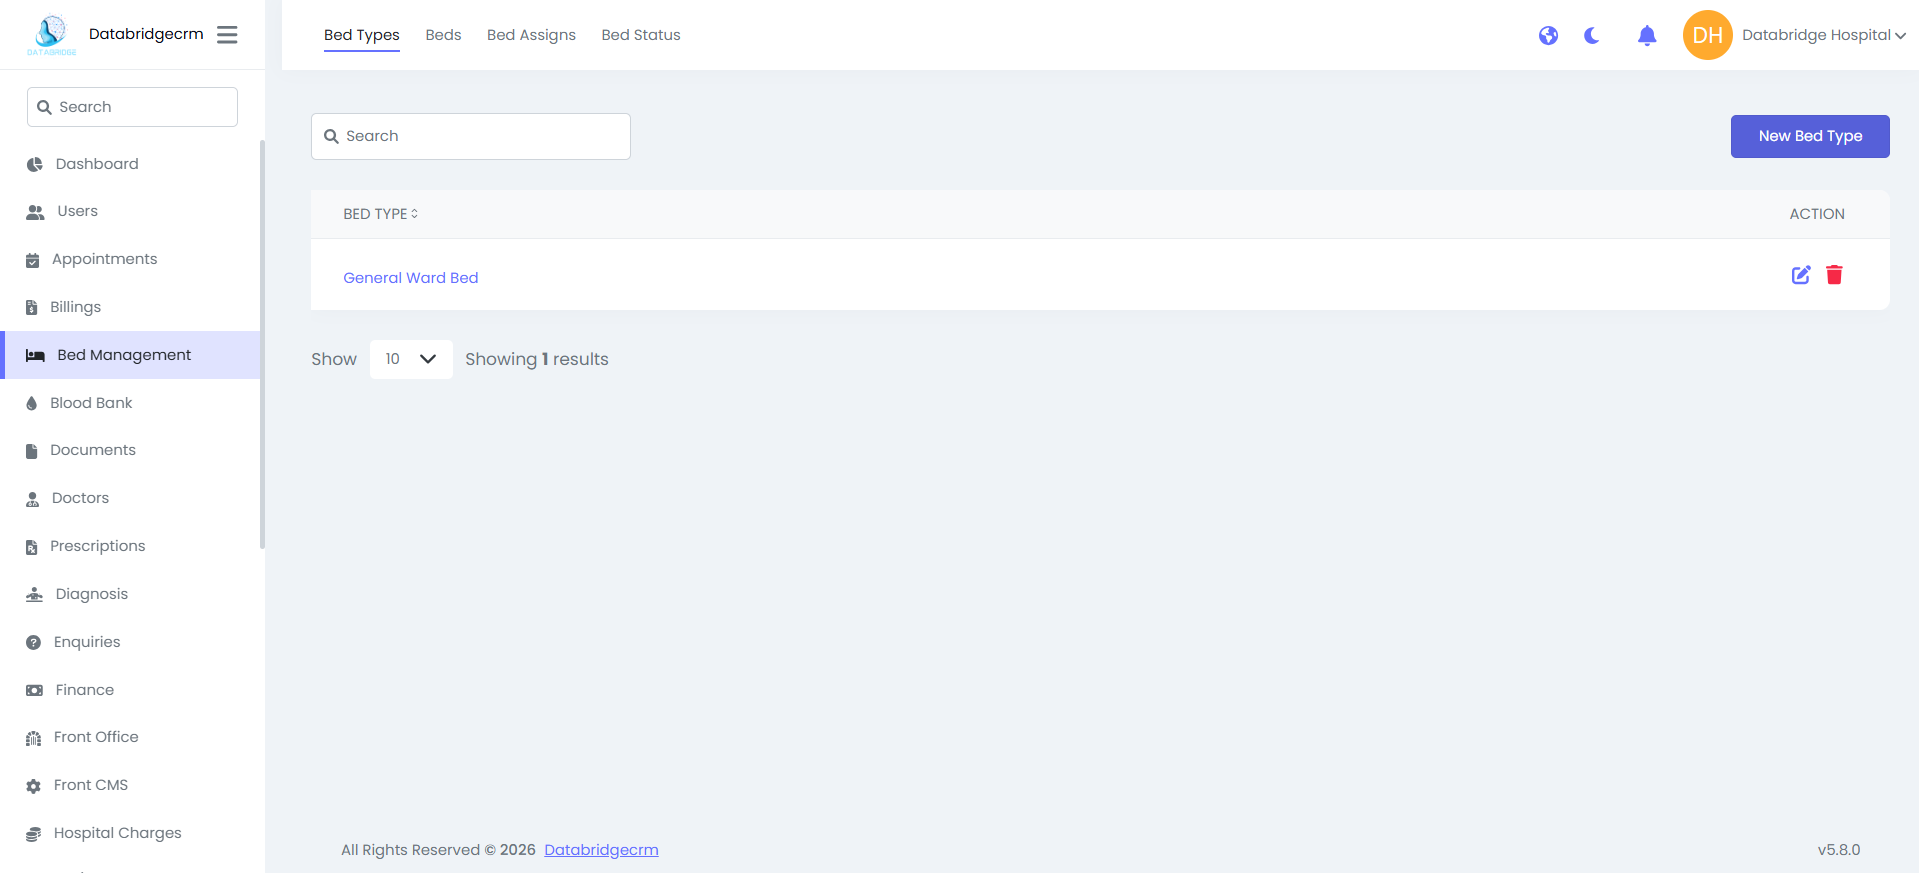
Bed Types:
The Bed Types section is used to create and manage different categories of beds available in the hospital (e.g., General Ward, ICU, Private Room).
View Bed Types:
Displays the list of all configured bed types.
Columns:
- Bed Type
- Action (Edit / Delete)
The Bed Types section is used to create and manage different categories of beds available in the hospital (e.g., General Ward, ICU, Private Room).
View Bed Types:
Displays the list of all configured bed types.
Columns:
- Bed Type
- Action (Edit / Delete)
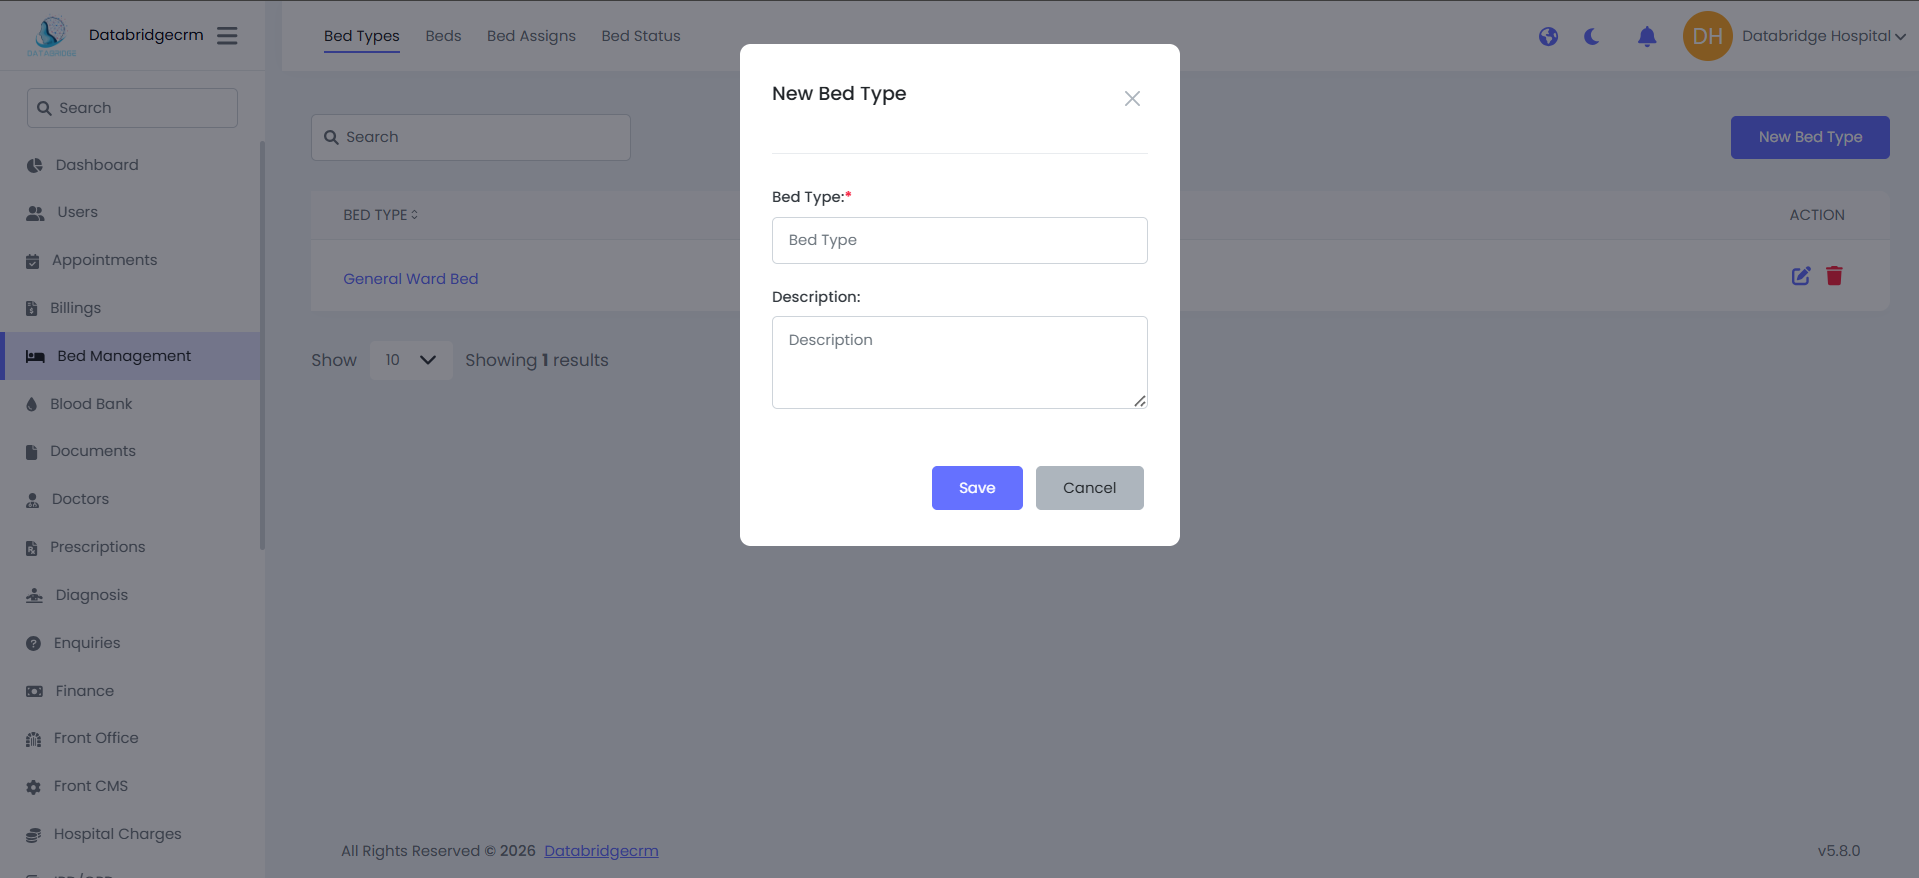
Create New Bed Type:
Steps:
Steps:
1
Navigate to Bed Management
2
Bed Types
3
Click New Bed Type
4
Enter the Bed Type Name
5
Add a description
6
Click Save
The new bed type will now be available for bed creation and assignment.
Beds:
The Beds section allows administrators to create individual beds under specific bed types and define their charges.
Displays all beds along with their details.
Columns:
- Bed ID
- Bed Name
- Bed Type
- Charge
- Availability Status
- Action (Edit / Delete)
The Beds section allows administrators to create individual beds under specific bed types and define their charges.
Displays all beds along with their details.
Columns:
- Bed ID
- Bed Name
- Bed Type
- Charge
- Availability Status
- Action (Edit / Delete)
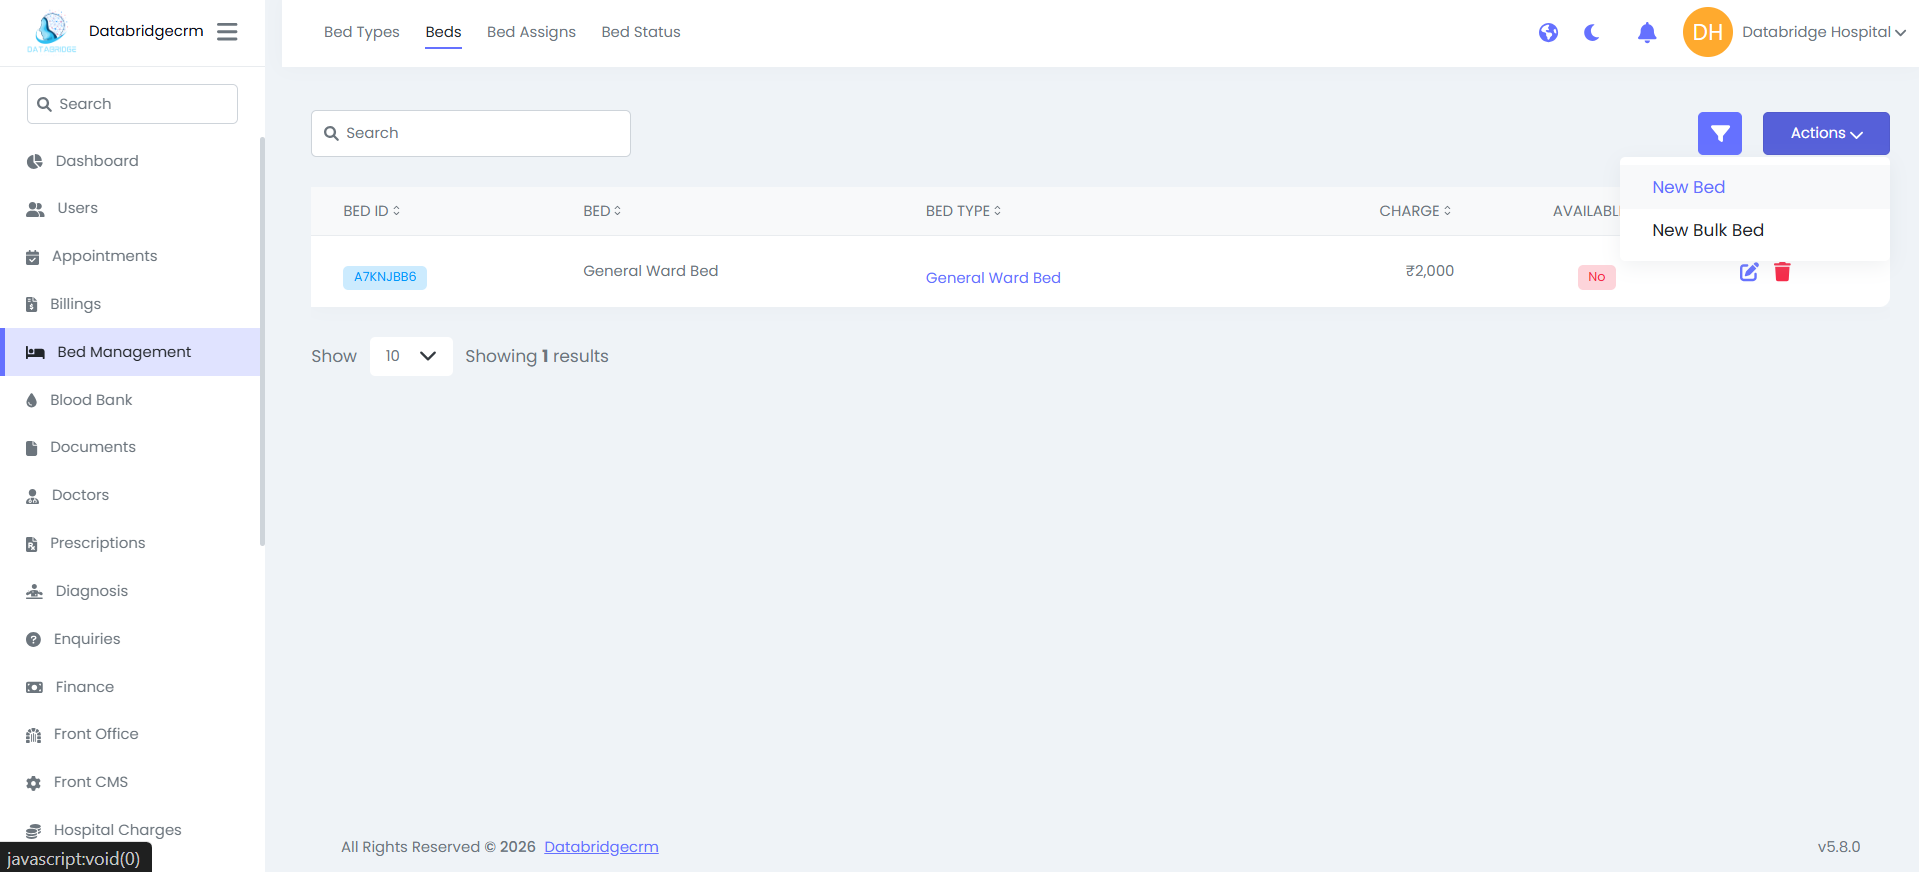
Create New Bed:
Steps:
Navigate to Bed Management → Beds
Click Actions → New Bed
Select the Bed Type
Enter the Bed Name/Number
Enter the Charge Amount
Click Save
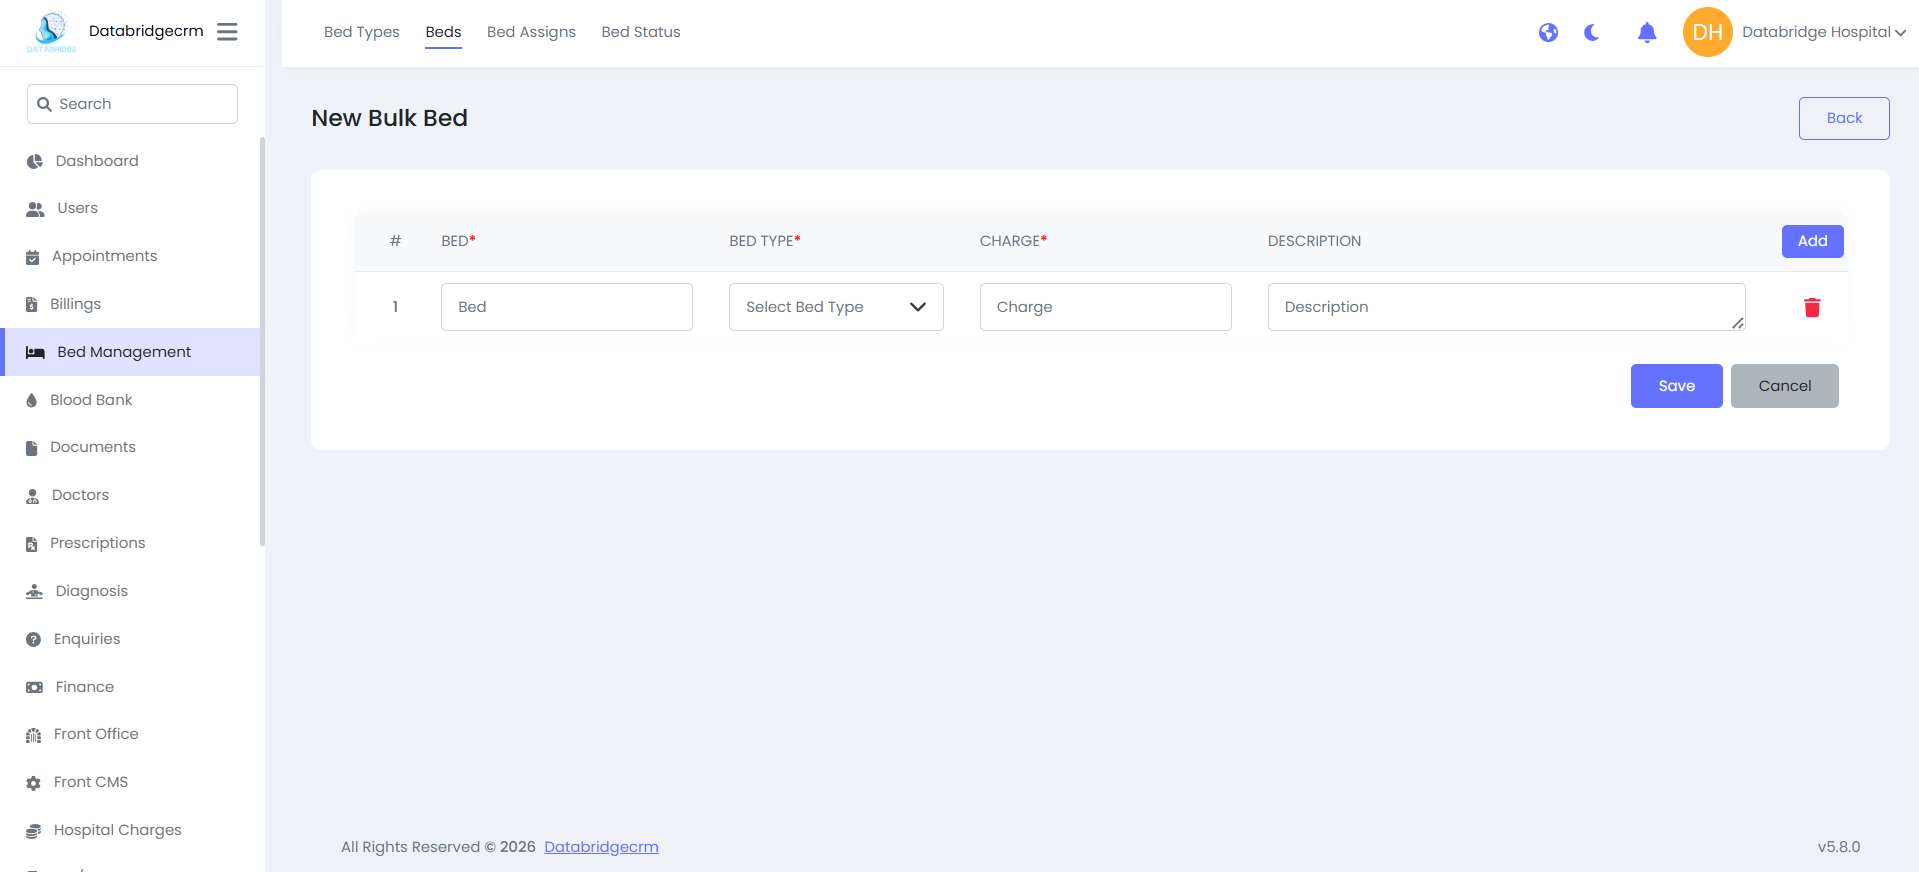
Create Bulk Beds:
Used when multiple beds need to be created under the same bed type.
Steps:
Navigate to Bed Management → Beds
Click Actions → New Bulk Bed
Select the bed type
Enter quantity
Click Save
Steps:
Navigate to Bed Management → Beds
Click Actions → New Bed
Select the Bed Type
Enter the Bed Name/Number
Enter the Charge Amount
Click Save
Create Bulk Beds:
Used when multiple beds need to be created under the same bed type.
Steps:
Navigate to Bed Management → Beds
Click Actions → New Bulk Bed
Select the bed type
Enter quantity
Click Save
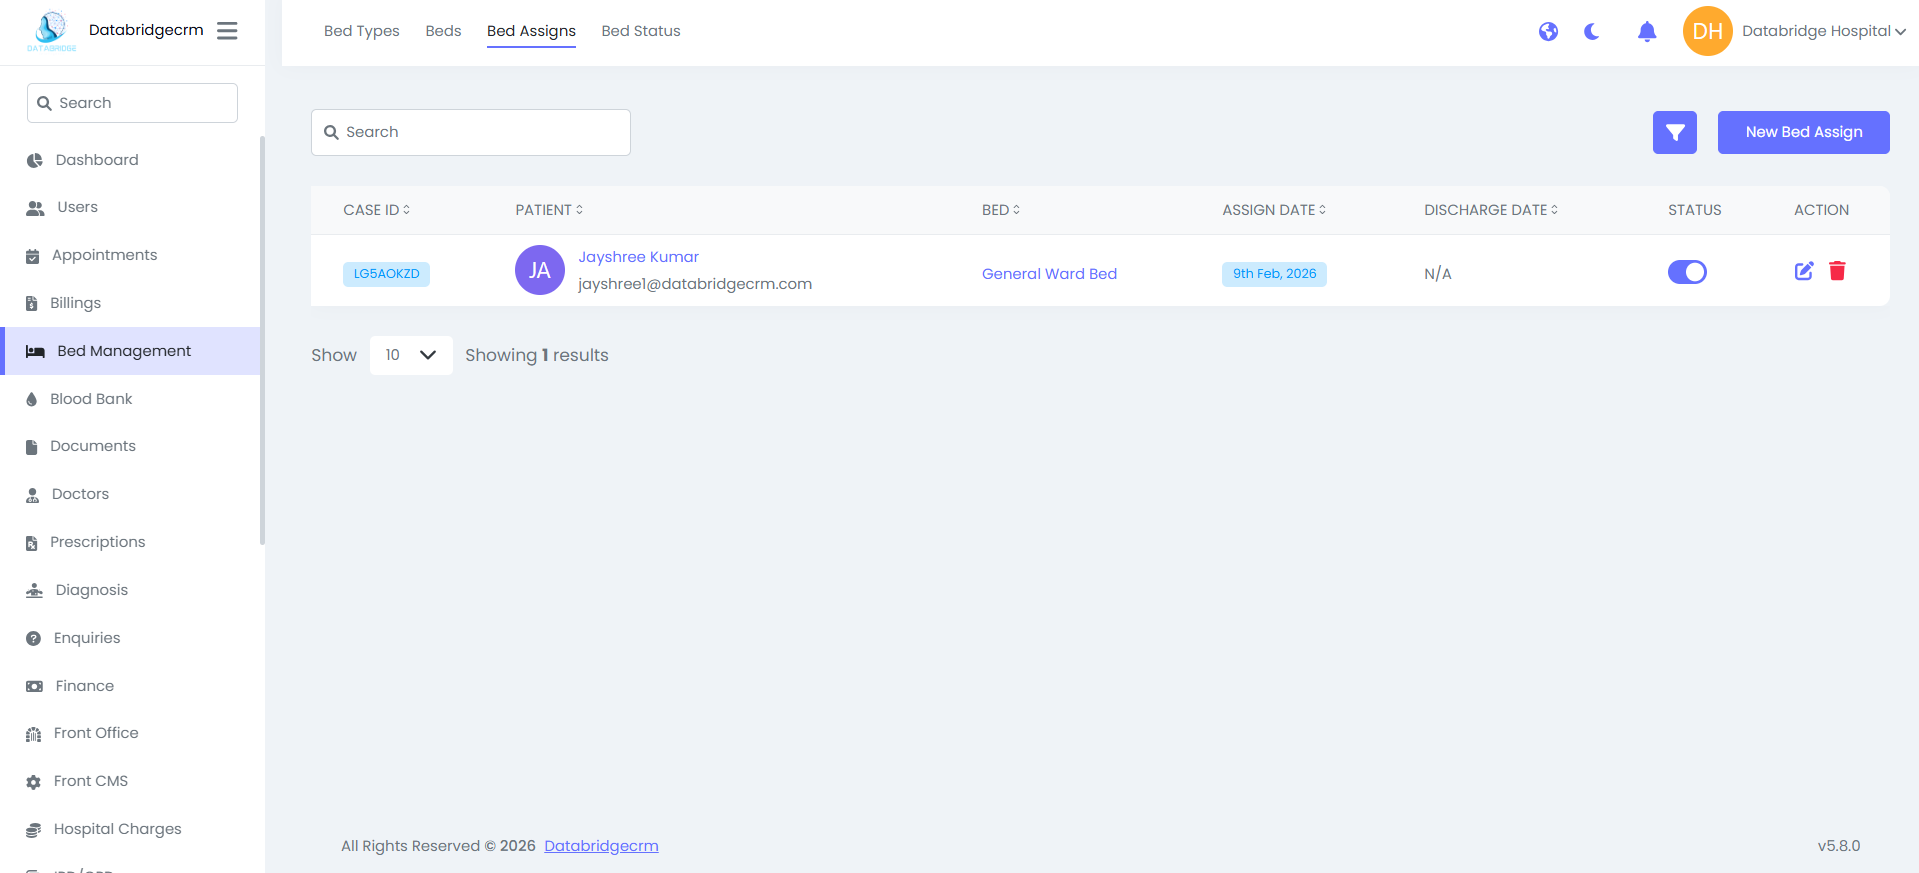
Bed Assigns:
The Bed Assigns section is used to allocate a bed to a patient during admission.
View Bed Assignments
Displays all active and past bed assignments.
Columns:
Case ID
Patient Name
Bed
Assign Date
Discharge Date
Status
Action (Edit / Delete)
The Bed Assigns section is used to allocate a bed to a patient during admission.
View Bed Assignments
Displays all active and past bed assignments.
Columns:
Case ID
Patient Name
Bed
Assign Date
Discharge Date
Status
Action (Edit / Delete)
Assign New Bed:
Steps:
Navigate to Bed Management → Bed Assigns
Click New Bed Assign
Select the Patient
Select the Bed
Enter the Assign Date
Click Save
Once assigned, the bed availability status changes automatically.
Discharge Patient from Bed:
Steps:
Open the assigned bed record
Enter the Discharge Date
Update the status
Click Save
The bed becomes available again after discharge.
Steps:
Navigate to Bed Management → Bed Assigns
Click New Bed Assign
Select the Patient
Select the Bed
Enter the Assign Date
Click Save
Once assigned, the bed availability status changes automatically.
Discharge Patient from Bed:
Steps:
Open the assigned bed record
Enter the Discharge Date
Update the status
Click Save
The bed becomes available again after discharge.
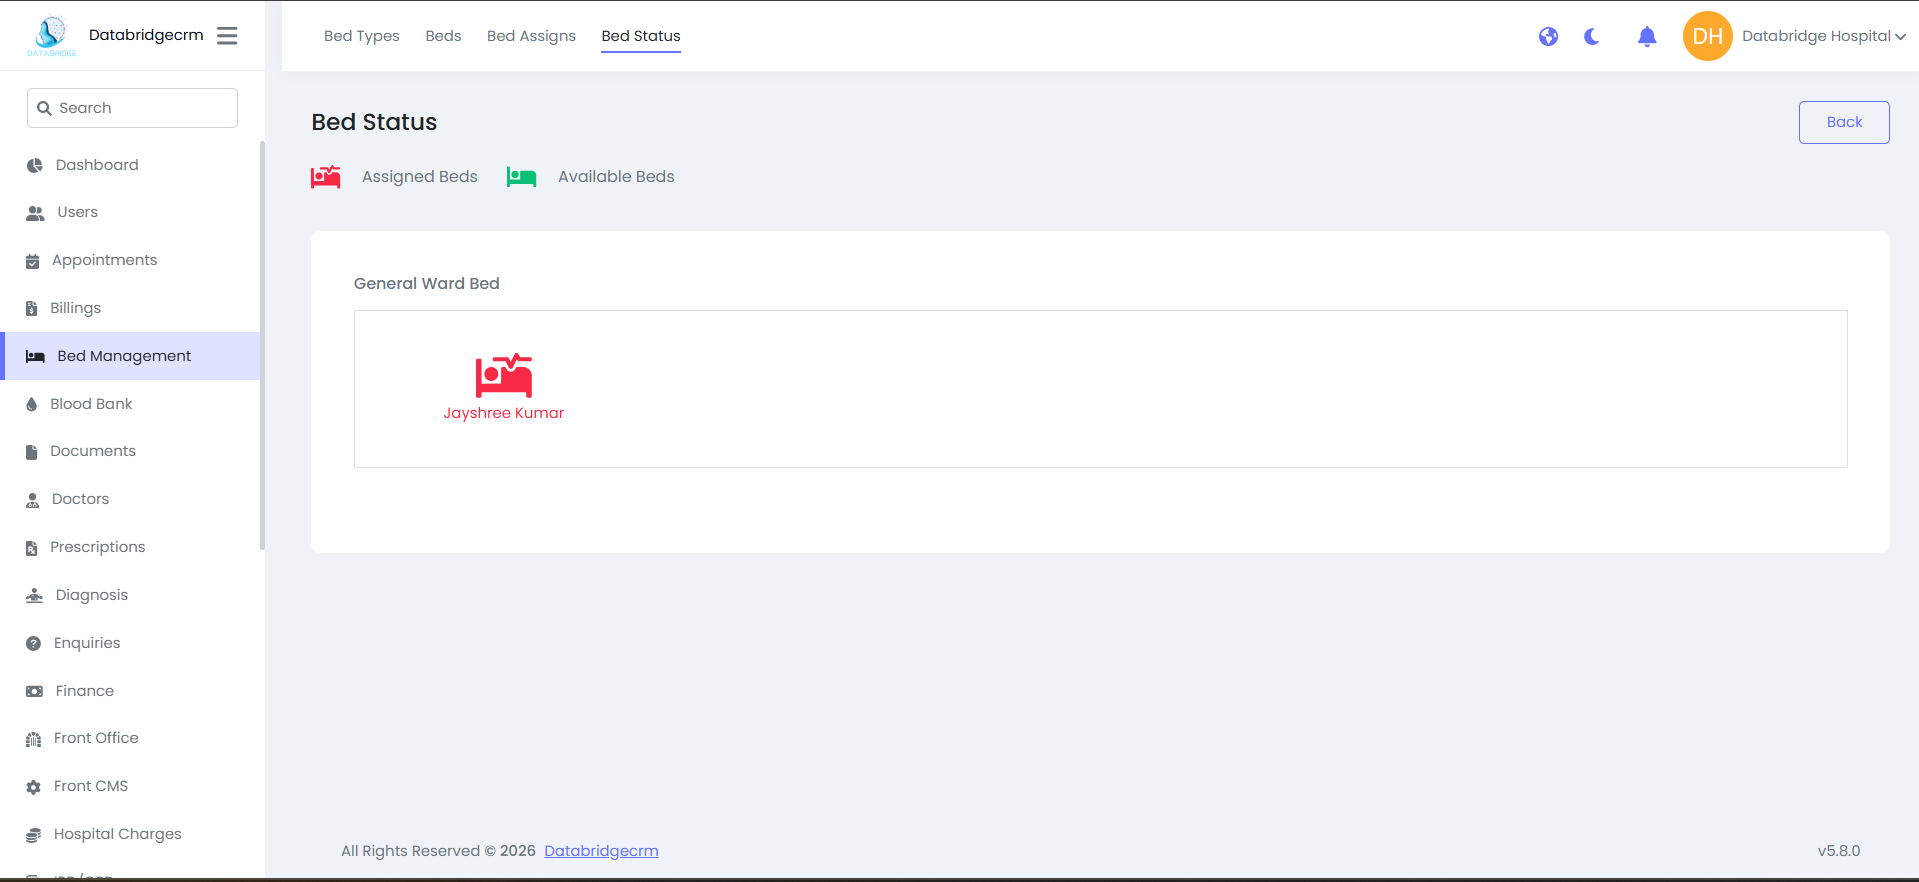
Bed Status:
The Bed Status section provides a visual overview of assigned and available beds in real time.
Assigned Beds:
Displays beds currently occupied by patients.
Available Beds:
Displays beds that are currently unoccupied and ready for assignment.
This module ensures:
- Efficient bed allocation
- Real-time availability tracking
- Proper patient admission management
- Accurate billing integration through bed charges
Blood Bank
The Blood Bank module enables hospitals to manage blood groups, donors, donations, and blood issuance efficiently. It ensures real-time tracking of available blood units and maintains accurate donor records.
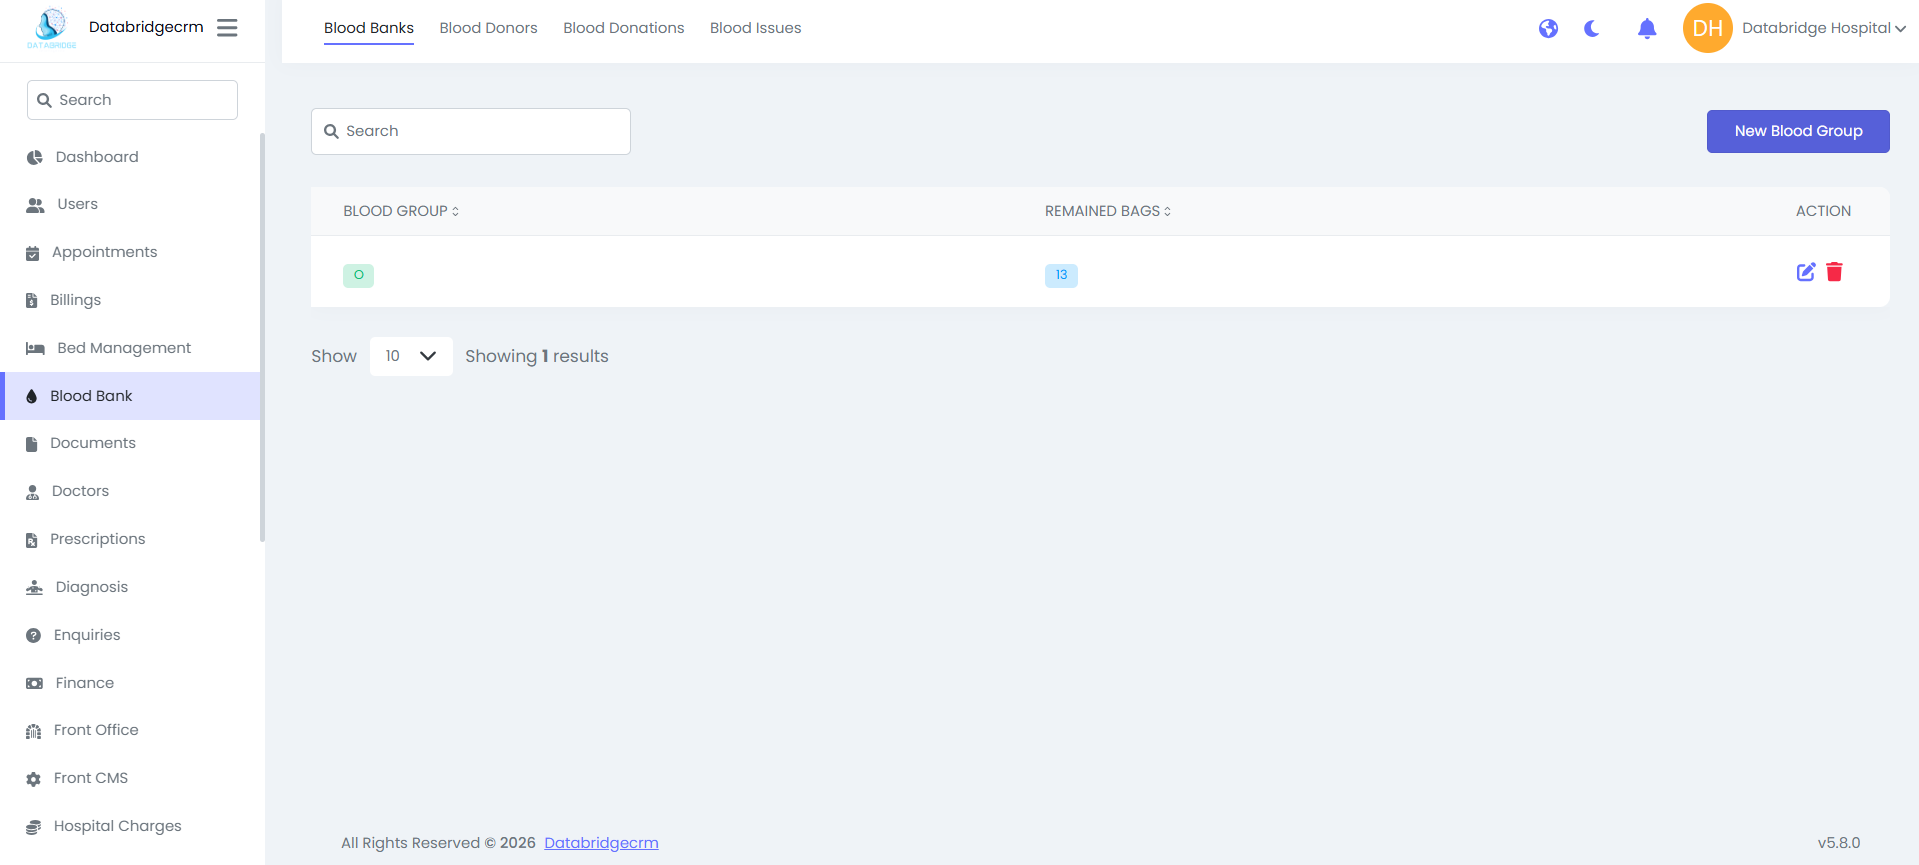
Blood Groups:
This section is used to define and monitor available blood groups along with remaining stock.
View Blood Groups
Displays the list of all blood groups and available units.
Columns:
Blood Group
Remaining Bags
Action (Edit / Delete)
This section is used to define and monitor available blood groups along with remaining stock.
View Blood Groups
Displays the list of all blood groups and available units.
Columns:
Blood Group
Remaining Bags
Action (Edit / Delete)
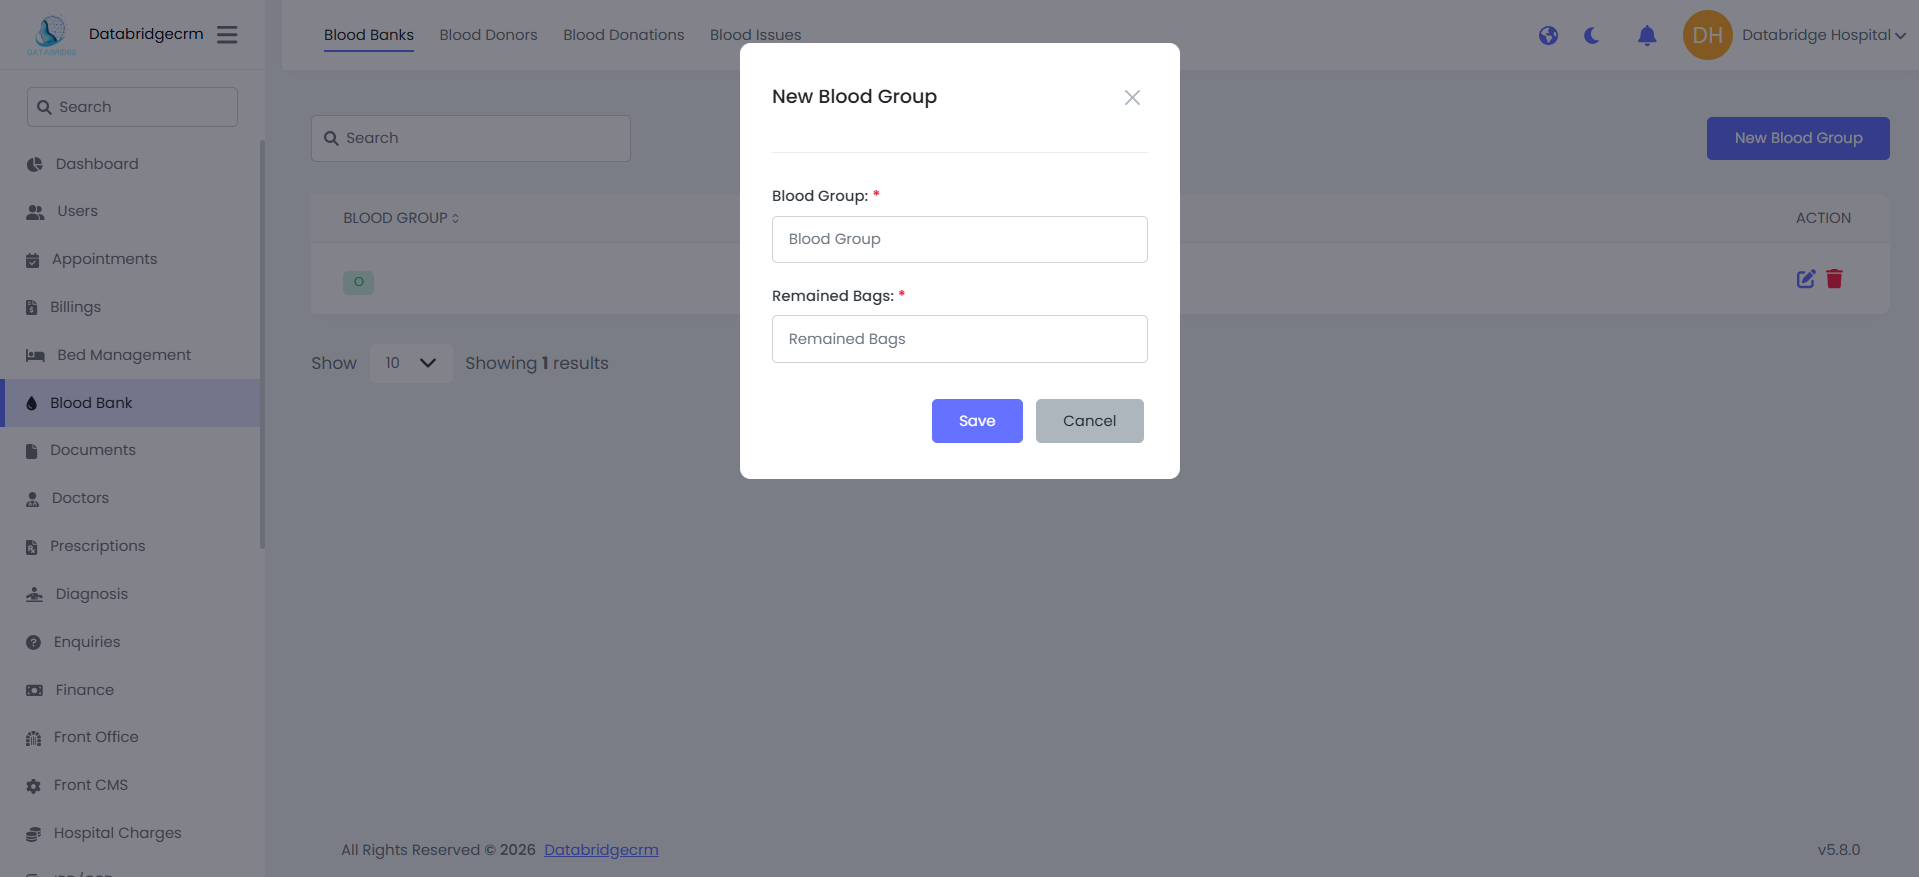
Add New Blood Group:
Steps:
Navigate to Blood Bank → Blood Banks
Click New Blood Group
Enter:
Blood Group (e.g., A+, O-, B+)
Remaining Bags (Available units)
Click Save
The blood group inventory will now be added to the system.
Steps:
Navigate to Blood Bank → Blood Banks
Click New Blood Group
Enter:
Blood Group (e.g., A+, O-, B+)
Remaining Bags (Available units)
Click Save
The blood group inventory will now be added to the system.
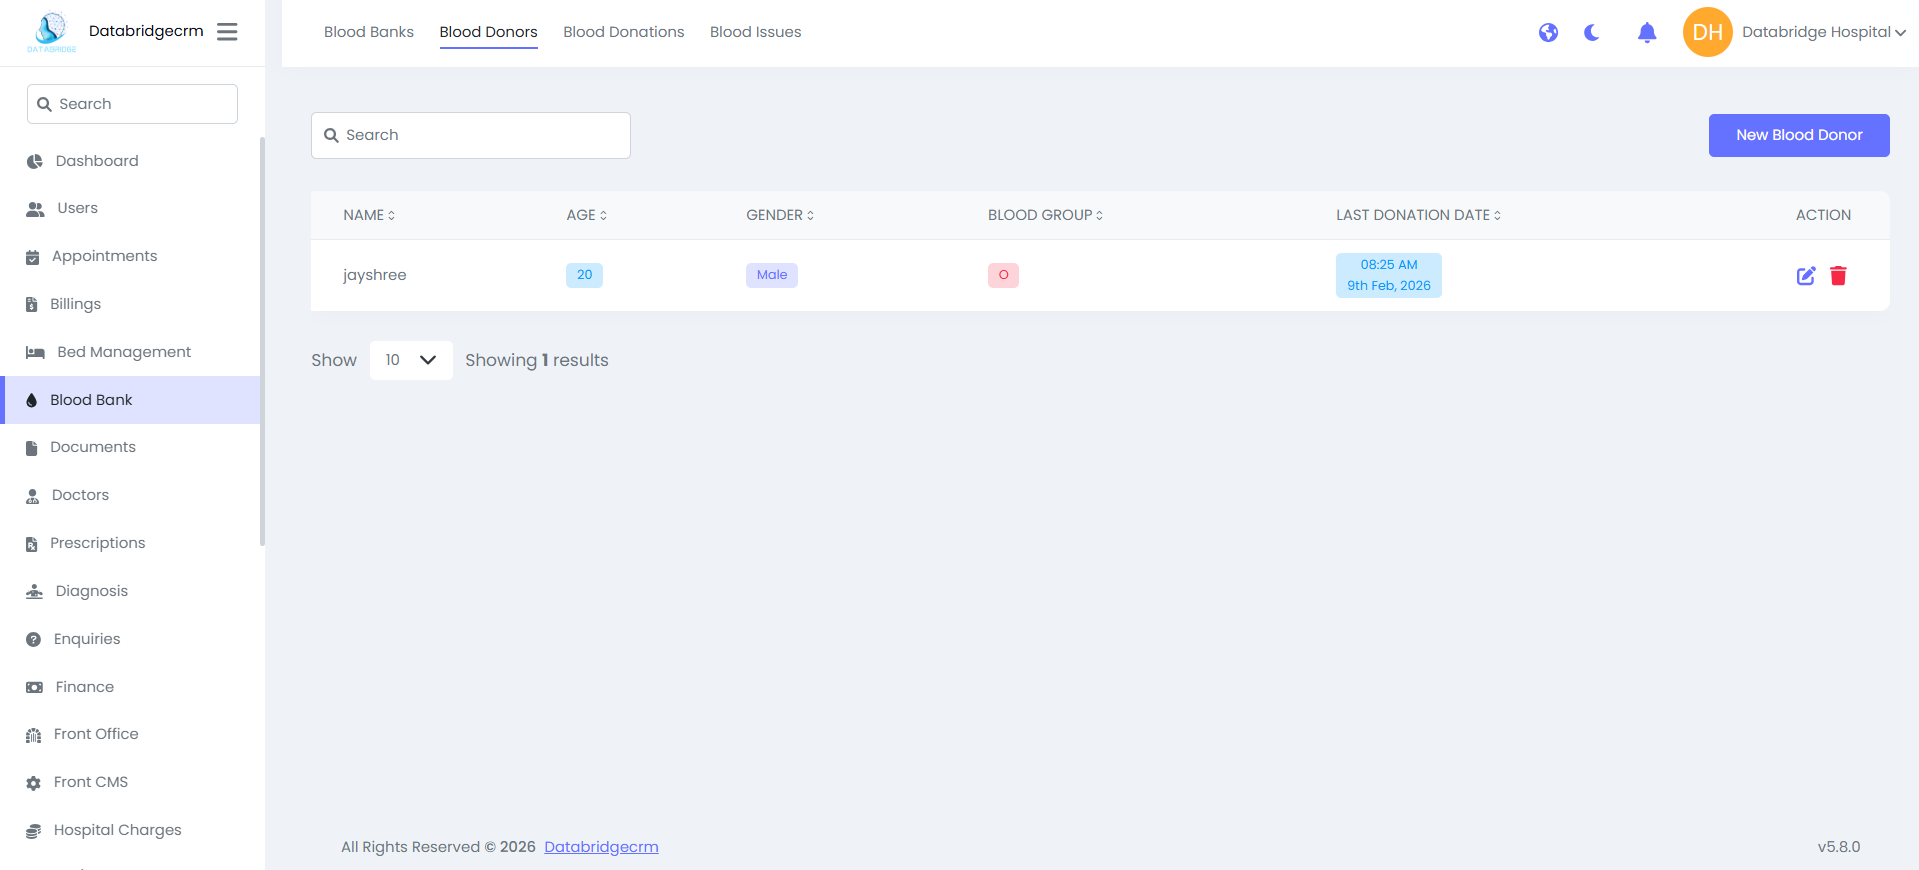
Blood Donors:
This section maintains records of registered blood donors.
View Donors
Displays all registered donors.
Columns:
- Name
- Age
- Gender
- Blood Group
- Last Donation Date
- Action (Edit / Delete)
This section maintains records of registered blood donors.
View Donors
Displays all registered donors.
Columns:
- Name
- Age
- Gender
- Blood Group
- Last Donation Date
- Action (Edit / Delete)

Add New Blood Donor:
Steps:
Steps:
1
Navigate to Blood Bank
2
Blood Donors
3
Click New Blood Donor
4
Enter: (Name, Age, Gender, Blood Group, Last Donation Date)
The donor record will be stored for future reference and donation tracking.
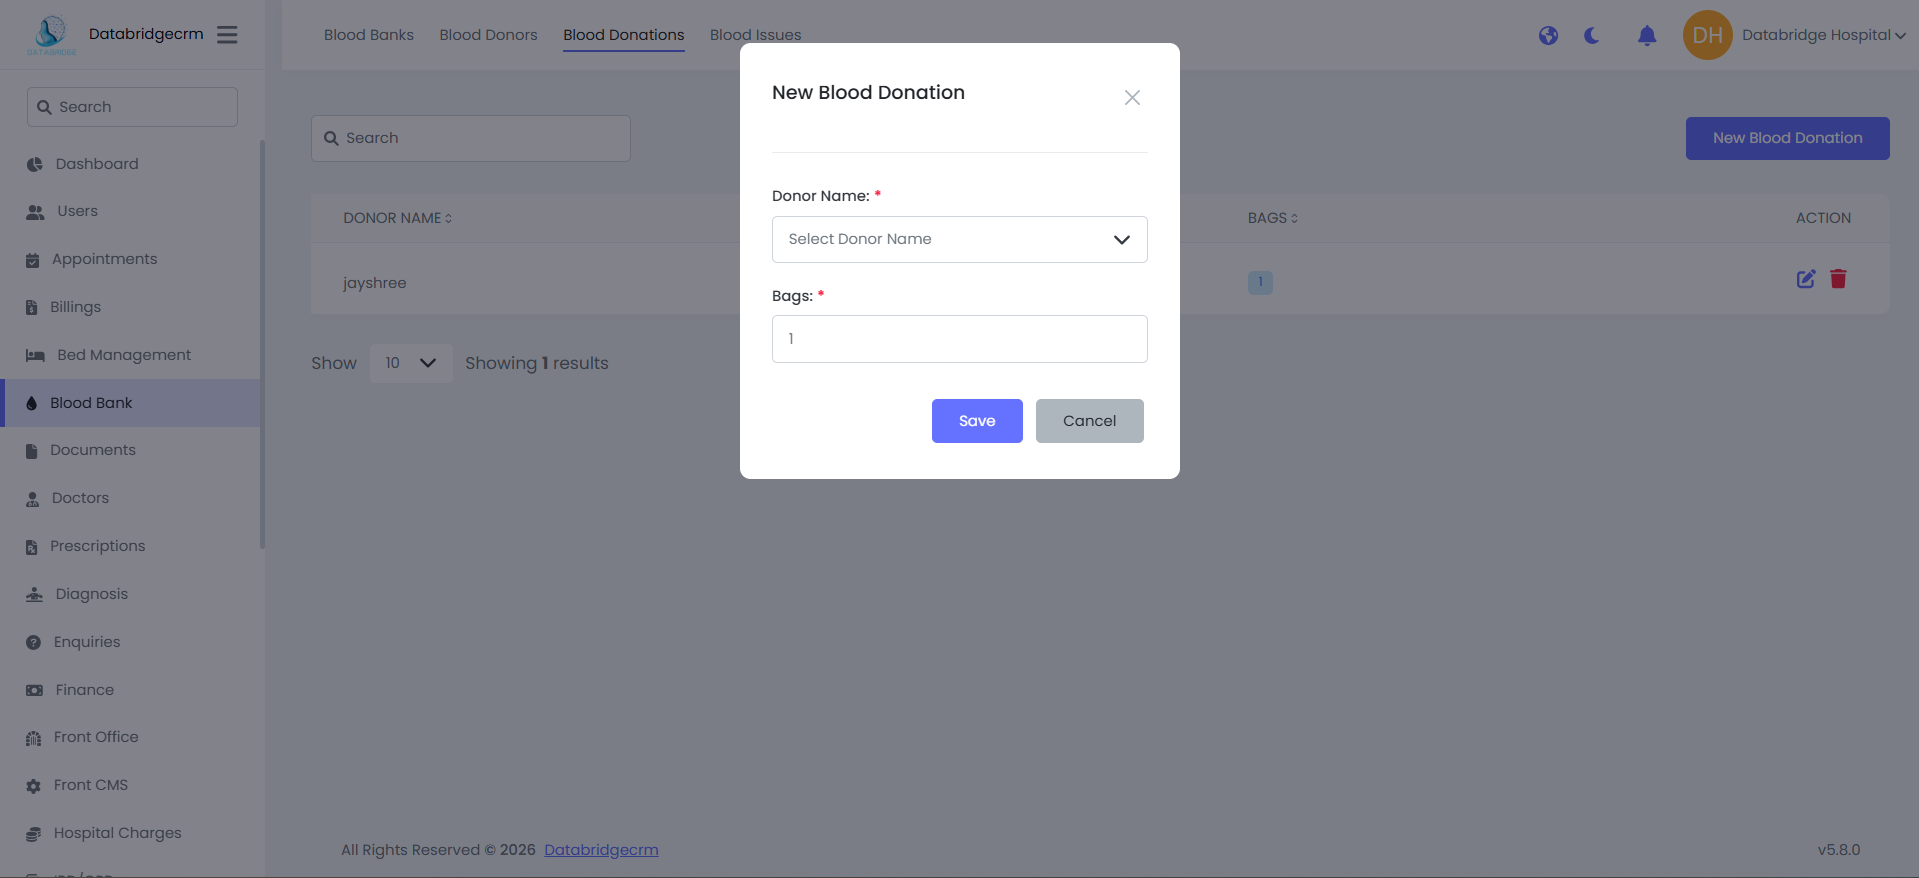
Blood Donations:
This section records blood donations made by registered donors.
View Donations:
Displays donation records.
Columns:
Donor Name
Number of Bags
Action (Edit / Delete)
Add New Blood Donation
Steps:
This section records blood donations made by registered donors.
View Donations:
Displays donation records.
Columns:
Donor Name
Number of Bags
Action (Edit / Delete)
Add New Blood Donation
Steps:
1
Navigate to Blood Bank
2
Blood Donations
3
Click New Blood Donation
4
Select:( Donor Name, Number of Bags Donated)
5
Click Save
Documents
The Document Types section is used to define categories for organizing uploaded documents (e.g., ID Proof, Medical Certificate, Lab Report, Prescription, Degree Certificate, etc.).
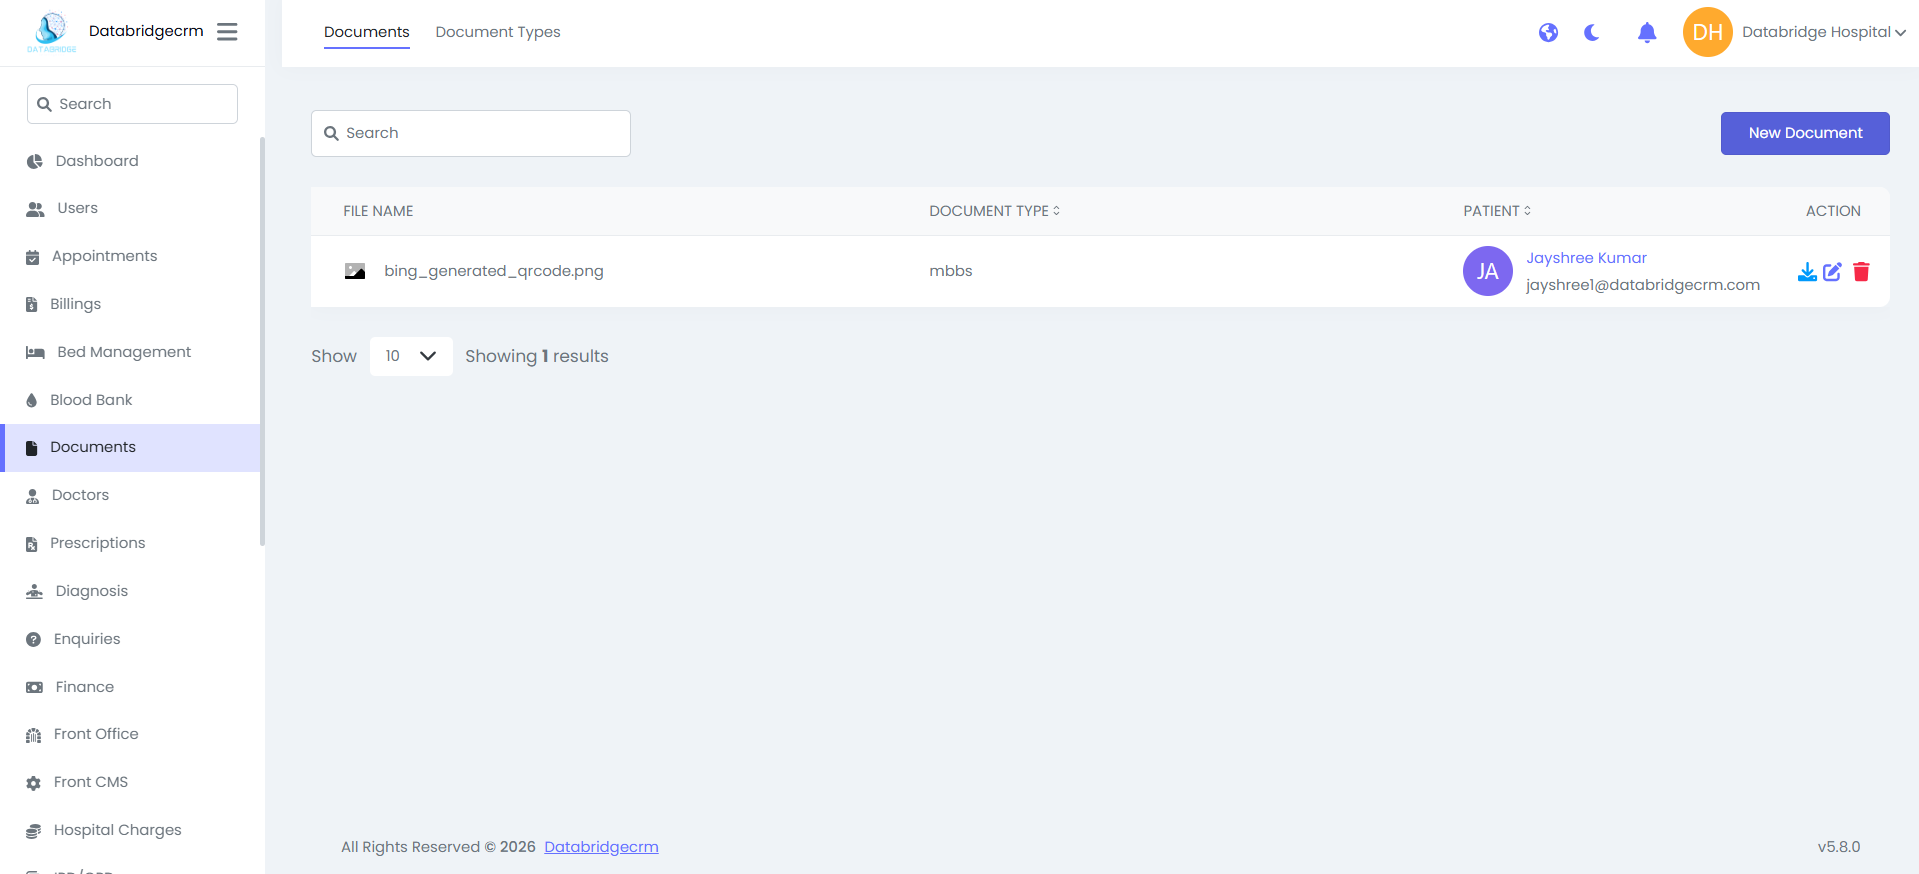
Documents:
This section is used to upload and manage documents related to patients.
View Documents:
Displays uploaded documents along with patient association.
Columns:
- File Name
- Document Type
- Patient
- Action (Download / Edit / Delete)
This section is used to upload and manage documents related to patients.
View Documents:
Displays uploaded documents along with patient association.
Columns:
- File Name
- Document Type
- Patient
- Action (Download / Edit / Delete)
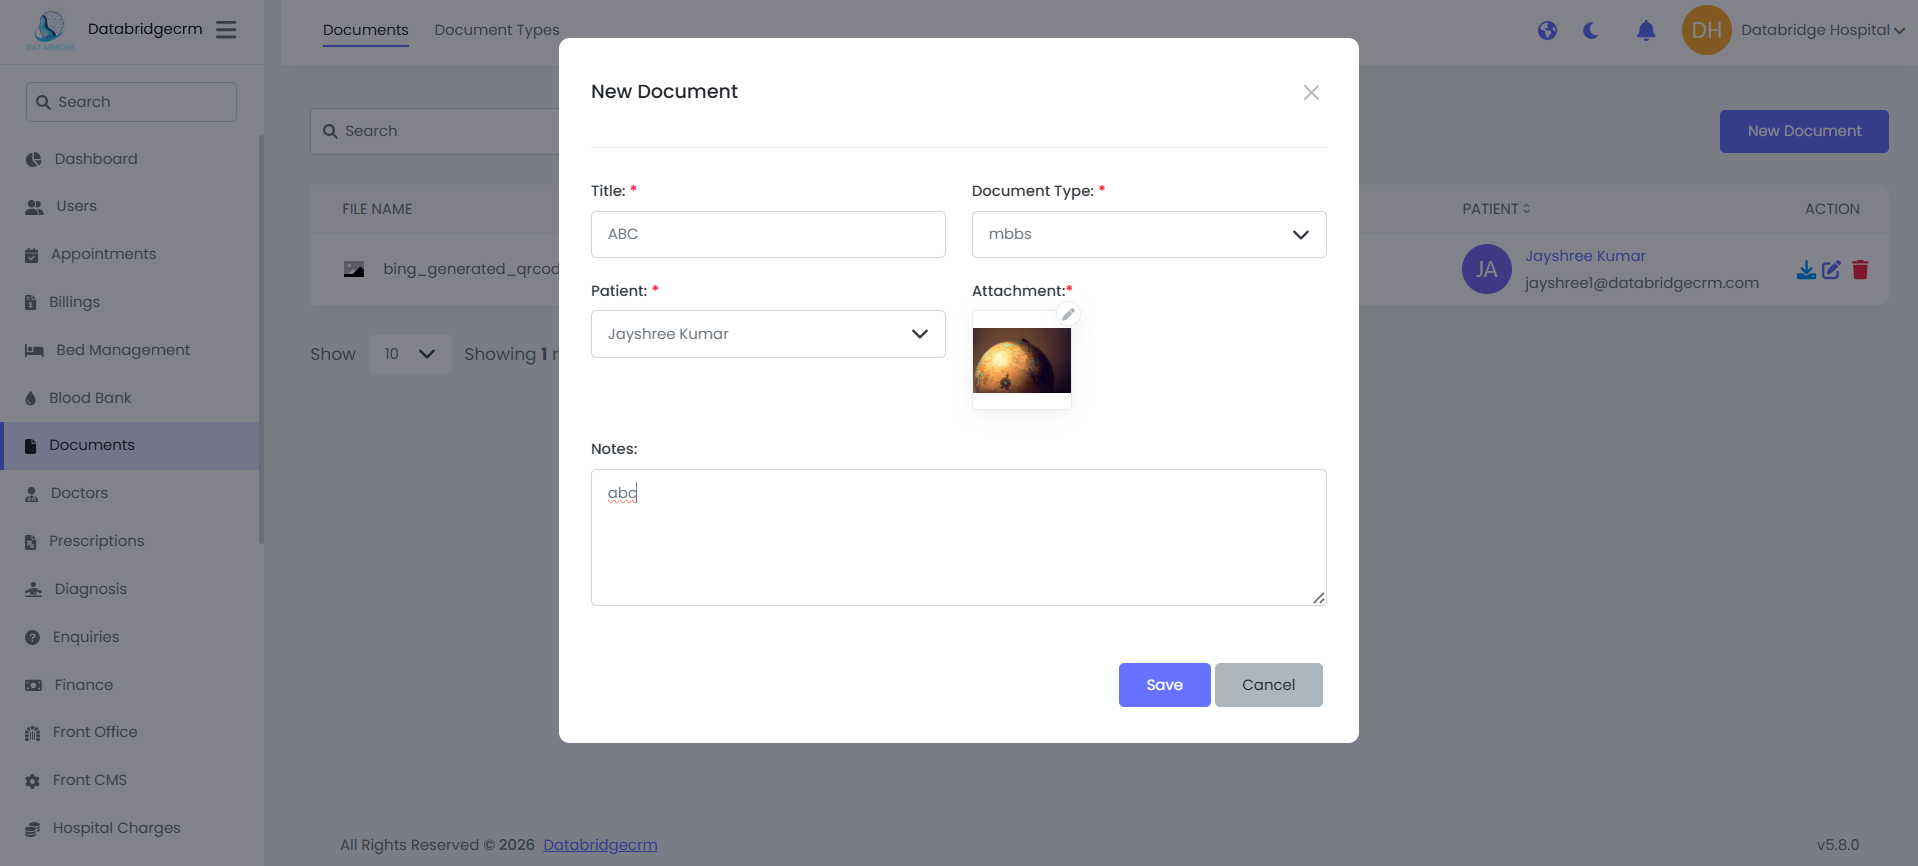
Upload New Document:
Steps:
Navigate to Documents → Documents
Click New Document
Enter the following details:
Title – Name of the document
Document Type – Select from predefined types
Patient – Select the associated patient
Attachment – Upload file (PDF, Image, etc.)
Notes – Optional remarks
Click Save
The document will be securely stored and linked to the selected patient.
1
Navigate to Documents
2
Documents
3
Enter the following details: (Title, Document Type, Patient, Attachment, Notes)
4
Click Save
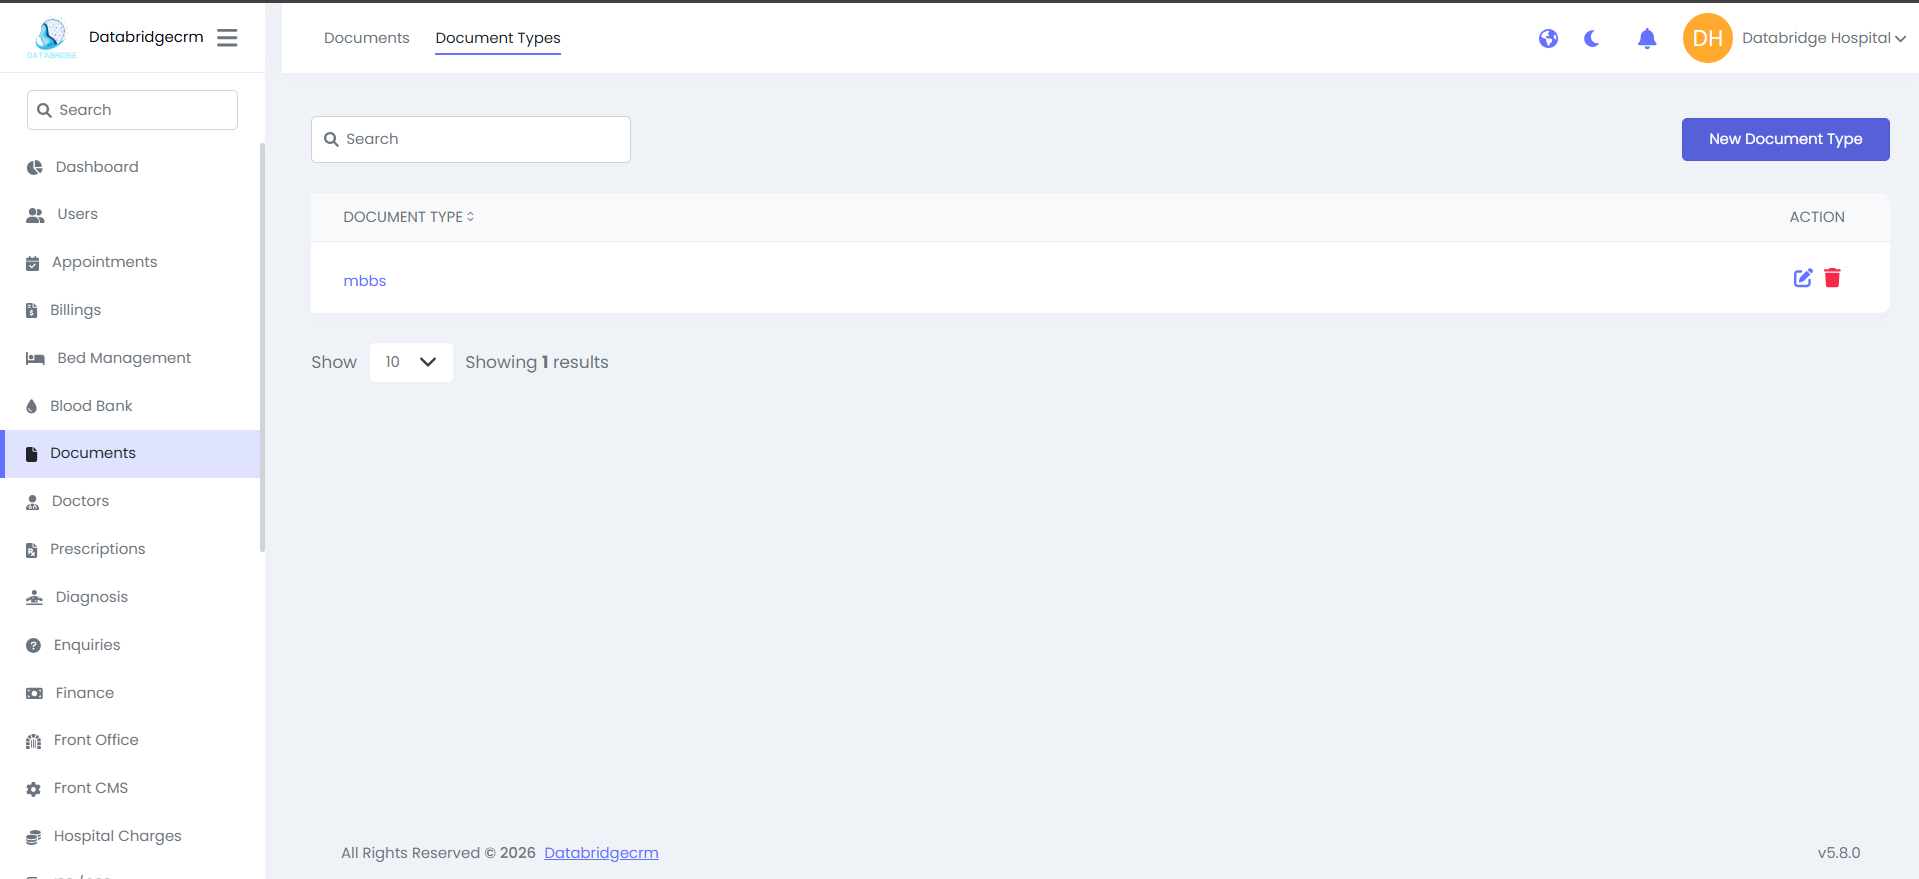
Document Types:
The Document Types section is used to define categories for organizing uploaded documents (e.g., ID Proof, Medical Certificate, Lab Report, Prescription, Degree Certificate, etc.).
View Document Types:
Displays all configured document categories.
Columns:
- Document Type
- Action (Edit / Delete)
The Document Types section is used to define categories for organizing uploaded documents (e.g., ID Proof, Medical Certificate, Lab Report, Prescription, Degree Certificate, etc.).
View Document Types:
Displays all configured document categories.
Columns:
- Document Type
- Action (Edit / Delete)
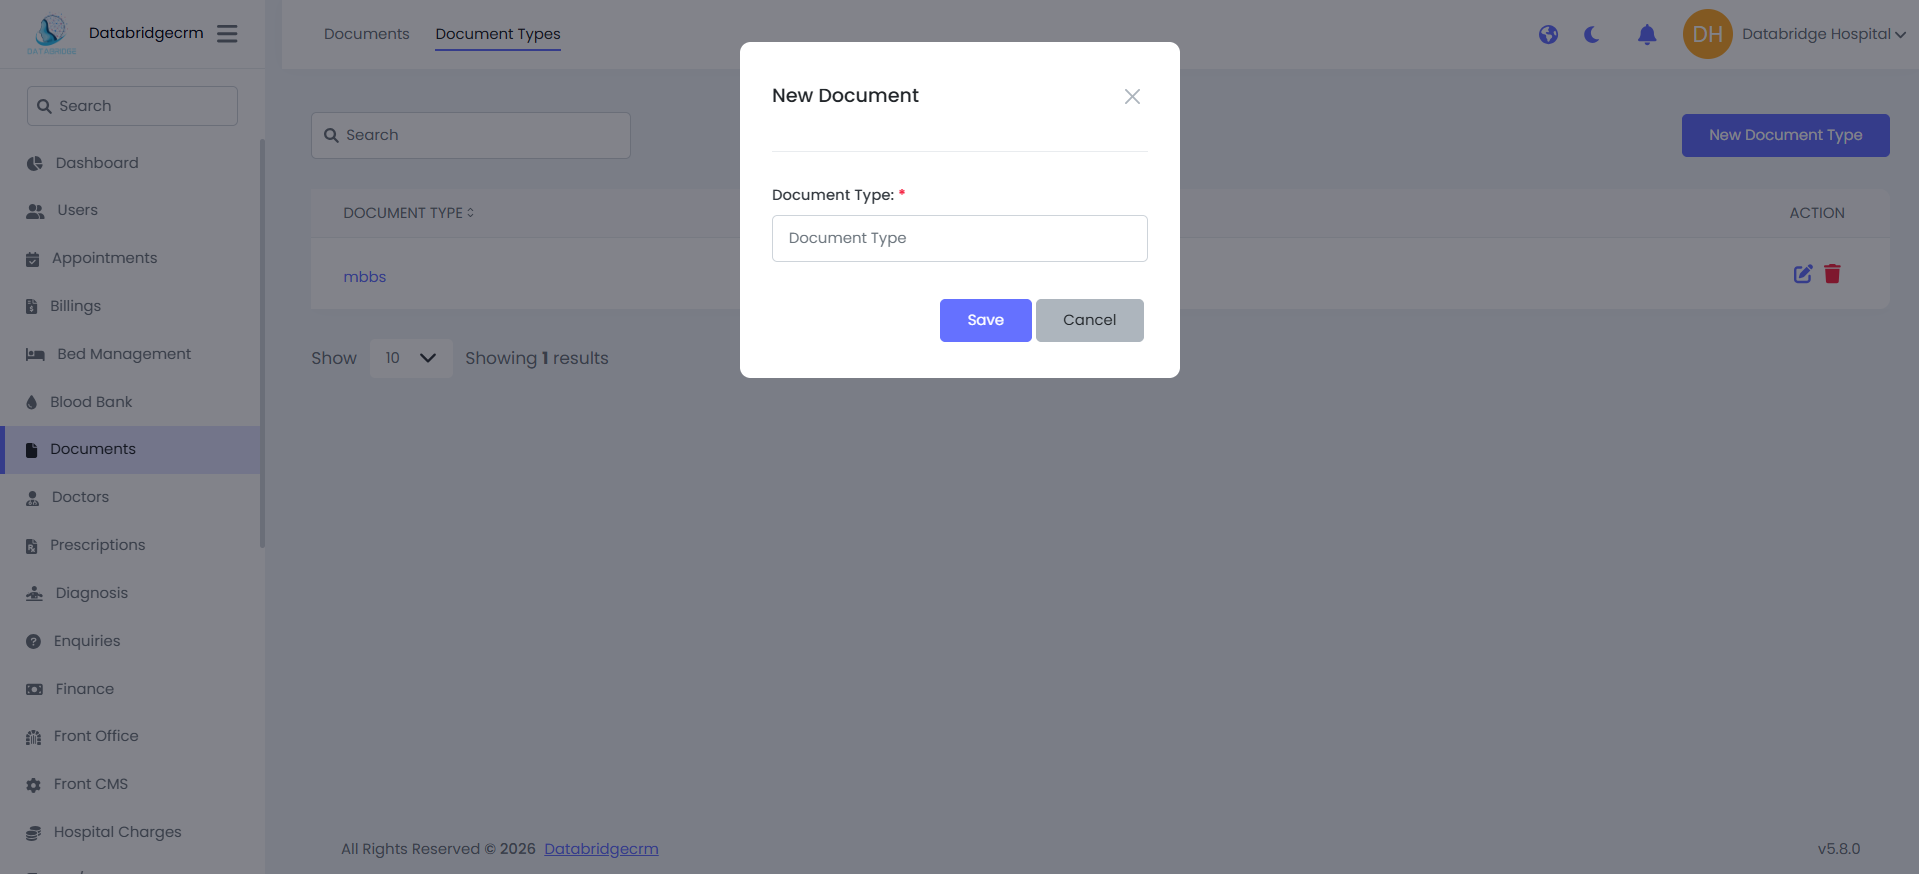
Create New Document Type:
Steps:
Navigate to Documents → Document Types
Click New Document Type
Enter the Document Type Name
Click Save
The document category will now be available when uploading documents.
Steps:
Navigate to Documents → Document Types
Click New Document Type
Enter the Document Type Name
Click Save
The document category will now be available when uploading documents.
Doctors
The Doctors Module is used to manage doctor profiles, departments, schedules, holidays, and break timings. It ensures accurate appointment planning and proper doctor availability management within the hospital system.
Doctors
This section allows administrators to add, manage, and monitor doctor profiles.
Doctors List View:
Displays all registered doctors.
Columns:
Doctor Name
Specialist
Qualification
Status (Active / Inactive)
Action (Edit / Delete)
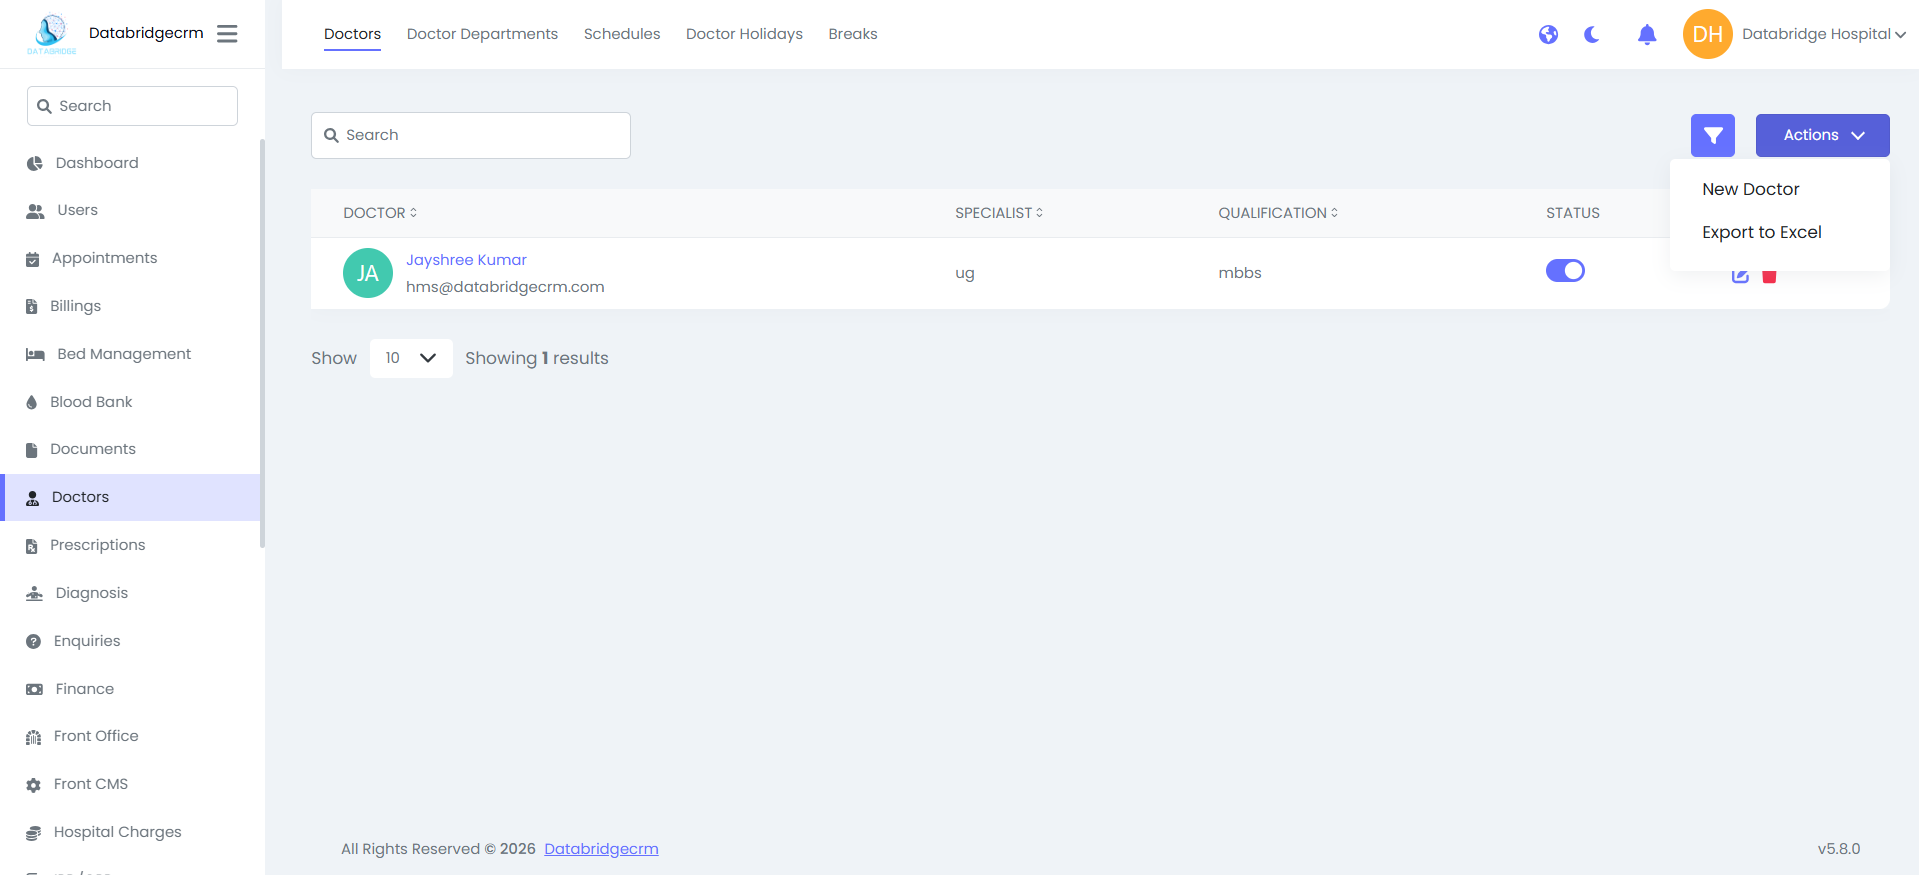
This section allows administrators to add, manage, and monitor doctor profiles.
Doctors List View:
Displays all registered doctors.
Columns:
Doctor Name
Specialist
Qualification
Status (Active / Inactive)
Action (Edit / Delete)
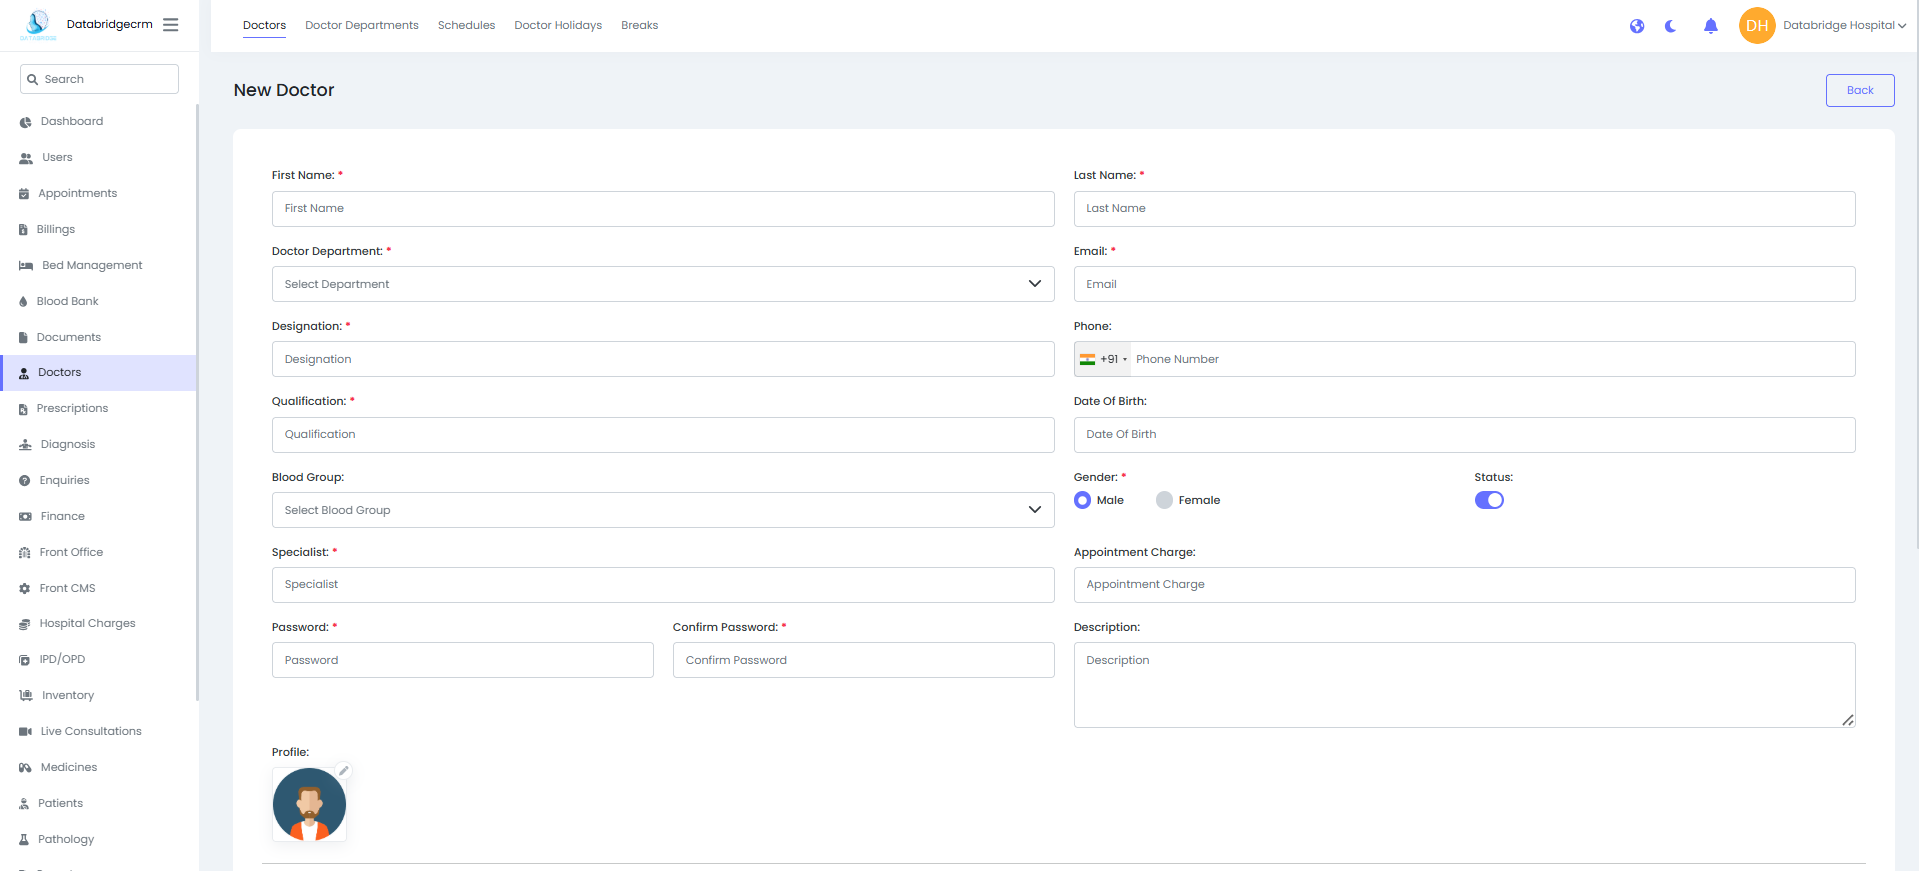
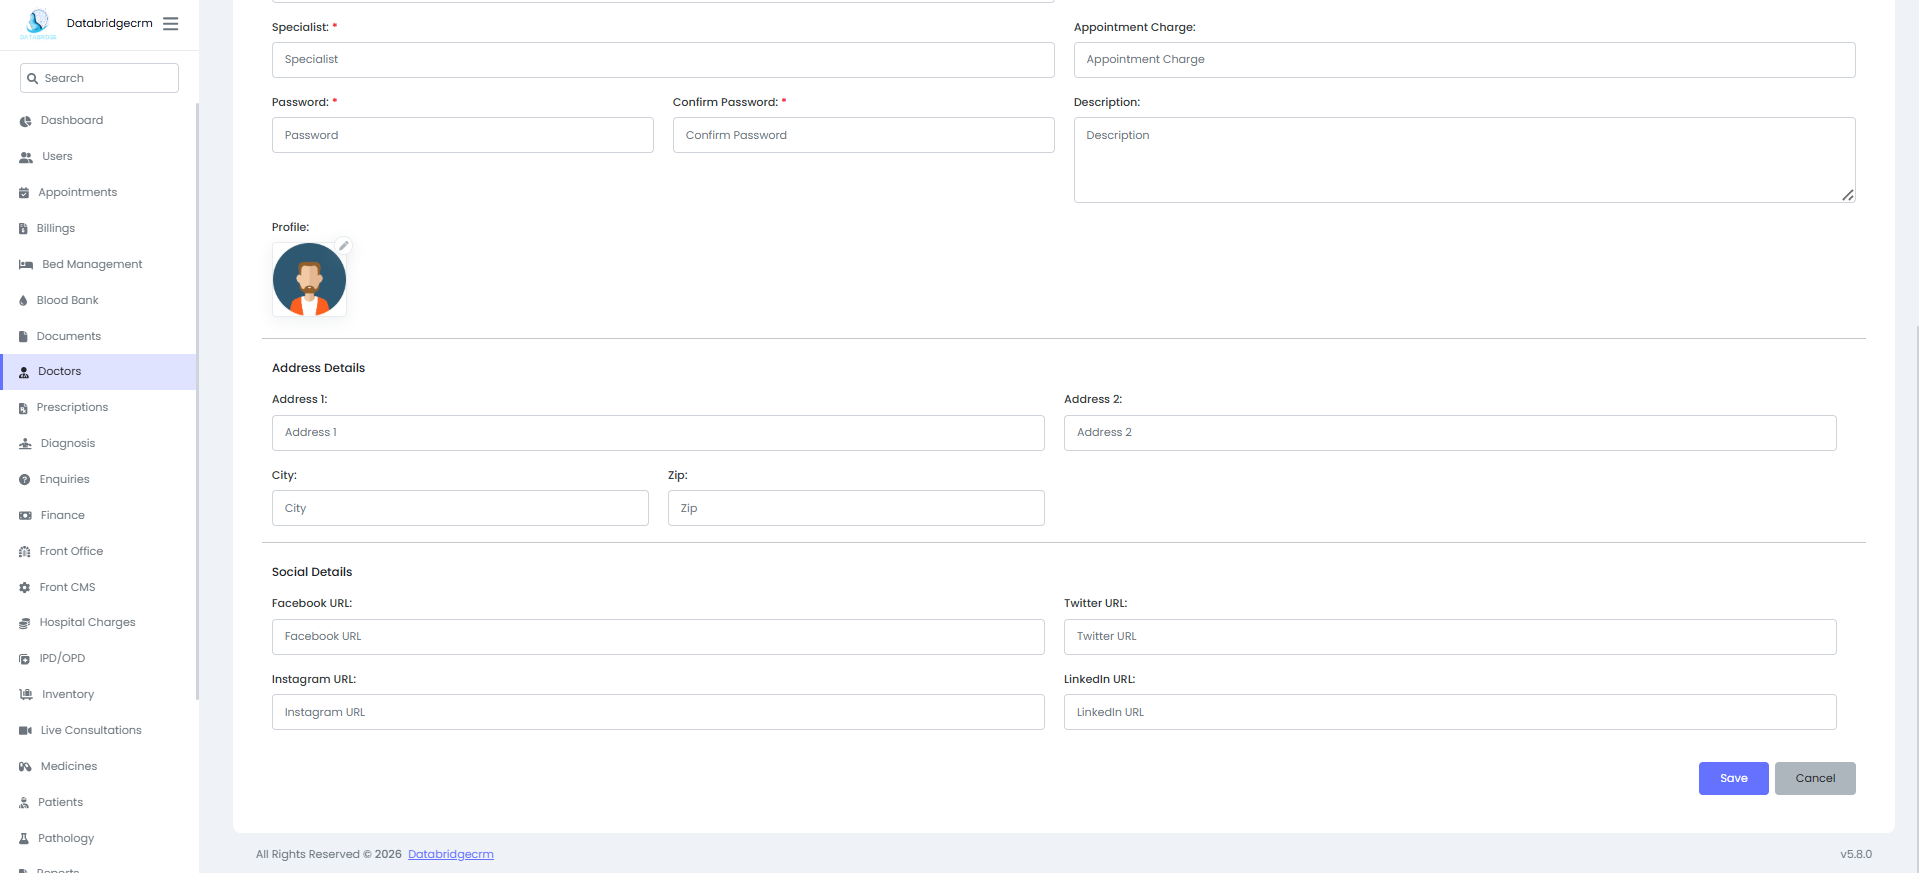
Add New Doctor
Steps:
Navigate to Doctors → Doctors
Click Actions → New Doctor
Fill in the required details:
Basic Information
First Name
Last Name
Doctor Department
Email
Phone Number
Designation
Qualification
Blood Group
Gender
Status (Enable / Disable)
Professional Details
Specialist
Appointment Charge
Description
Login Credentials
Password
Confirm Password
Profile Image
Upload doctor profile photo
Address Details
Address Line 1
Address Line 2
City
Zip Code
Social Media Links
Facebook URL
Twitter URL
Instagram URL
LinkedIn URL
Click Save
The doctor profile will be created and available for appointment scheduling.
Steps:
Navigate to Doctors → Doctors
Click Actions → New Doctor
Fill in the required details:
Basic Information
First Name
Last Name
Doctor Department
Phone Number
Designation
Qualification
Blood Group
Gender
Status (Enable / Disable)
Professional Details
Specialist
Appointment Charge
Description
Login Credentials
Password
Confirm Password
Profile Image
Upload doctor profile photo
Address Details
Address Line 1
Address Line 2
City
Zip Code
Social Media Links
Facebook URL
Twitter URL
Instagram URL
LinkedIn URL
Click Save
The doctor profile will be created and available for appointment scheduling.

Doctor Departments:
Used to categorize doctors into departments (e.g., Cardiology, Neurology, Ayurvedic, Homeopathy, General Medicine, etc.).
Department List View:
Displays:
Doctor Department Name
Action (Edit / Delete)
Used to categorize doctors into departments (e.g., Cardiology, Neurology, Ayurvedic, Homeopathy, General Medicine, etc.).
Department List View:
Displays:
Doctor Department Name
Action (Edit / Delete)
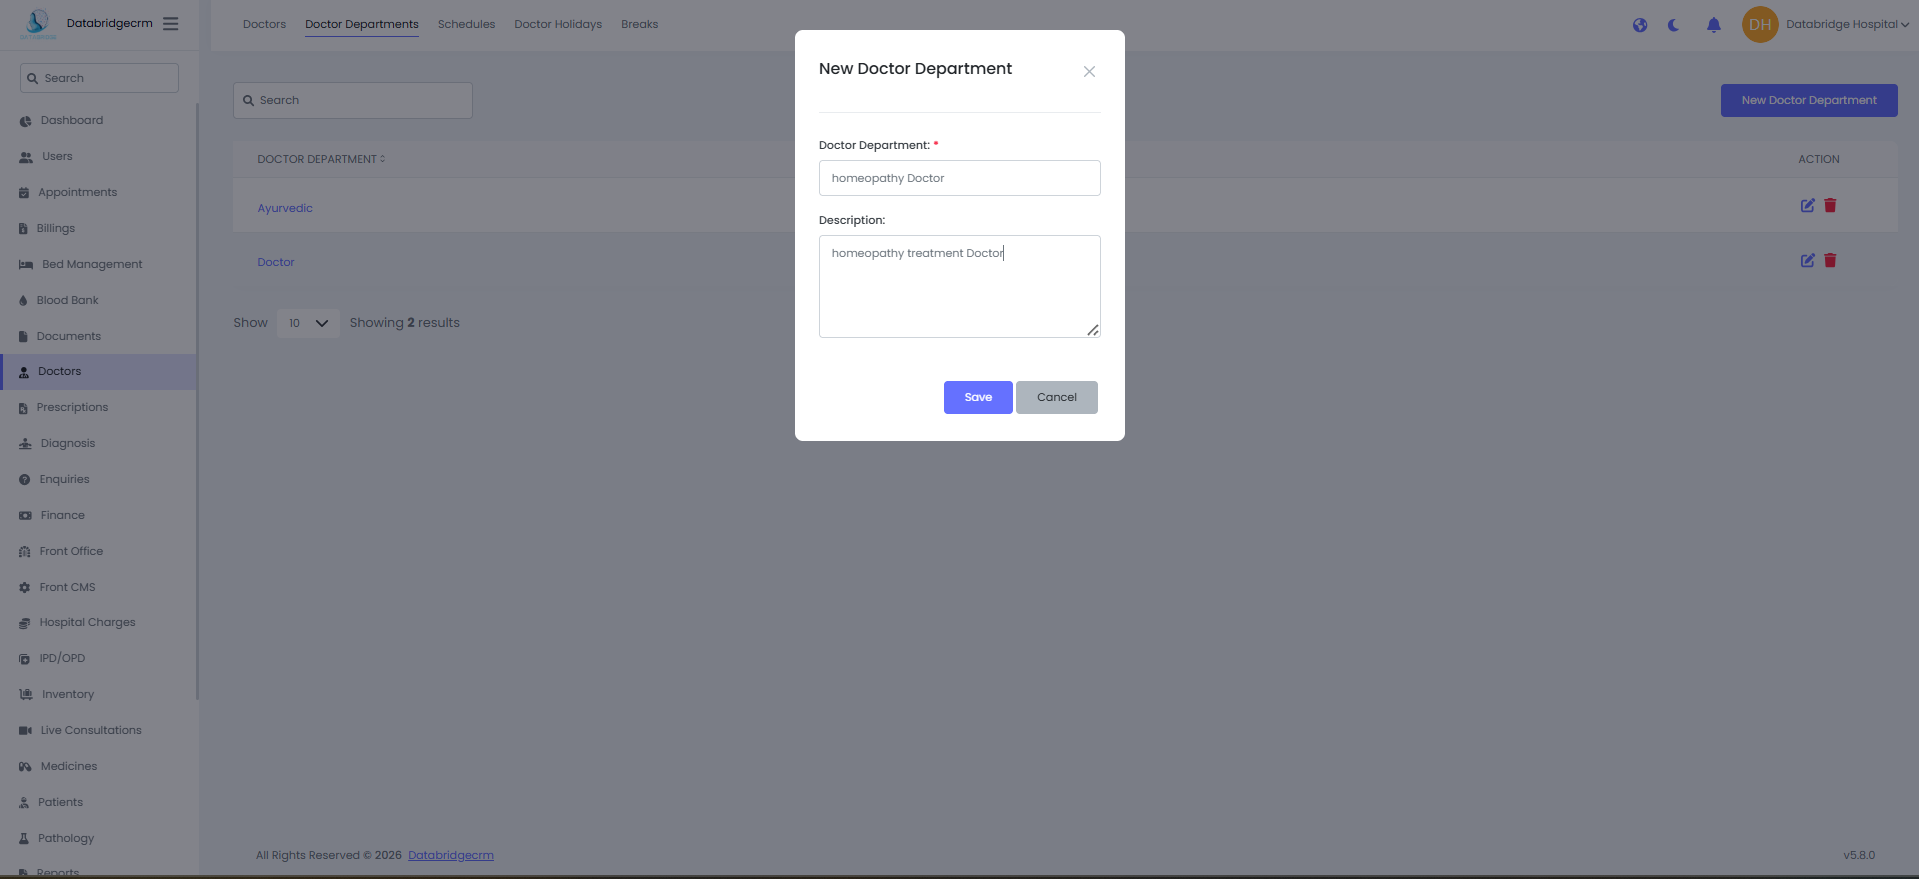
Add New Department
Steps:
Navigate to Doctors → Doctor Departments
Click New Doctor Department
Enter:
Department Name
Description
Click Save
The department will now be available when creating doctor profiles.
Steps:
Navigate to Doctors → Doctor Departments
Click New Doctor Department
Enter:
Department Name
Description
Click Save
The department will now be available when creating doctor profiles.
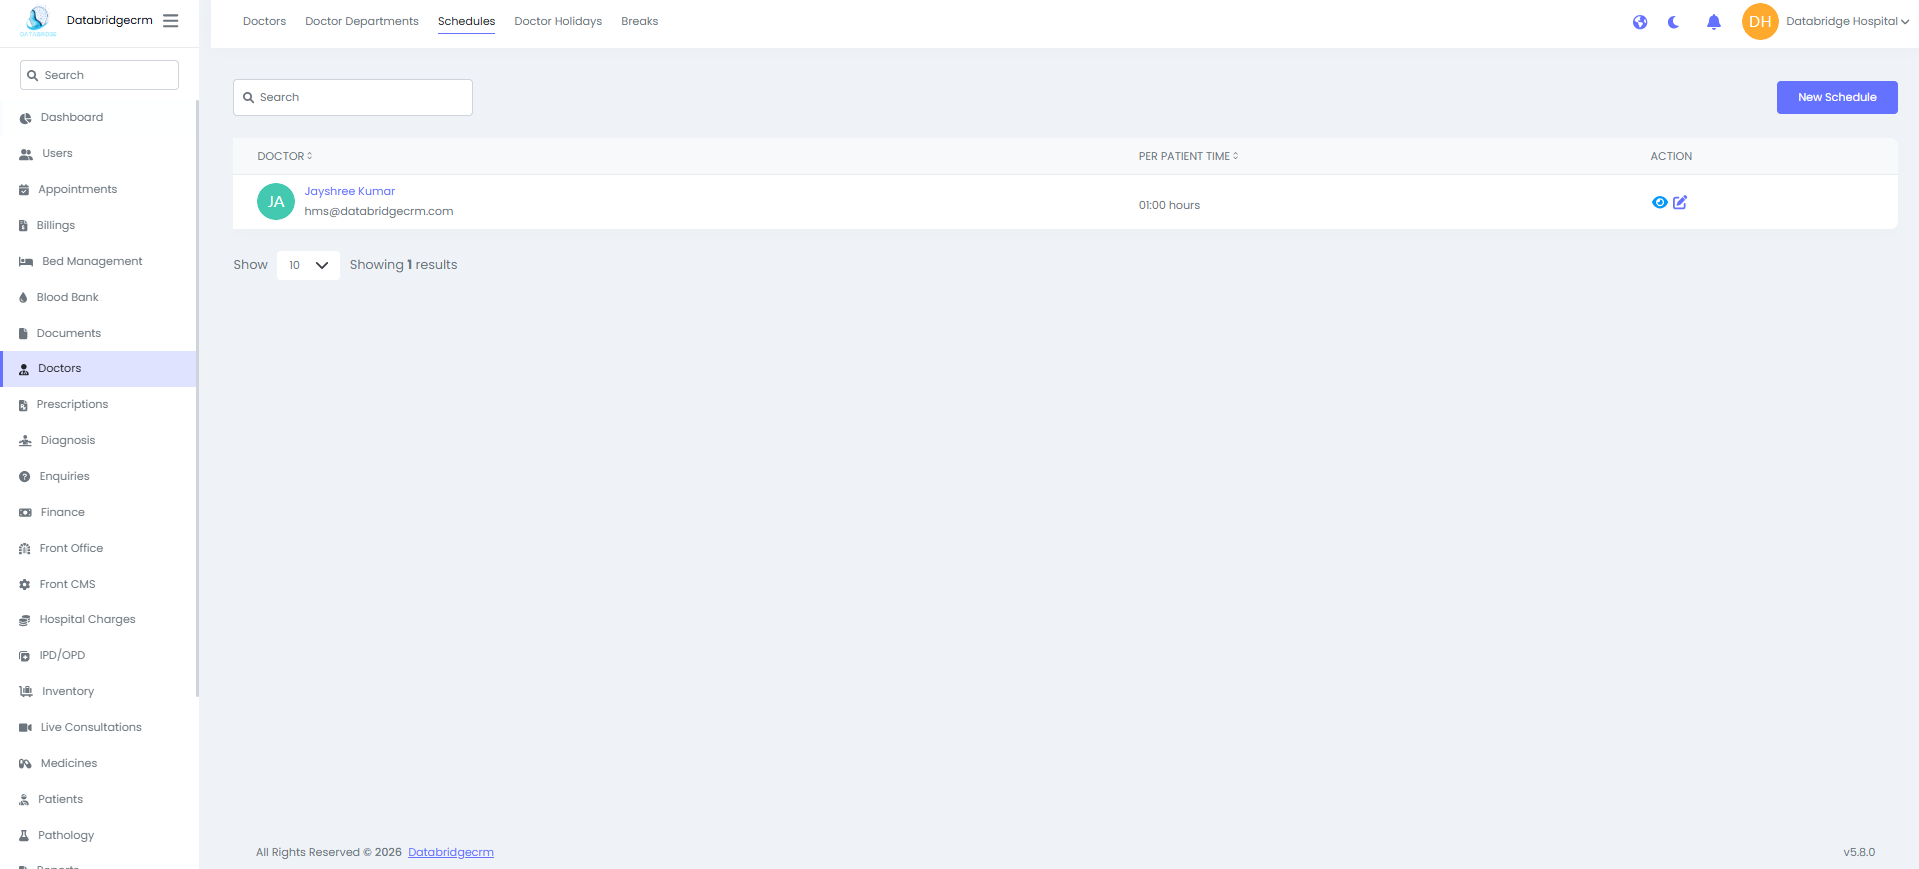
Doctor Schedules:
Used to define the working hours and availability of doctors.
Schedule List View:
Displays:
Doctor Name
Per Patient Time
Action (View / Edit)
Used to define the working hours and availability of doctors.
Schedule List View:
Displays:
Doctor Name
Per Patient Time
Action (View / Edit)
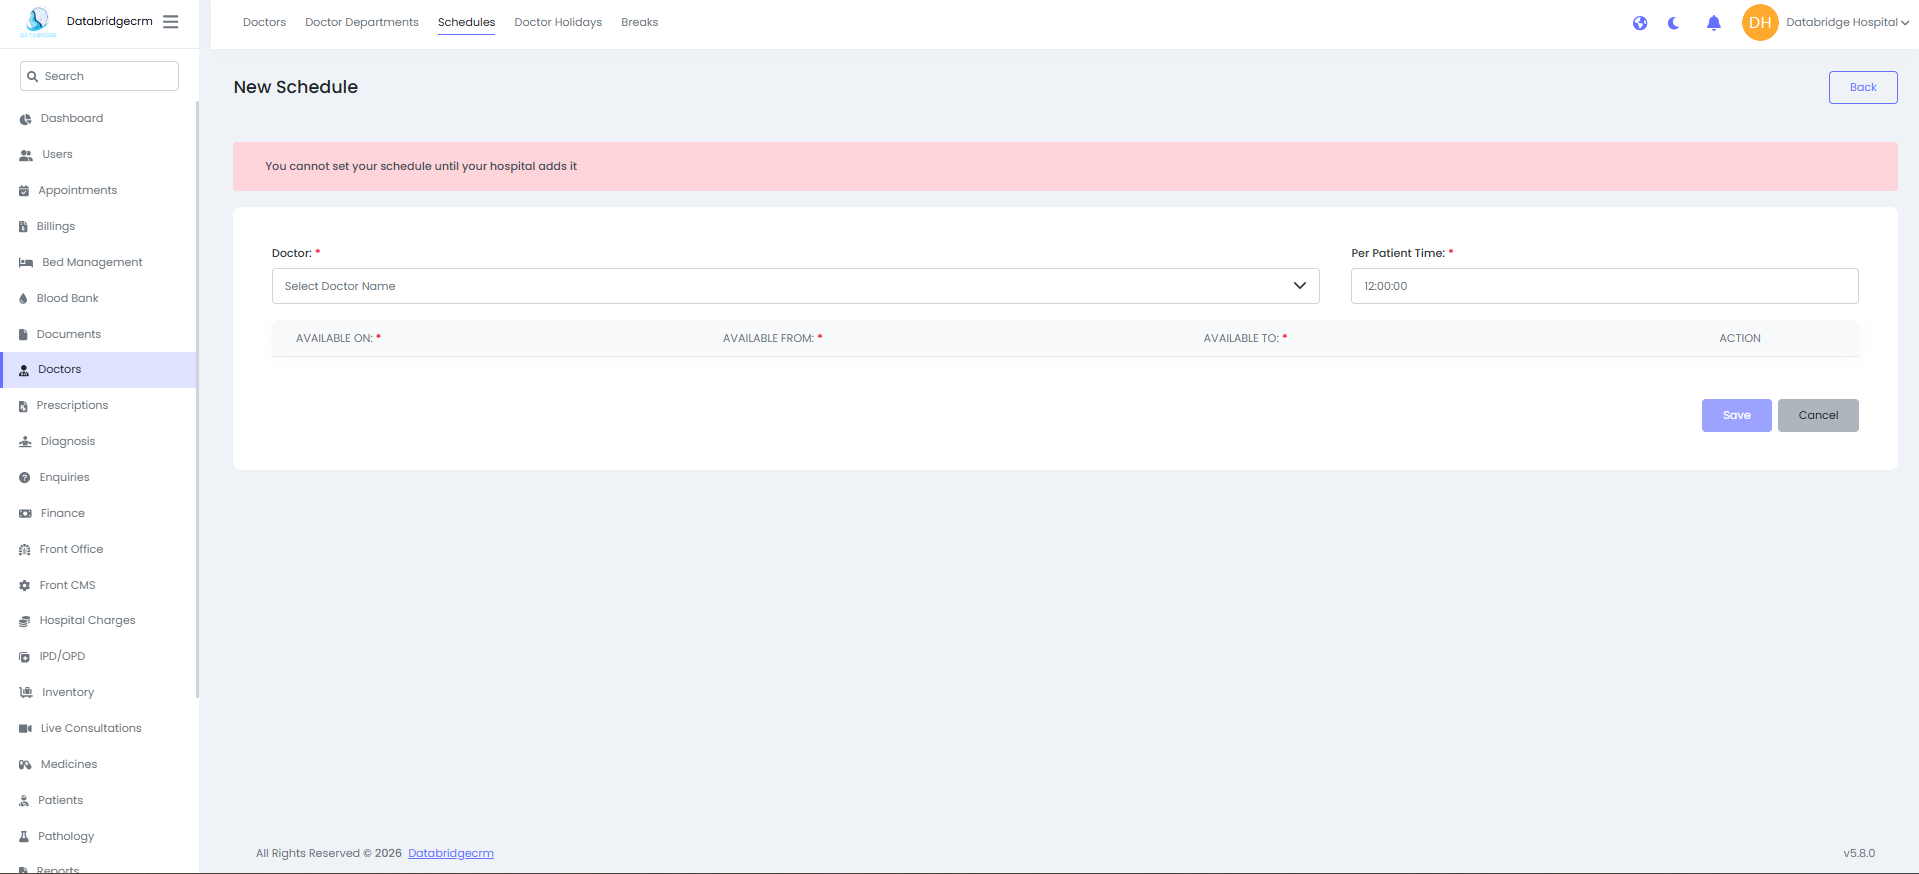
Create New Schedule:
Steps:
Navigate to Doctors → Schedules
Click New Schedule
Select:
Doctor
Per Patient Time (Consultation duration)
Available On (Days of the week)
Available From (Start Time)
Available To (End Time)
Click Save
⚠ Note: Schedule can only be set after the hospital configuration is completed.
Steps:
Navigate to Doctors → Schedules
Click New Schedule
Select:
Doctor
Per Patient Time (Consultation duration)
Available On (Days of the week)
Available From (Start Time)
Available To (End Time)
Click Save
⚠ Note: Schedule can only be set after the hospital configuration is completed.
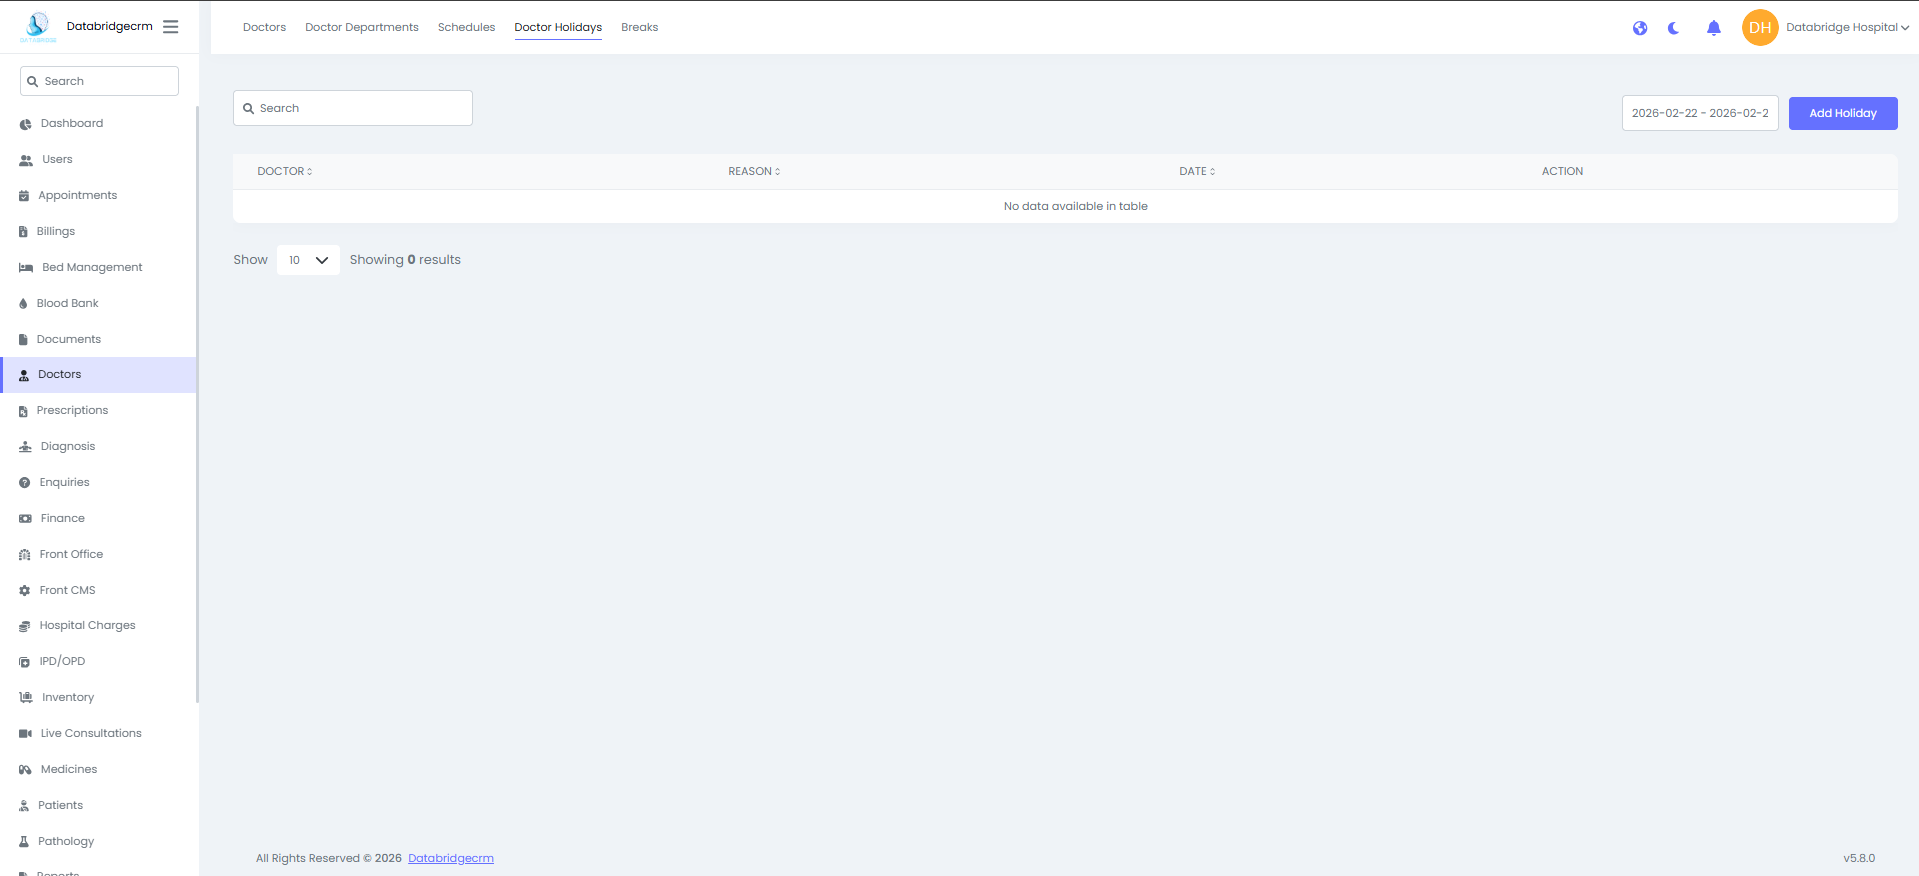
Doctor Holidays:
Used to mark specific dates when the doctor will not be available.
Holiday List View:
Displays:
Doctor Name
Reason
Date
Action (Edit / Delete)
Used to mark specific dates when the doctor will not be available.
Holiday List View:
Displays:
Doctor Name
Reason
Date
Action (Edit / Delete)
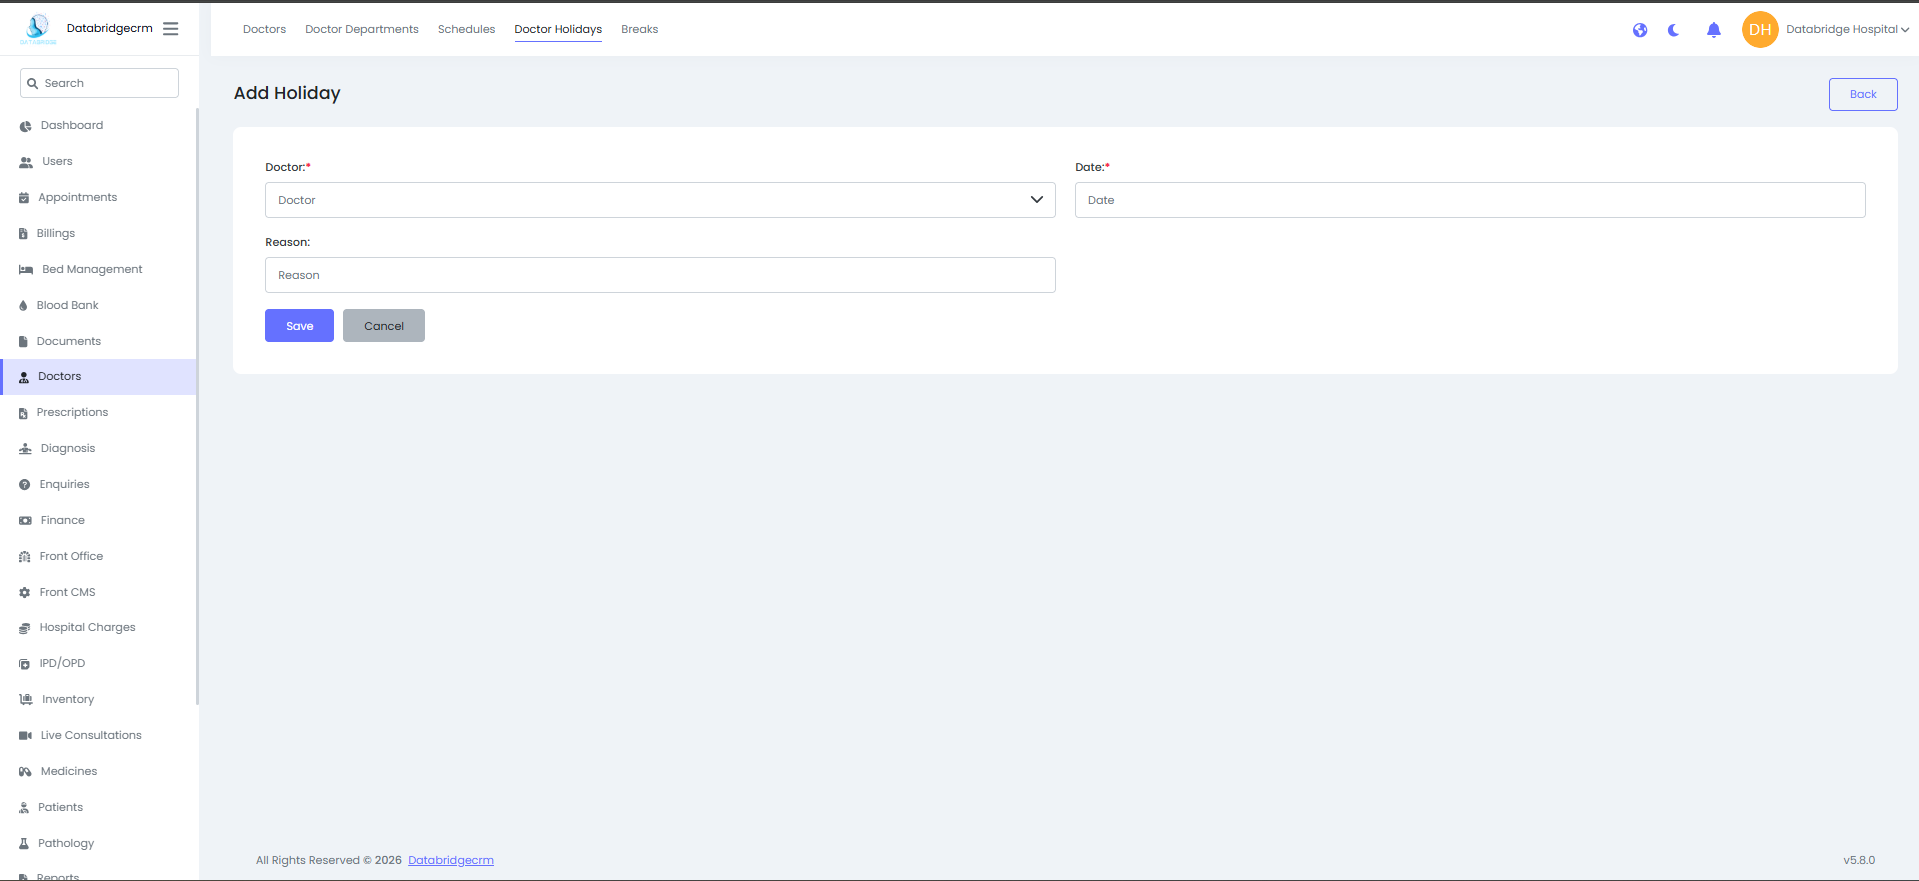
Add Doctor Holiday
Steps:
Steps:
1
Navigate to Doctors
2
Doctor Holidays
3
Click Add Holiday
4
Select: (Doctor, Date & Reason)
5
Click Save
The doctor will not be available for appointments on the selected date.
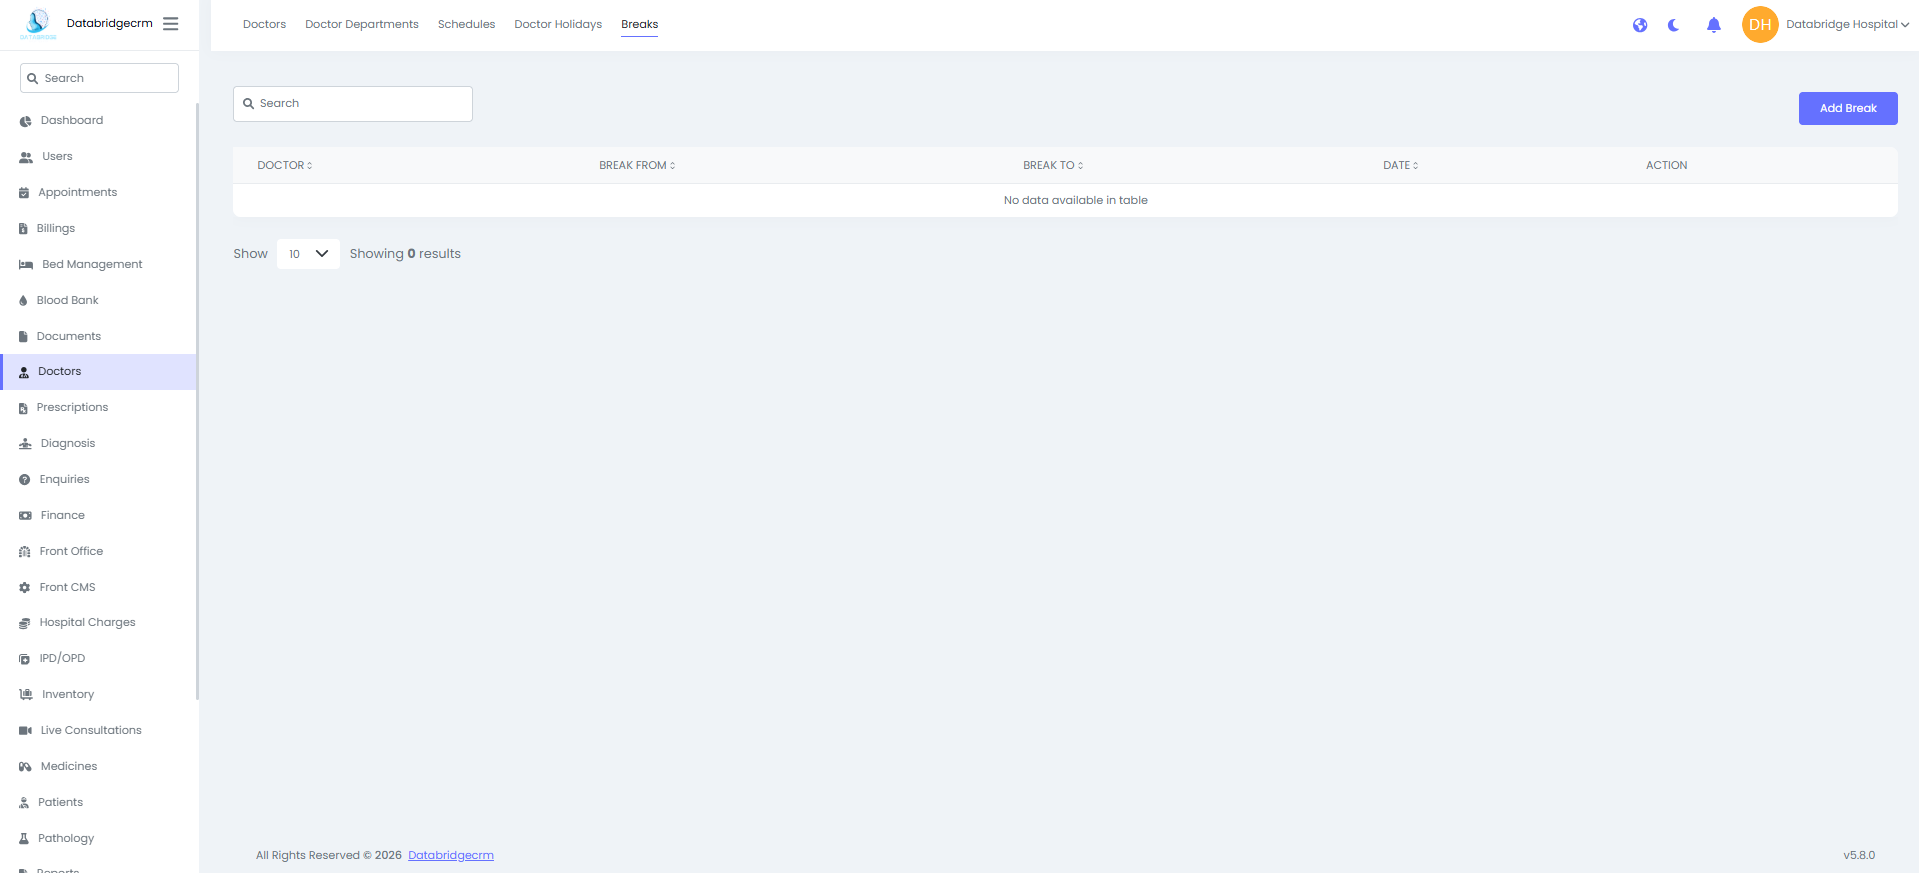
Doctor Breaks:
Used to define daily or specific-day break timings during working hours (e.g., lunch break).
Break List View:
Displays:
- Doctor
- Break From
- Break To
- Date (If Single Day)
- Action (Edit / Delete)
Used to define daily or specific-day break timings during working hours (e.g., lunch break).
Break List View:
Displays:
- Doctor
- Break From
- Break To
- Date (If Single Day)
- Action (Edit / Delete)
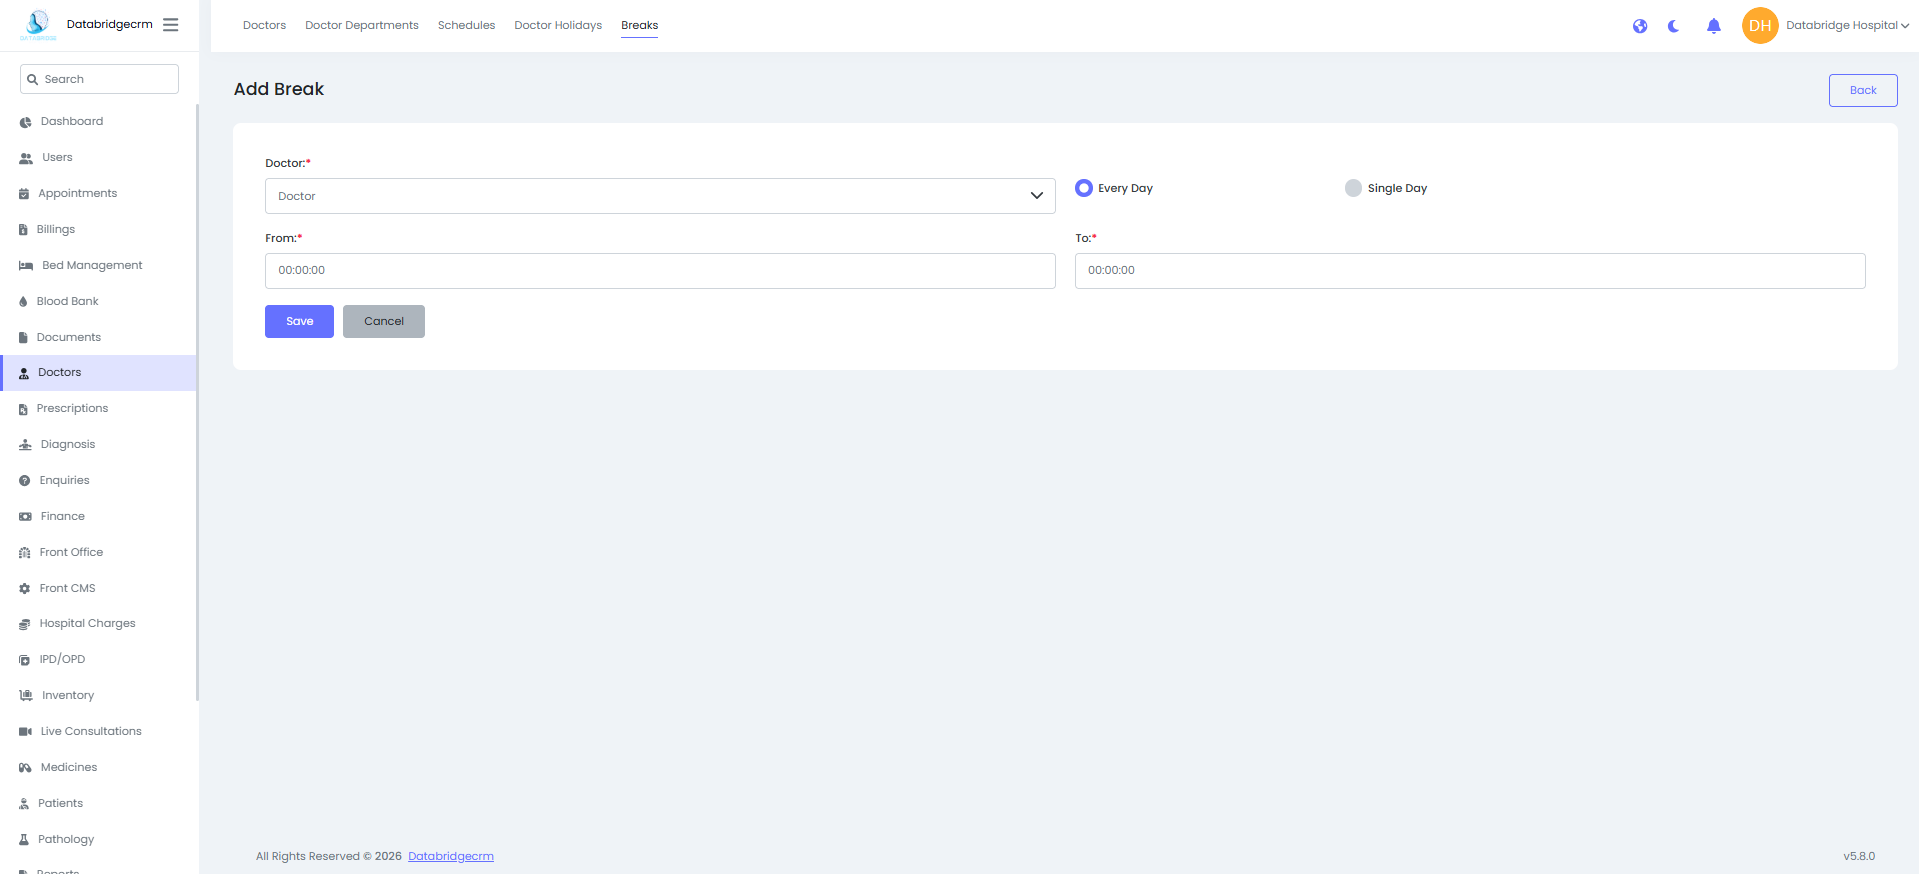
Add Break:
Steps:
Navigate to Doctors → Breaks
Click Add Break
Select:
- Doctor
- Break From (Start Time)
- Break To (End Time)
Option:
- Every Day (Recurring break)
- Single Day (Specific date break)
Click Save
During the break period, appointments cannot be booked.
Steps:
Navigate to Doctors → Breaks
Click Add Break
Select:
- Doctor
- Break From (Start Time)
- Break To (End Time)
Option:
- Every Day (Recurring break)
- Single Day (Specific date break)
Click Save
During the break period, appointments cannot be booked.
Prescriptions
Used to create and manage patient prescriptions including medicines, medical history, and follow-up details.
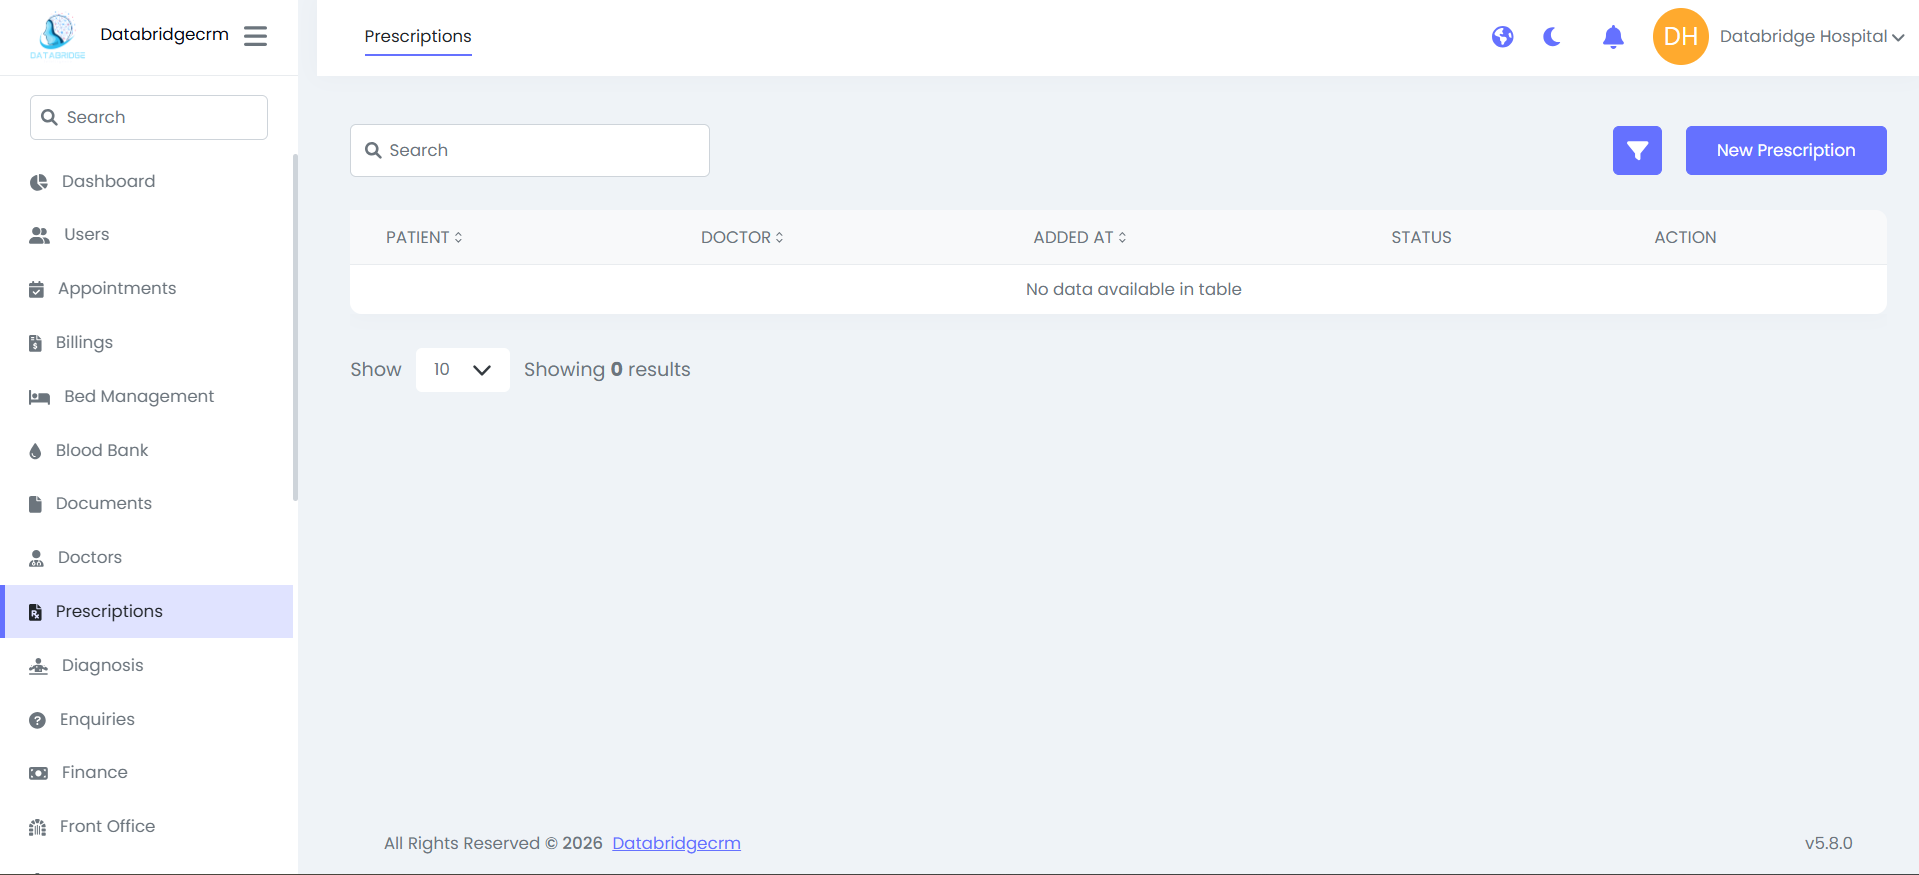
Prescription List View:
Displays:
Patient Name
Doctor Name
Added Date
Status (Active / Inactive)
Action (View / Edit / Delete)
Displays:
Patient Name
Doctor Name
Added Date
Status (Active / Inactive)
Action (View / Edit / Delete)
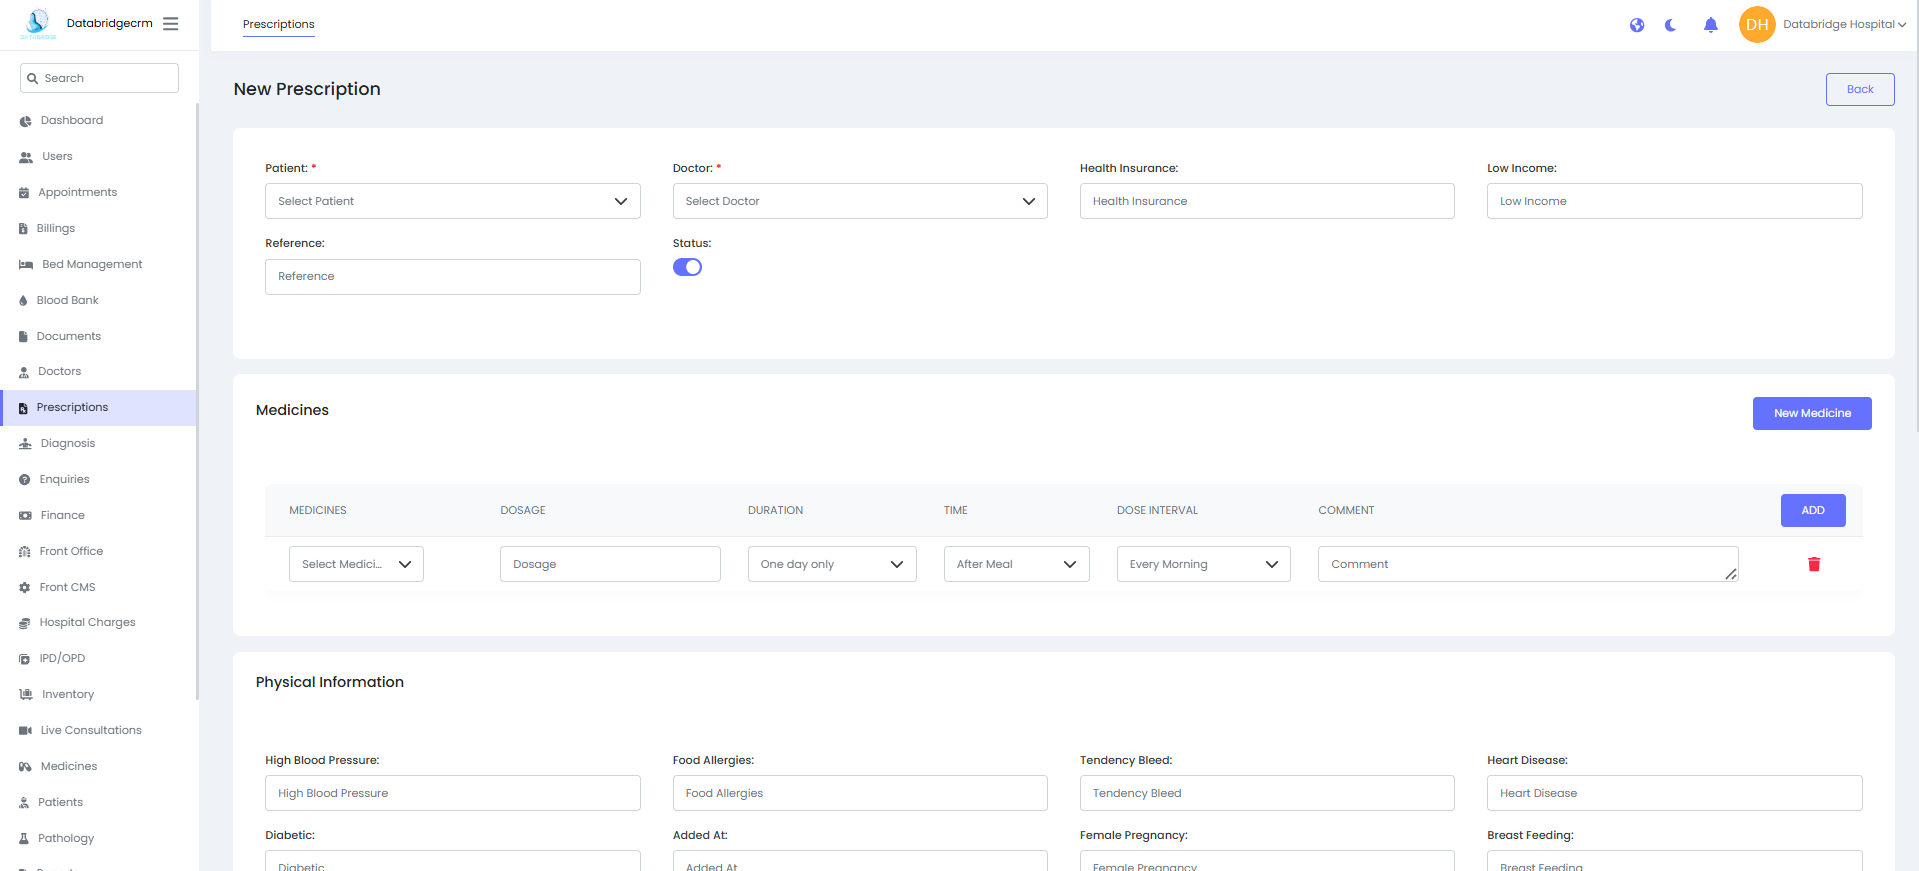
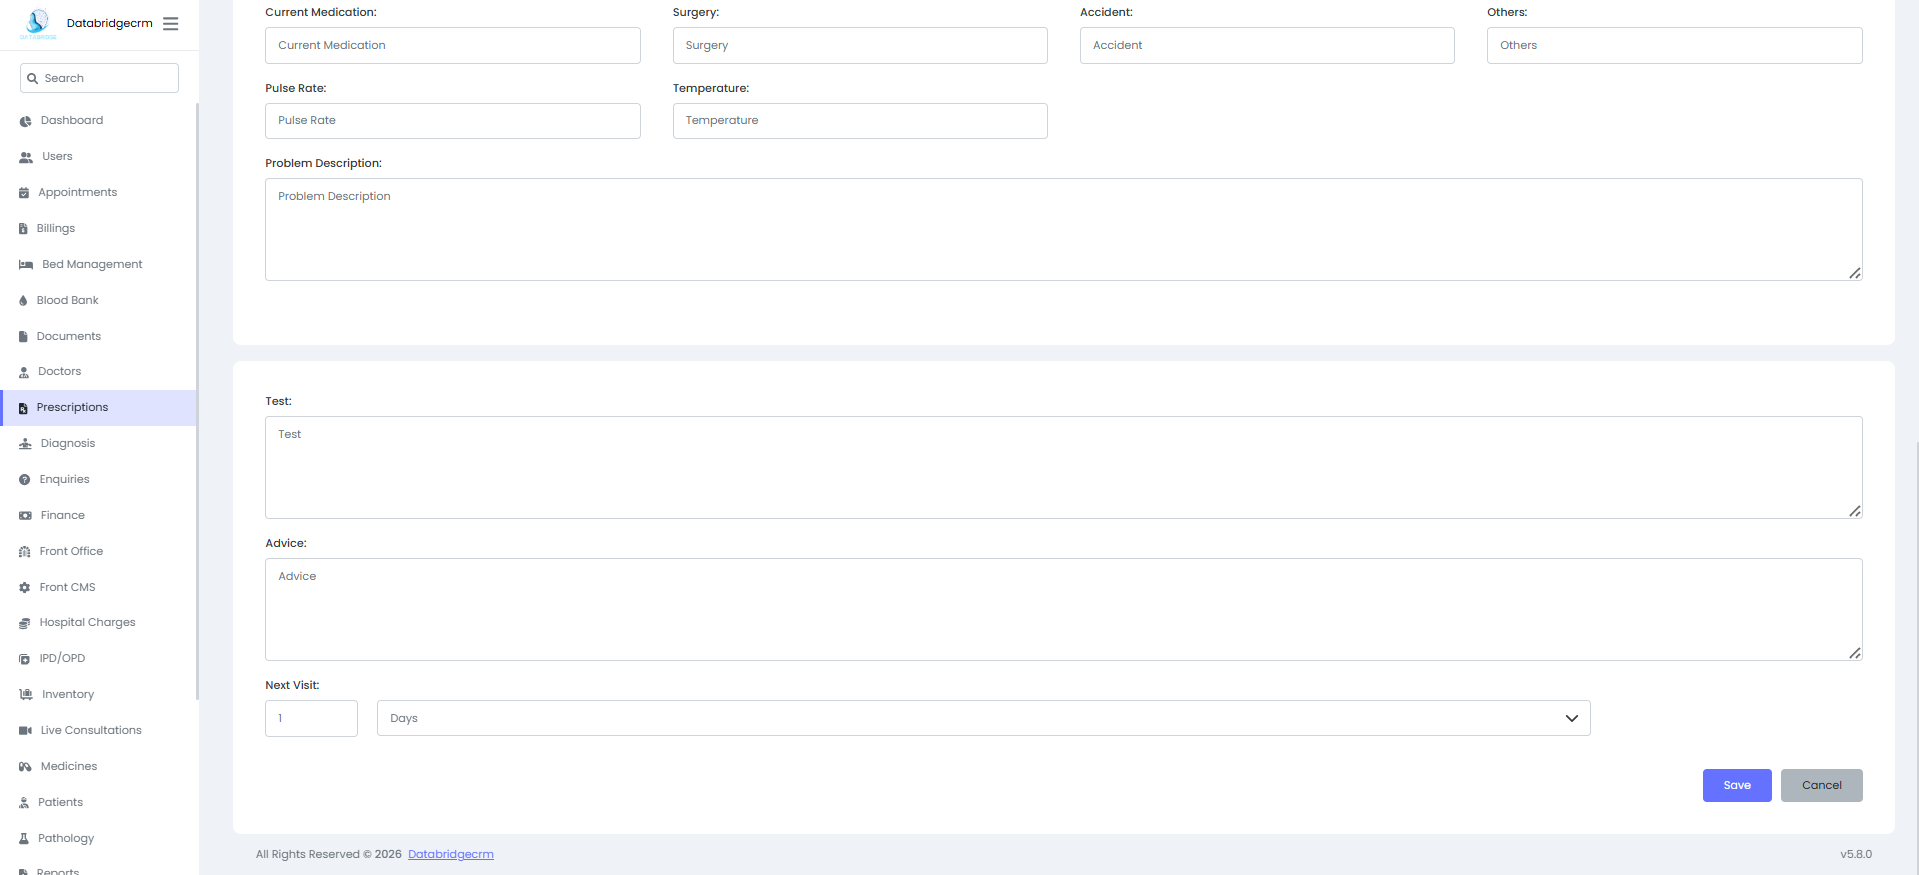
Create New Prescription:
Steps:
Navigate to Prescriptions
Click New Prescription
Select:
Patient
Doctor
Health Insurance (if applicable)
Reference (if required)
Add Medicines:
Medicine Name
Dosage
Duration
Time (Before/After Meal)
Dose Interval
Comment
Click Add
Enter:
Physical Information (BP, Diabetes, Allergies, etc.)
Test (if required)
Advice
Next Visit (Follow-up duration)
Click Save
Diagnosis
Used to manage patient diagnosis records, diagnosis categories, and diagnostic test reports.
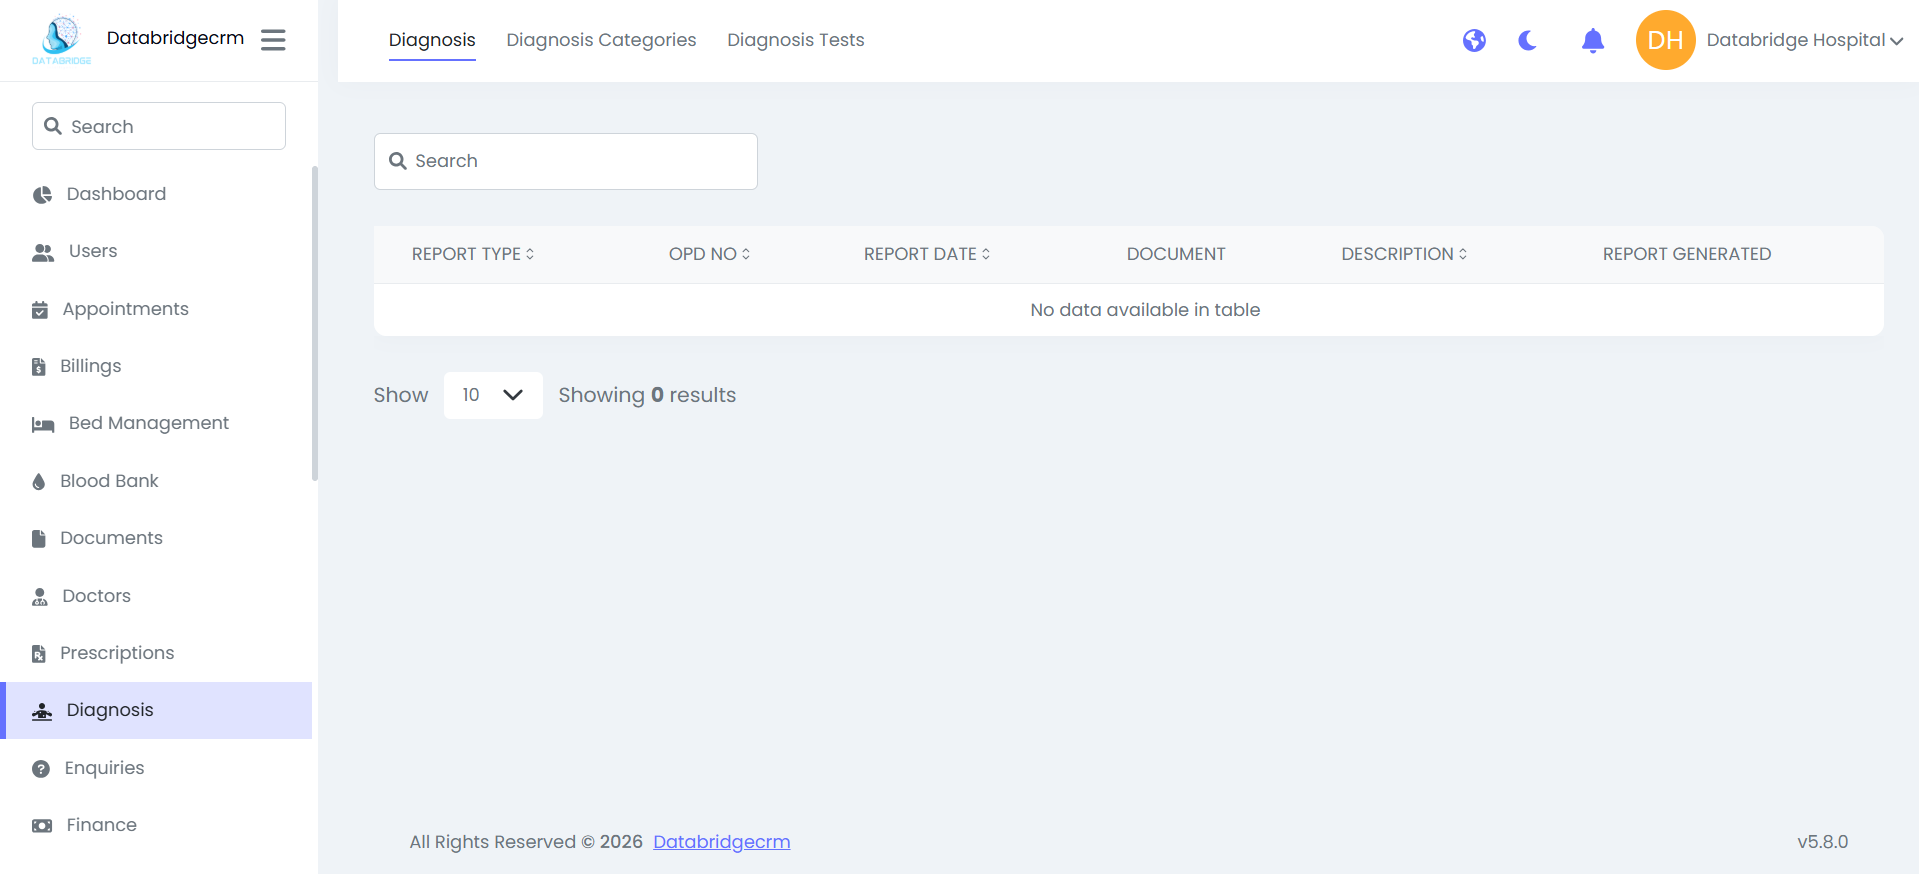
Diagnosis List:
Displays:
Report Type
OPD No
Report Date
Document
Description
Report Generated
Used to view and manage diagnosis reports.
Displays:
Report Type
OPD No
Report Date
Document
Description
Report Generated
Used to view and manage diagnosis reports.
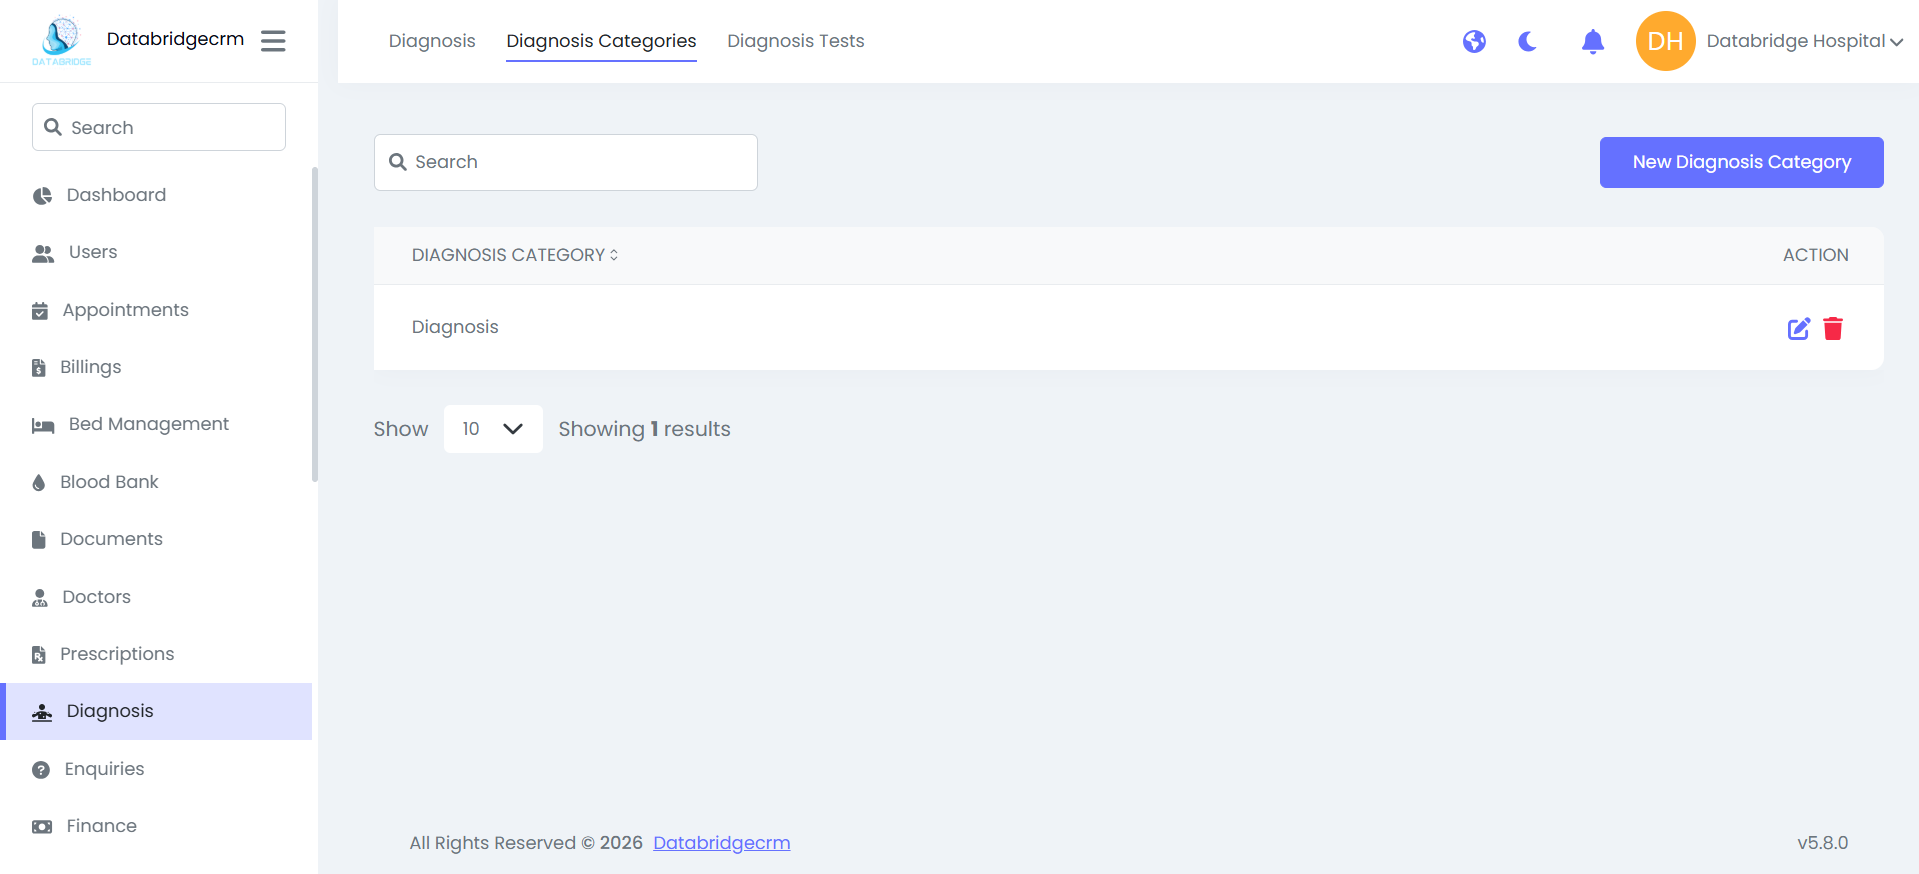
Diagnosis Categories:
Used to create and manage different diagnosis categories.
List View Displays:
- Diagnosis Category Name
- Action (Edit / Delete)
Used to create and manage different diagnosis categories.
List View Displays:
- Diagnosis Category Name
- Action (Edit / Delete)
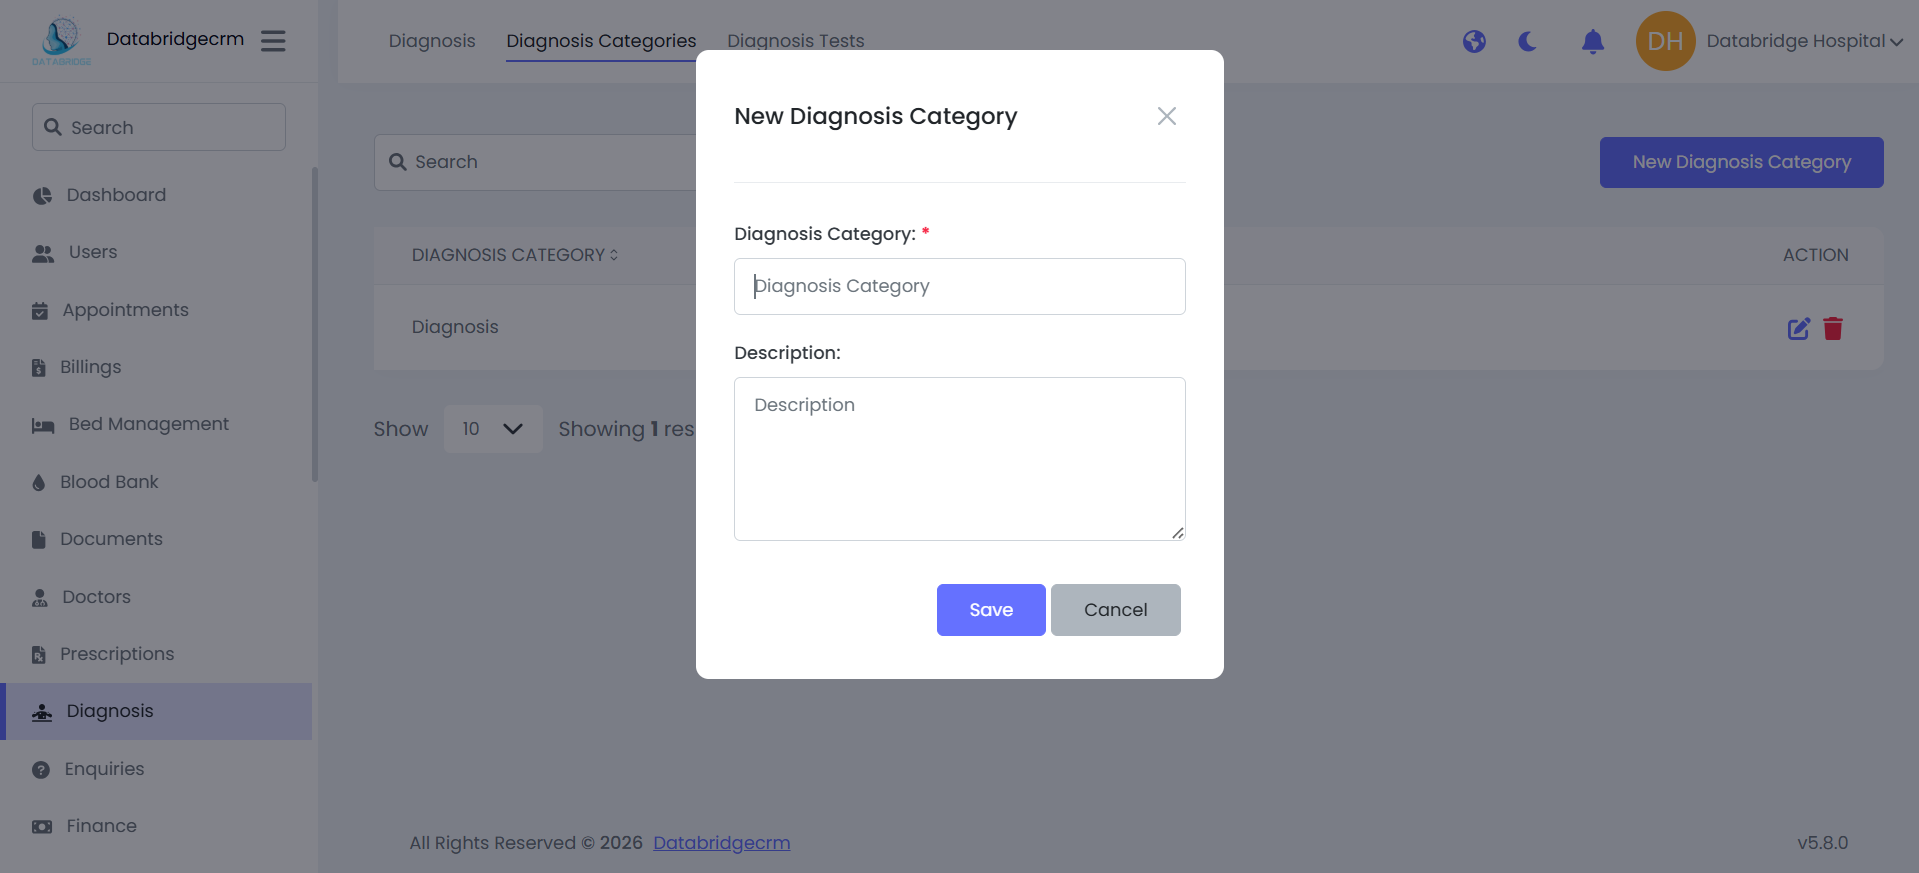
Create New Diagnosis Category:
Steps:
Steps:
1
Navigate to Diagnosis
2
Diagnosis Categories
3
New Diagnosis Category
4
Enter: (Diagnosis Category Name & Description)
5
Click Save
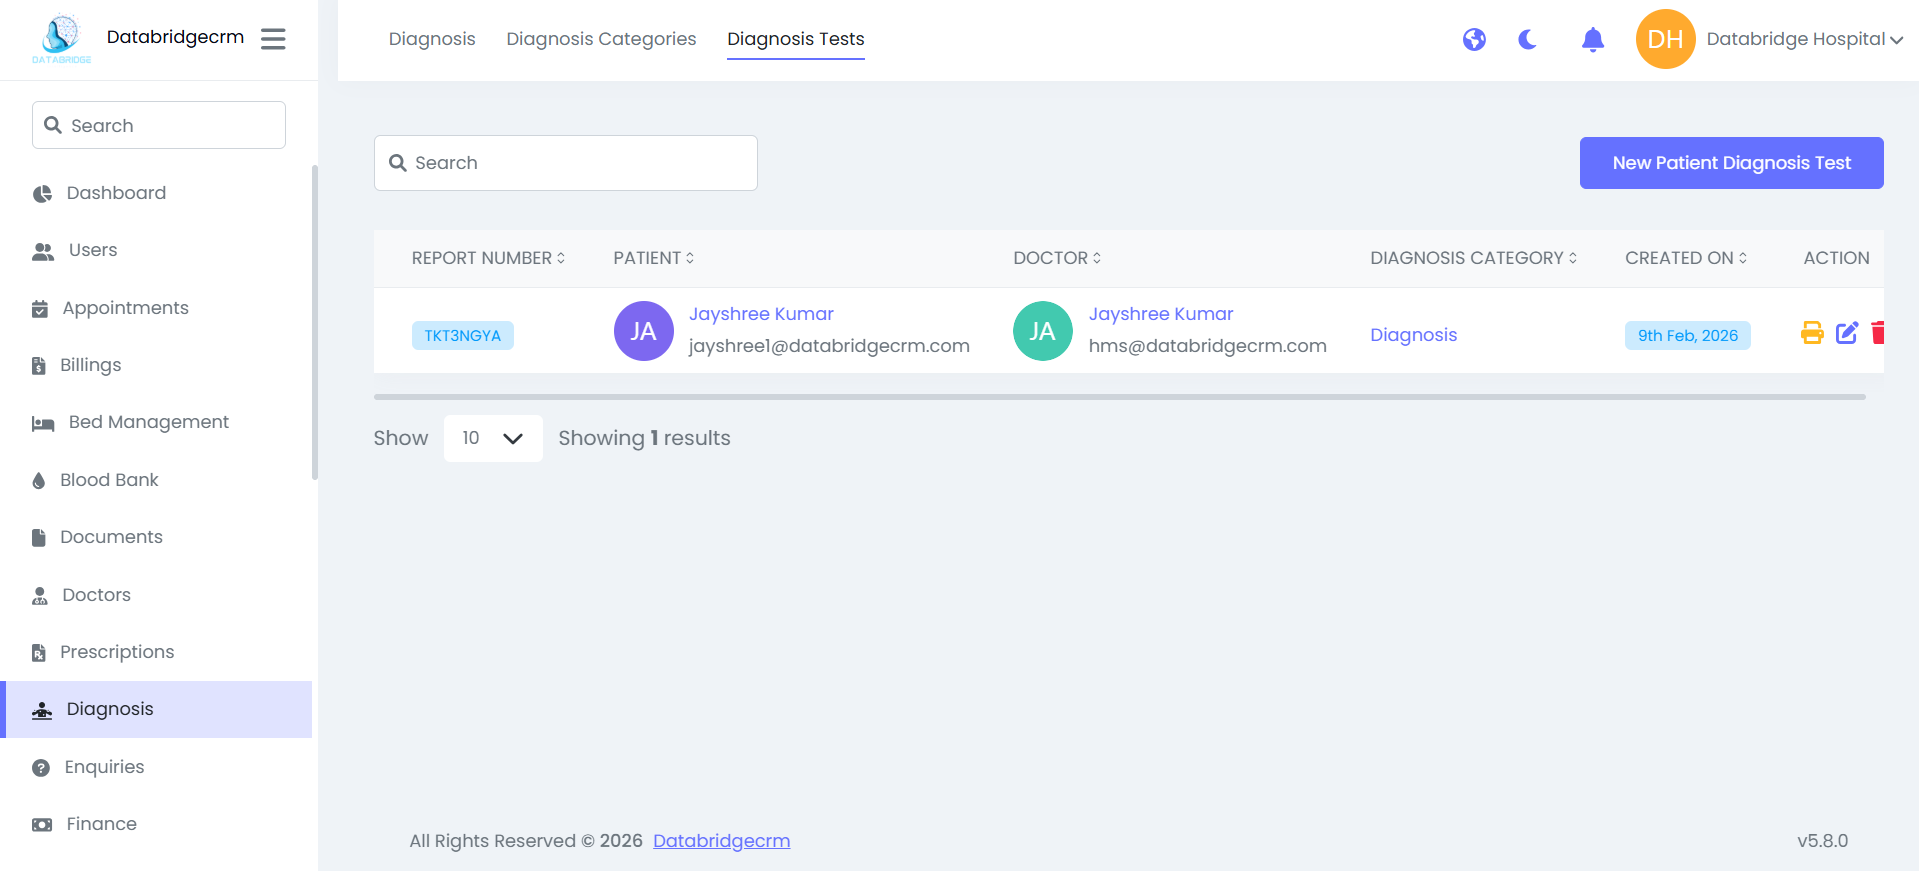
Diagnosis Tests:
Used to create patient diagnostic test records.
List View Displays:
- Report Number
- Patient
- Doctor
- Diagnosis Category
- Created On
- Action (Print / Edit / Delete)
Used to create patient diagnostic test records.
List View Displays:
- Report Number
- Patient
- Doctor
- Diagnosis Category
- Created On
- Action (Print / Edit / Delete)
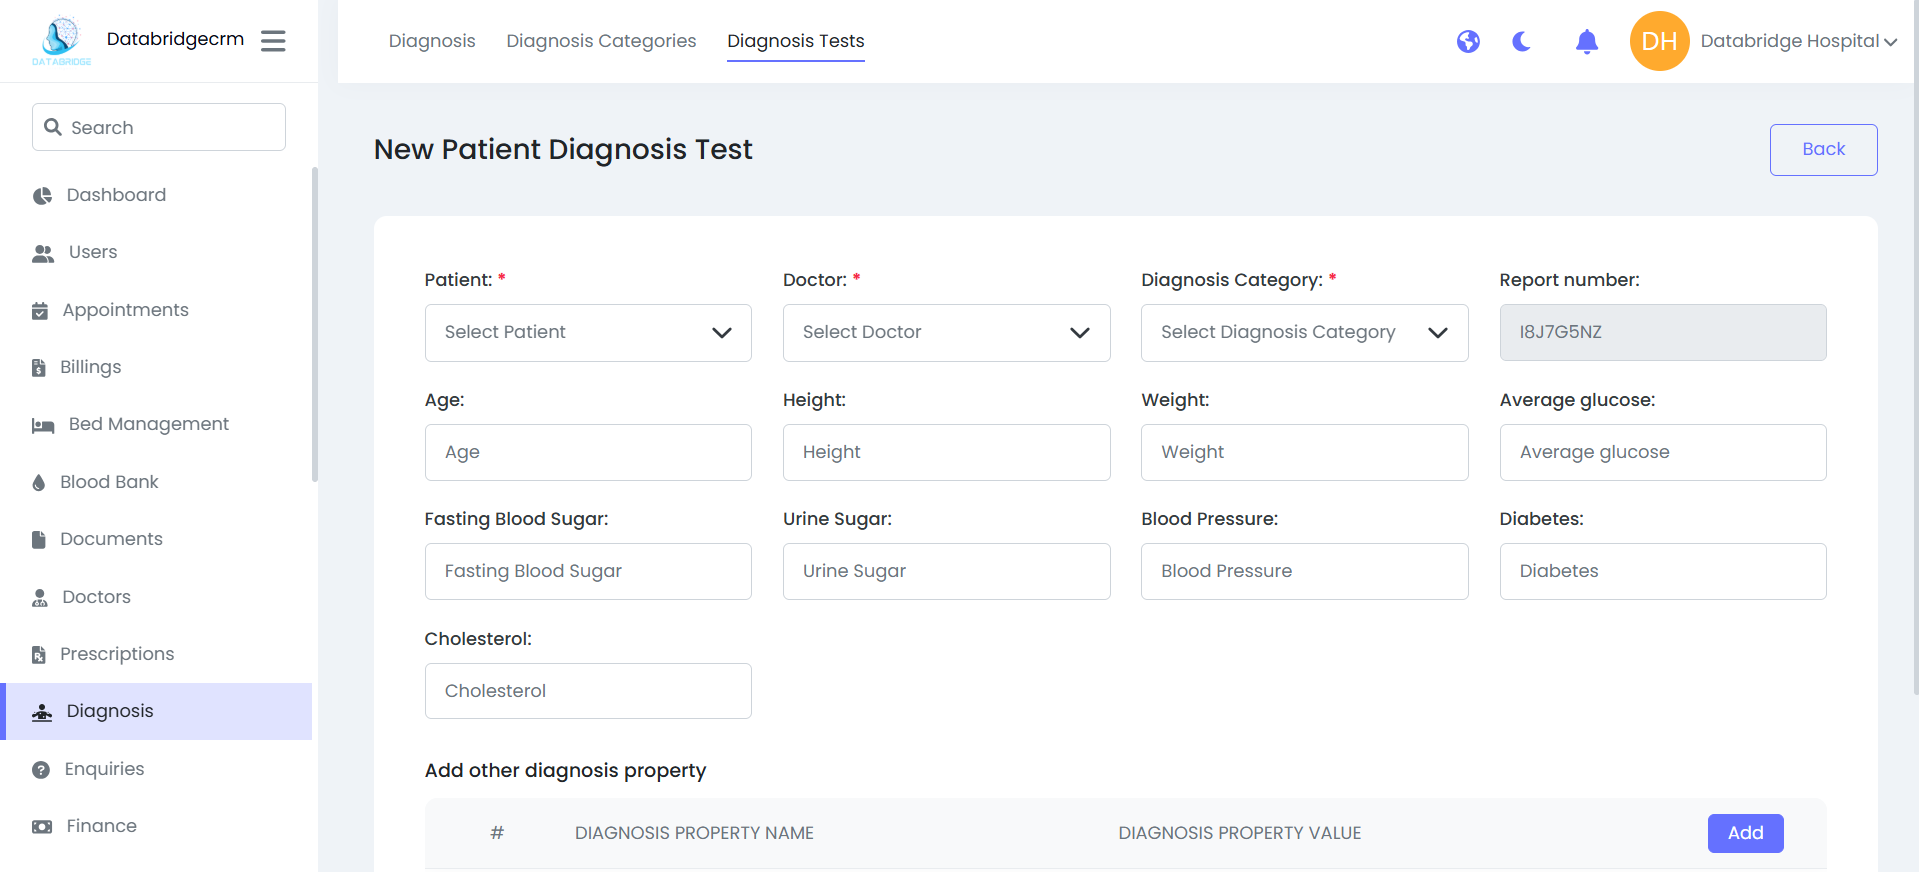
Create New Patient Diagnosis Test:
Steps:
Steps:
1
Navigate to Diagnosis
2
Diagnosis Tests
3
Click New Patient Diagnosis Test
4
Select: (Patient, Doctor & Diagnosis Category)
5
System Auto Generates: (Report Number)
6
Enter (if required): (Age, Height, Weight, Average Glucose, Fasting Blood Sugar, Urine Sugar, Blood Pressure, Diabetes & Cholesterol)
7
Optional: Add Other Diagnosis Properties
8
Click Save
Enquiries
Used to manage patient or visitor enquiries received by the hospital.
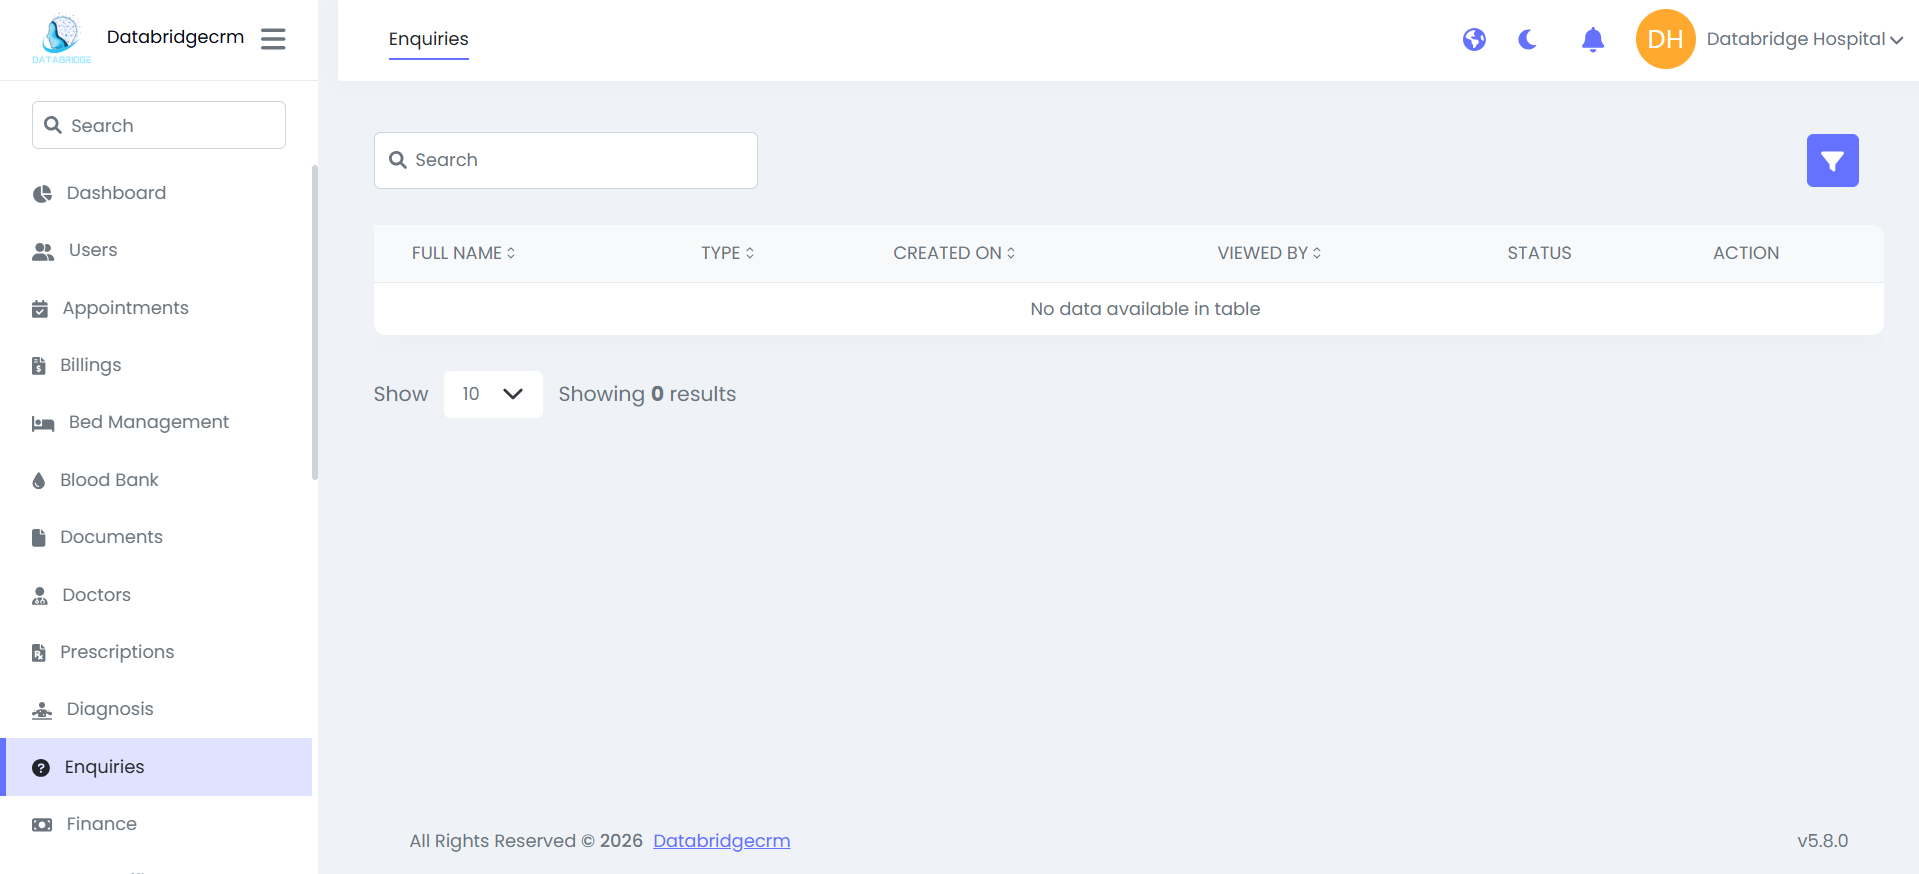
Enquiries List View:
Displays:
- Full Name
- Type (Enquiry Type)
- Created On
- Viewed By
- Status (Read / Unread)
- Action (View / Delete)
Displays:
- Full Name
- Type (Enquiry Type)
- Created On
- Viewed By
- Status (Read / Unread)
- Action (View / Delete)
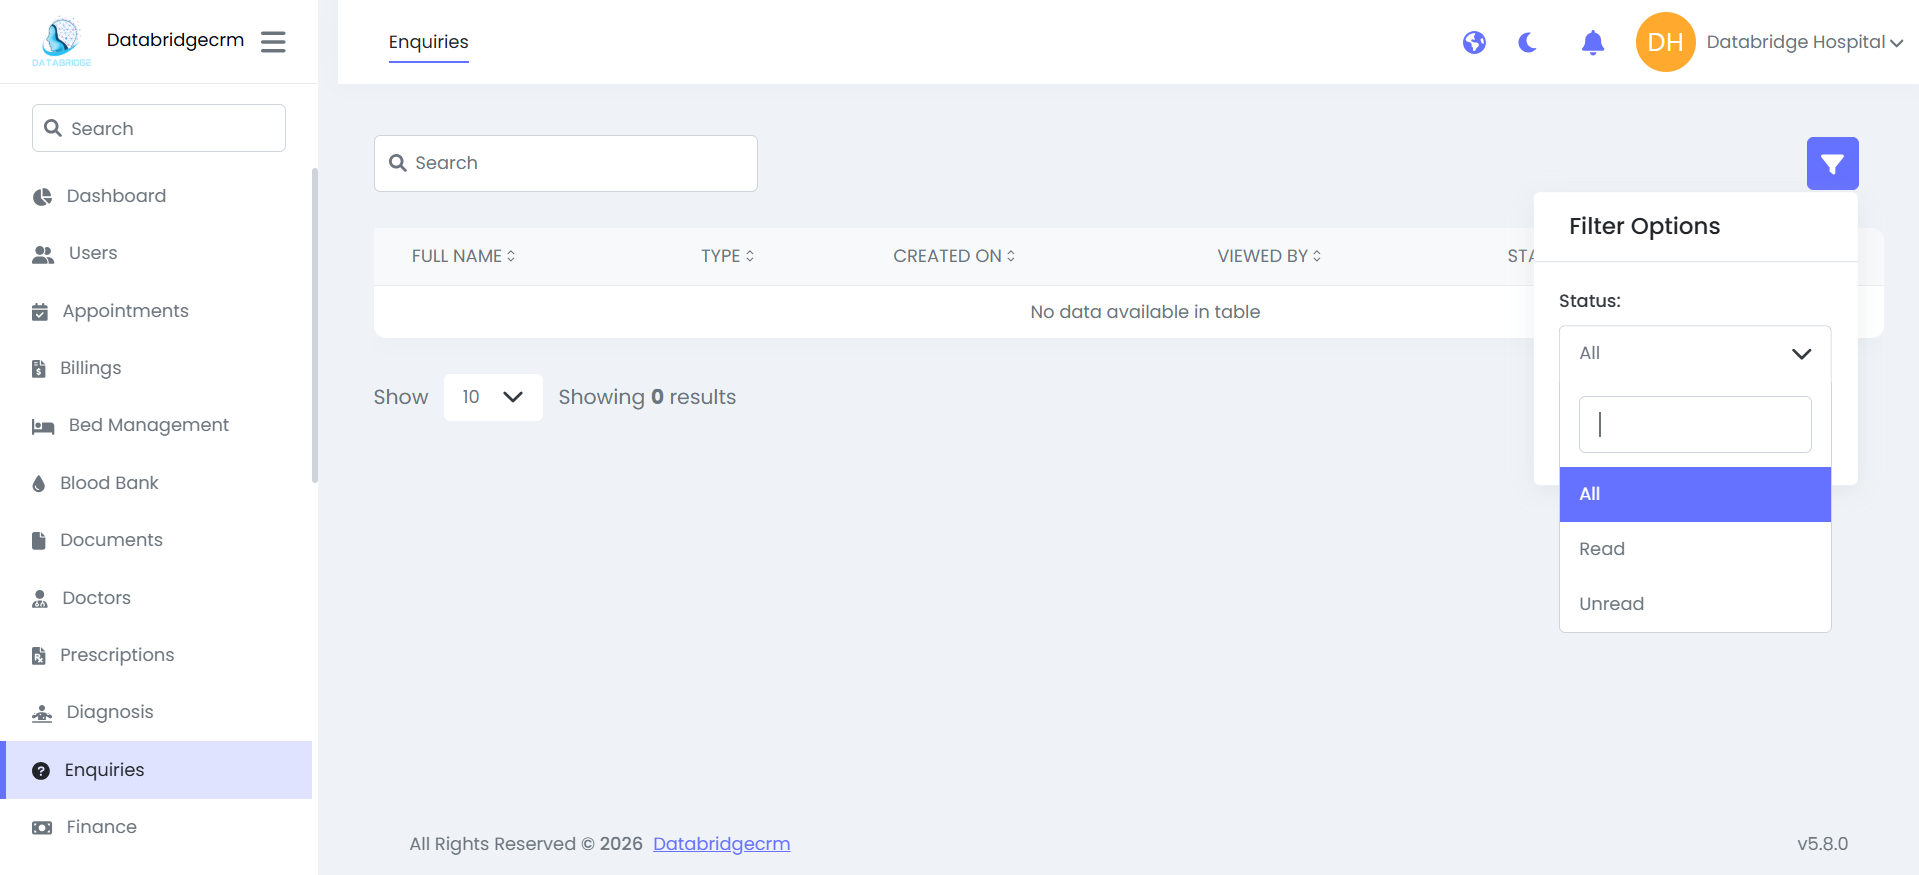
Filter Option:
Used to filter enquiries based on:
Status (All / Read / Unread)
How It Works:
- New enquiries are marked as Unread by default.
- Once opened, the status changes to Read.
- Admin can manage and track all enquiry records from this page.
Used to filter enquiries based on:
Status (All / Read / Unread)
How It Works:
- New enquiries are marked as Unread by default.
- Once opened, the status changes to Read.
- Admin can manage and track all enquiry records from this page.
Finance
Finance module is used to manage hospital Incomes and Expenses.
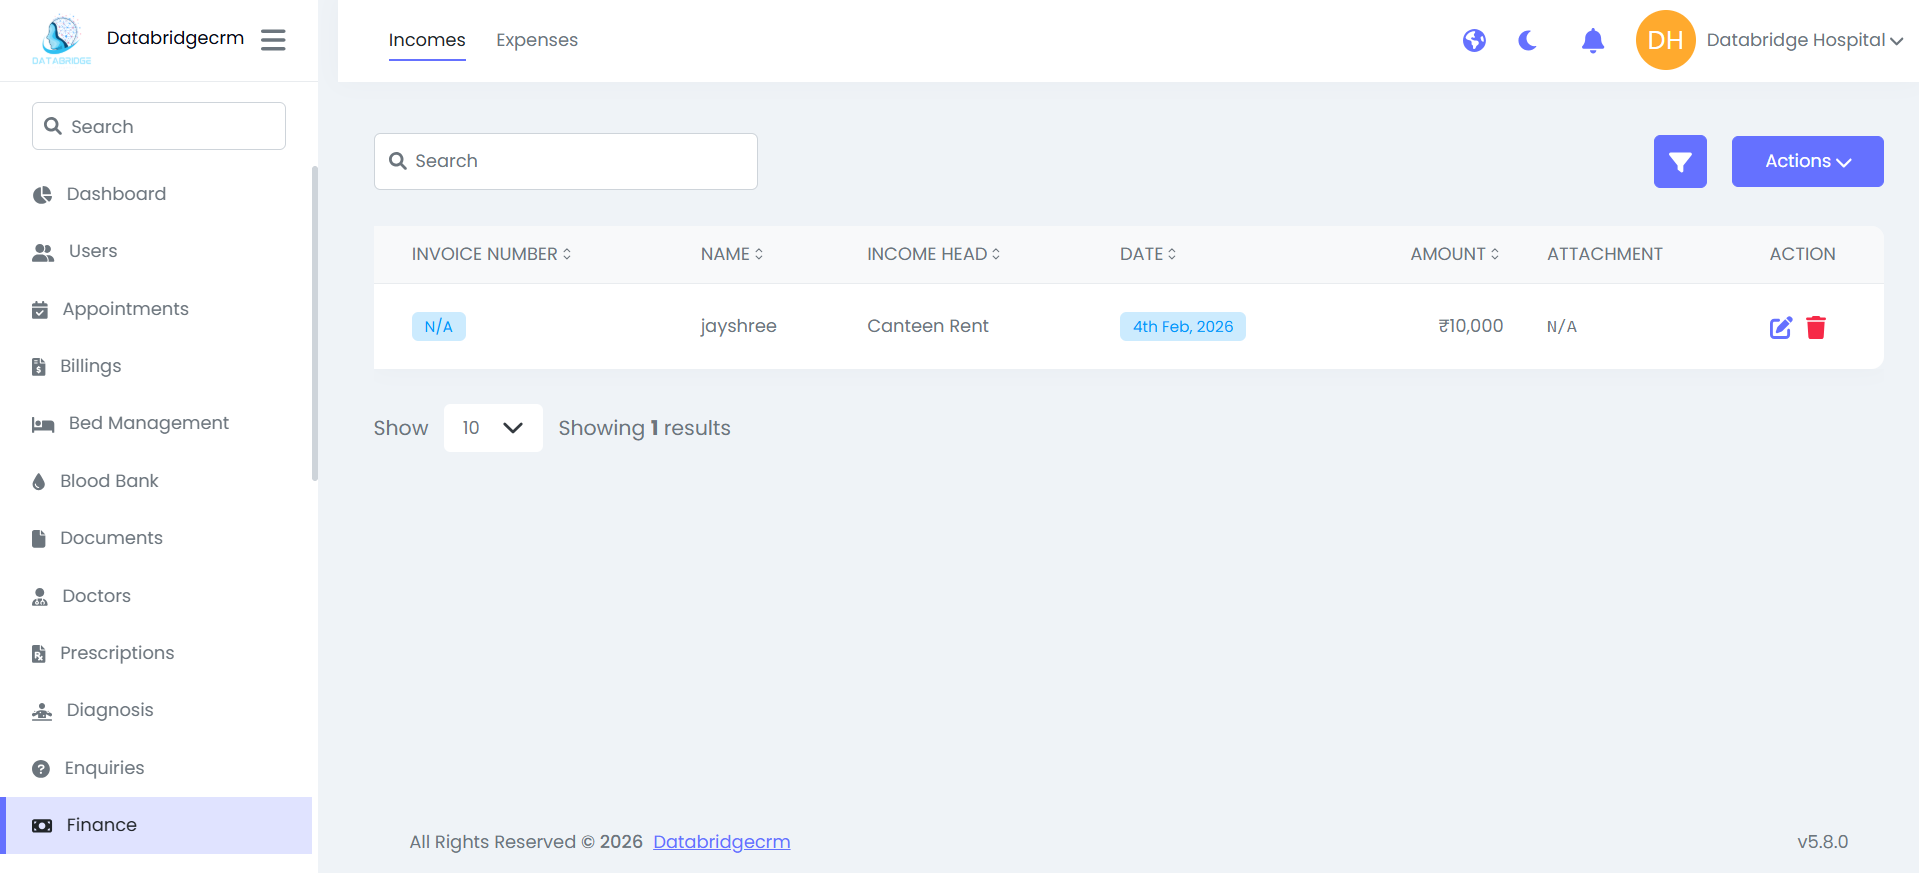
Incomes:
Used to record and manage all income entries received by the hospital.
Income List View:
Displays:
- Invoice Number
- Name
- Income Head
- Date
- Amount
- Attachment
- Action (Edit / Delete)
Used to record and manage all income entries received by the hospital.
Income List View:
Displays:
- Invoice Number
- Name
- Income Head
- Date
- Amount
- Attachment
- Action (Edit / Delete)
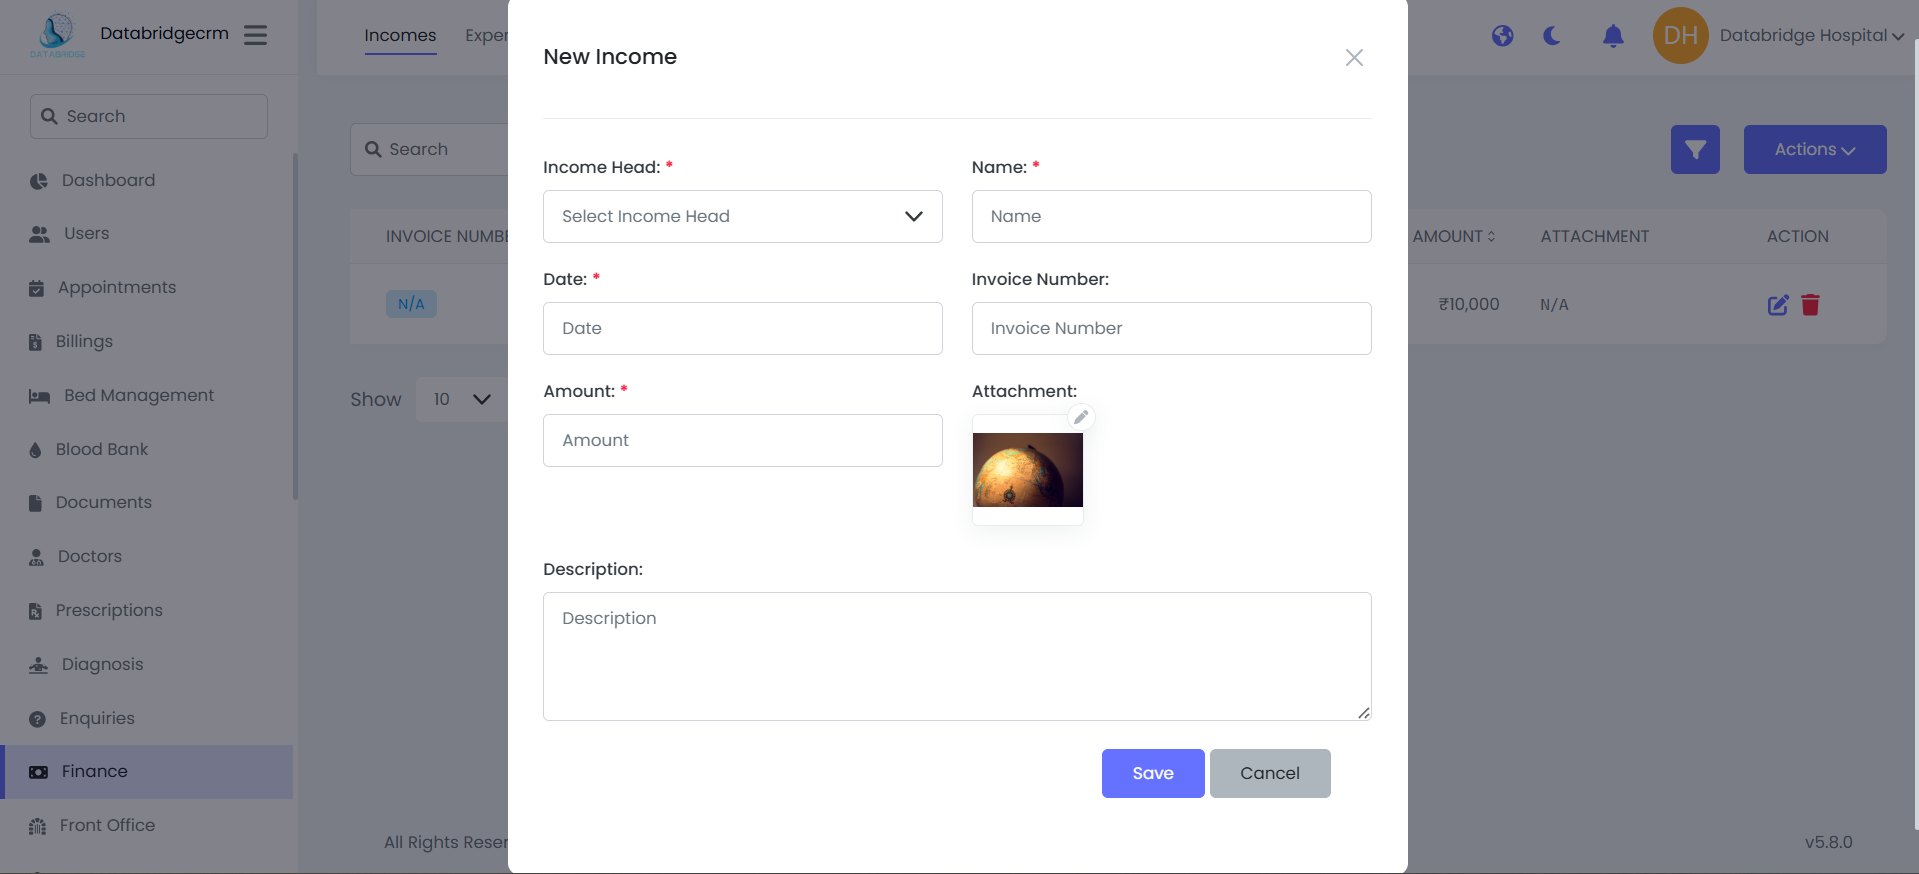
Create New Income
Steps:
Steps:
1
Navigate to Finance
2
Incomes
3
Click Actions
4
New Income
5
Fill in: (Income Head, Name, Date, Invoice Number, Amount, Attachment & Description)
6
Click Save
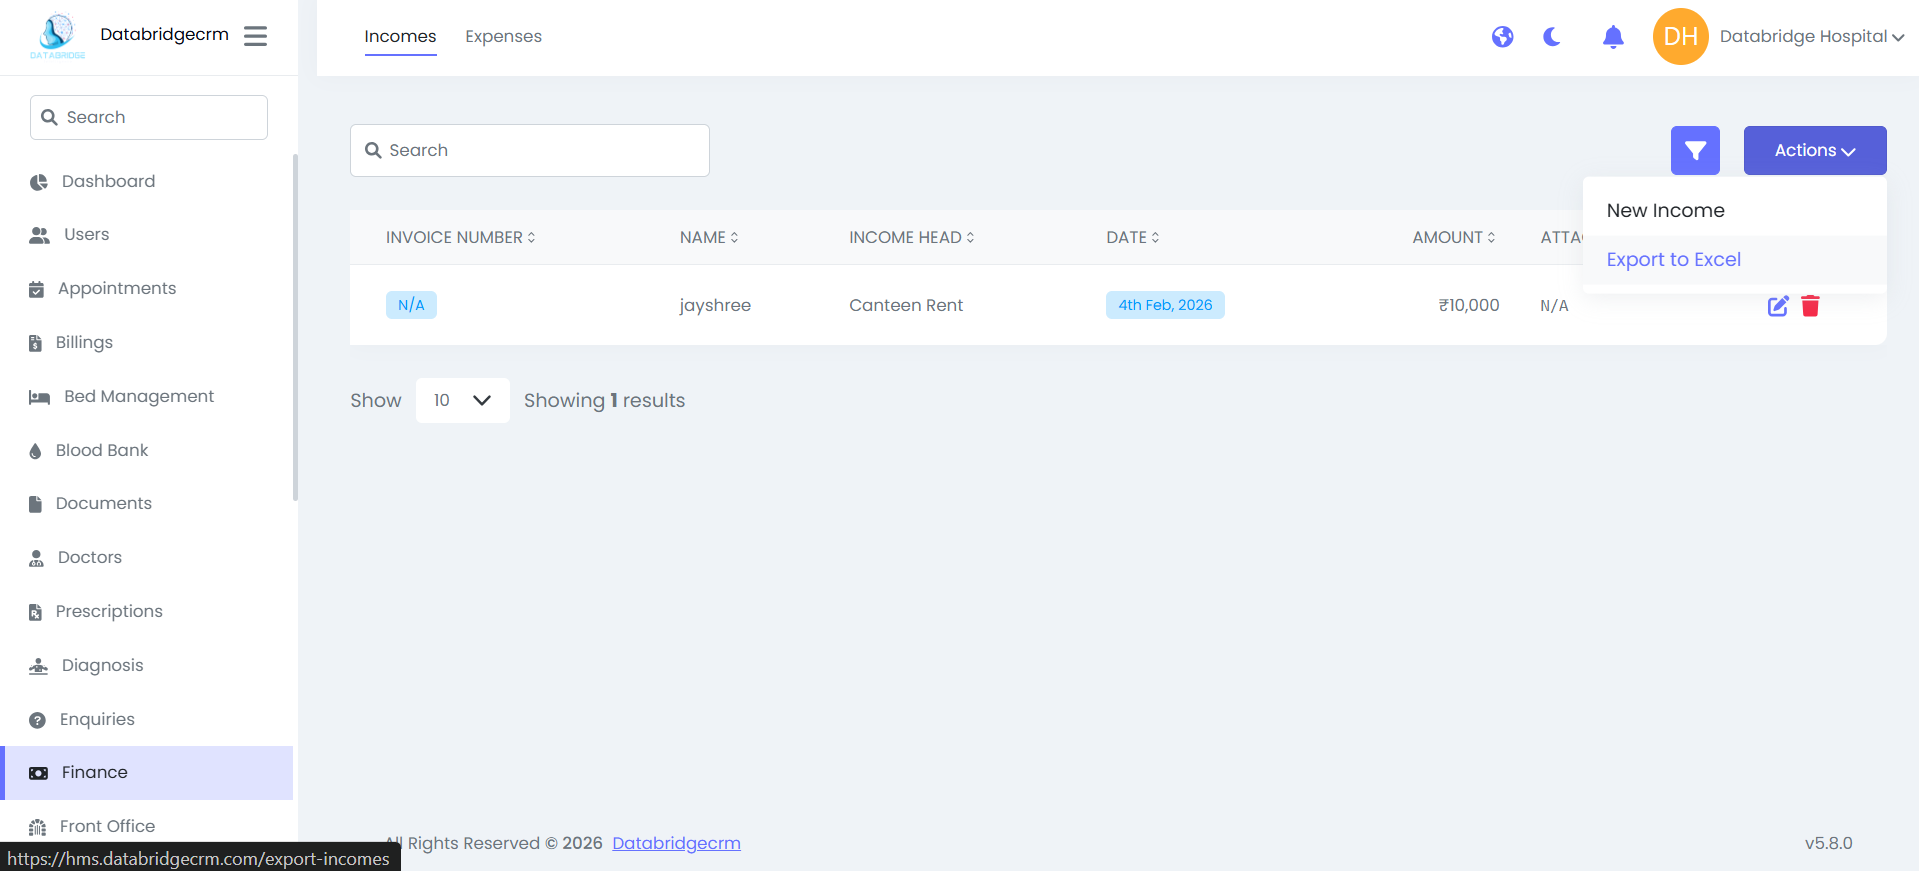
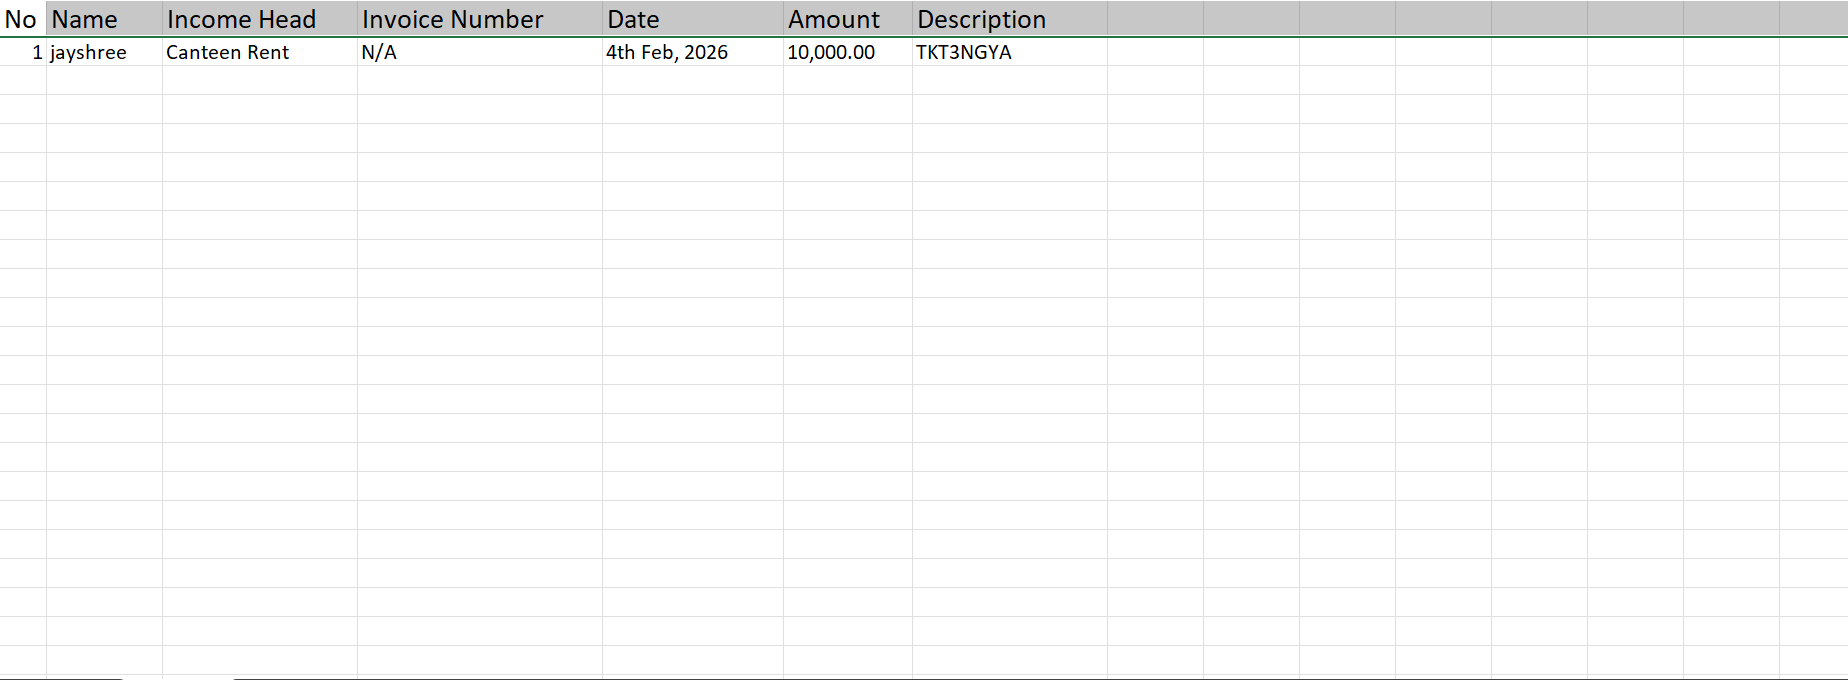
Export Income Report:
- Click Actions → Export to Excel
- System downloads income data in Excel format.
- Click Actions → Export to Excel
- System downloads income data in Excel format.
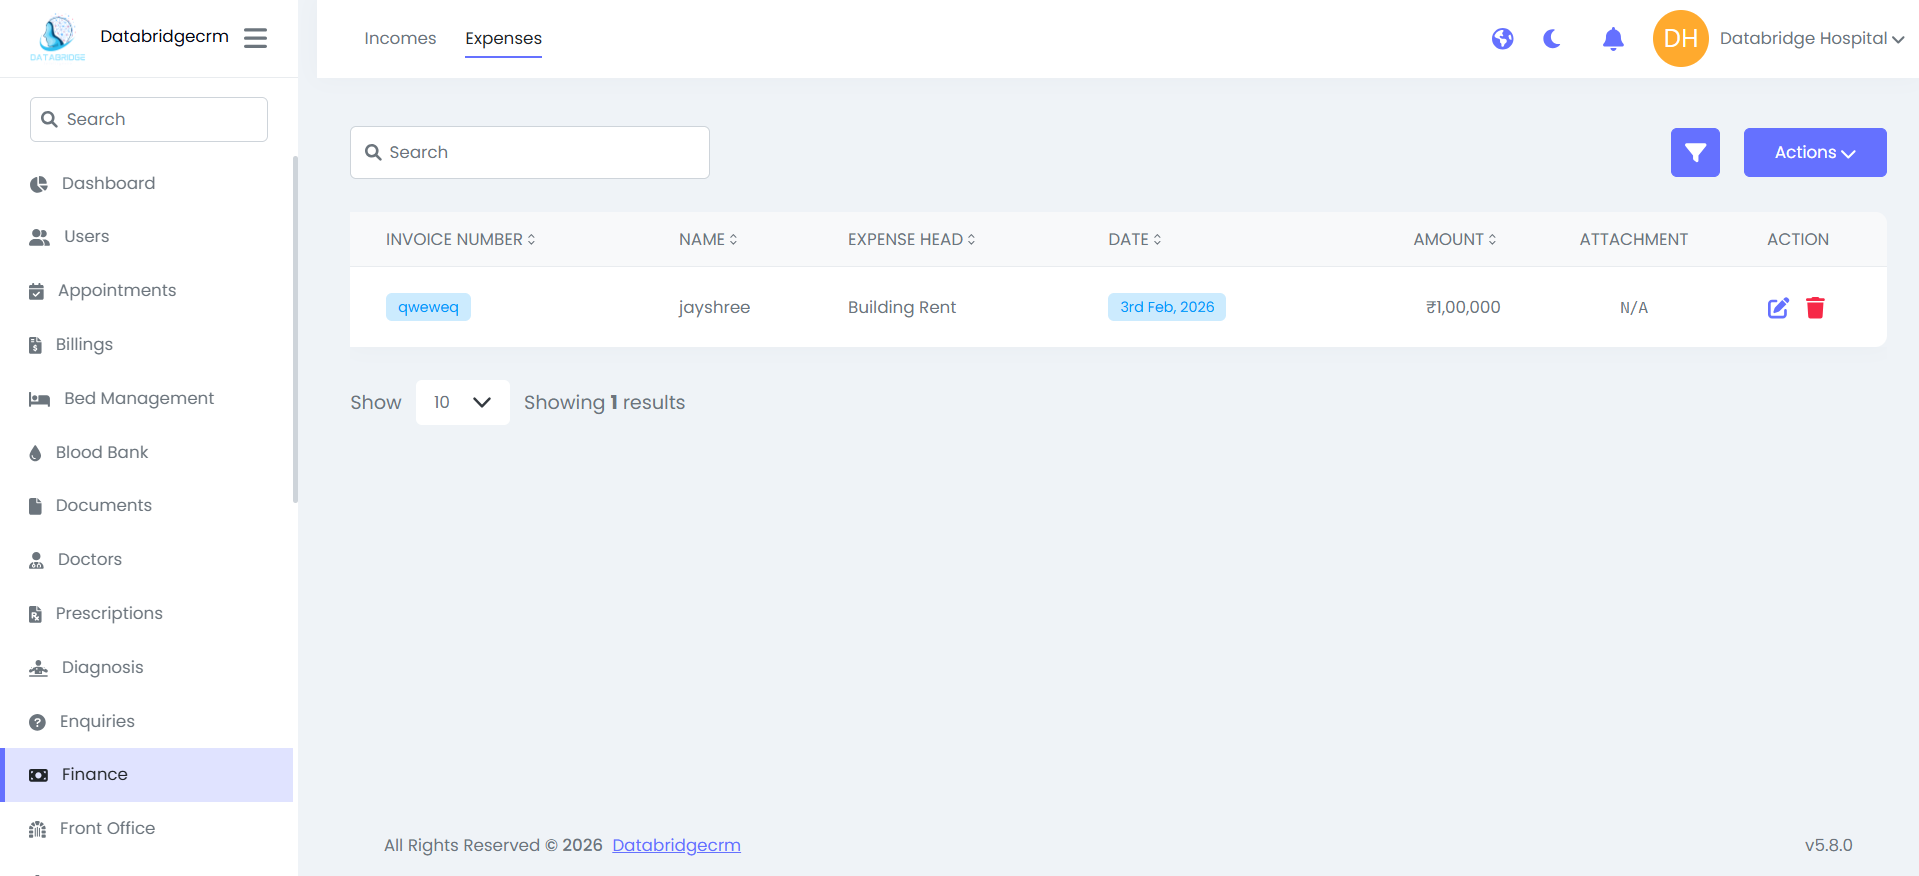
Expenses:
Used to record and manage all hospital operational expenses.
Expense List View:
Displays:
- Invoice Number
- Name
- Expense Head
- Date
- Amount
- Attachment
- Action (Edit / Delete)
Used to record and manage all hospital operational expenses.
Expense List View:
Displays:
- Invoice Number
- Name
- Expense Head
- Date
- Amount
- Attachment
- Action (Edit / Delete)
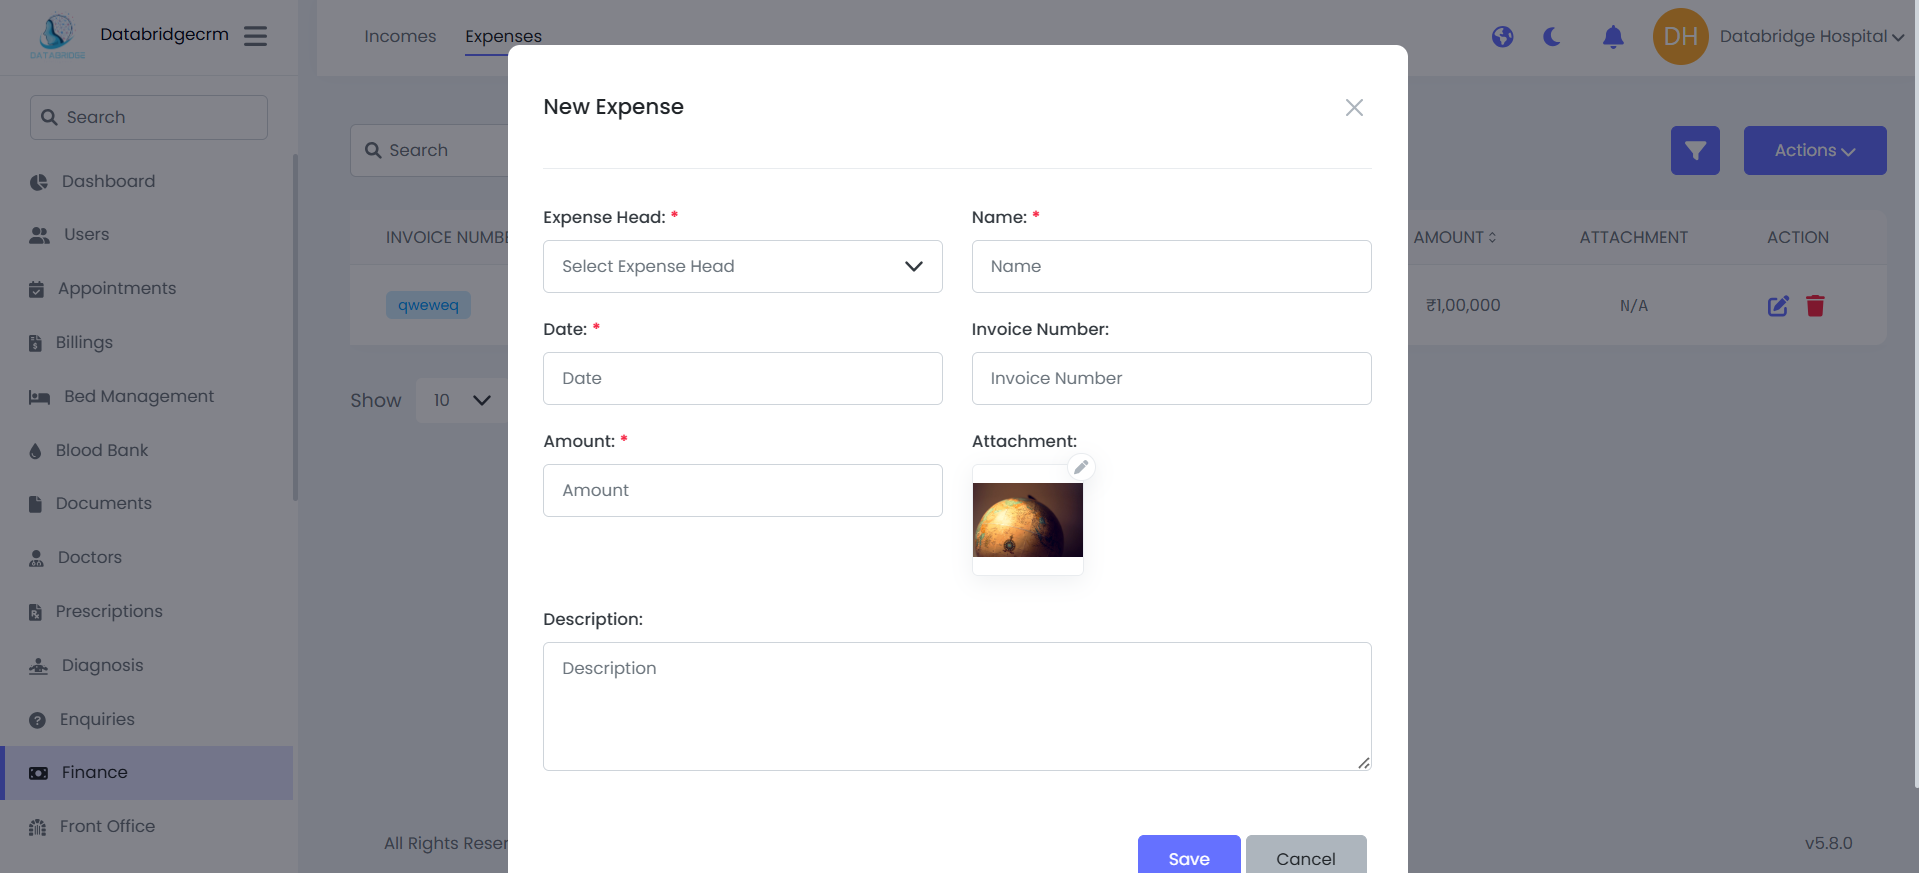
Create New Expense:
Steps:
- Navigate to Finance → Expenses
- Click Actions → New Expense
Fill in:
- Expense Head (e.g., Building Rent)
- Name
- Date
- Invoice Number
- Amount
Steps:
- Navigate to Finance → Expenses
- Click Actions → New Expense
Fill in:
- Expense Head (e.g., Building Rent)
- Name
- Date
- Invoice Number
- Amount

Export Expense Report:
- Click Actions → Export to Excel
- System downloads expense data in Excel format.
- Click Actions → Export to Excel
- System downloads expense data in Excel format.
Front Office
Front Office module is used to manage daily reception-level activities of the hospital such as call records, visitor entries, and postal communication (receive & dispatch).It helps in maintaining proper tracking, documentation, and follow-up of external interactions.
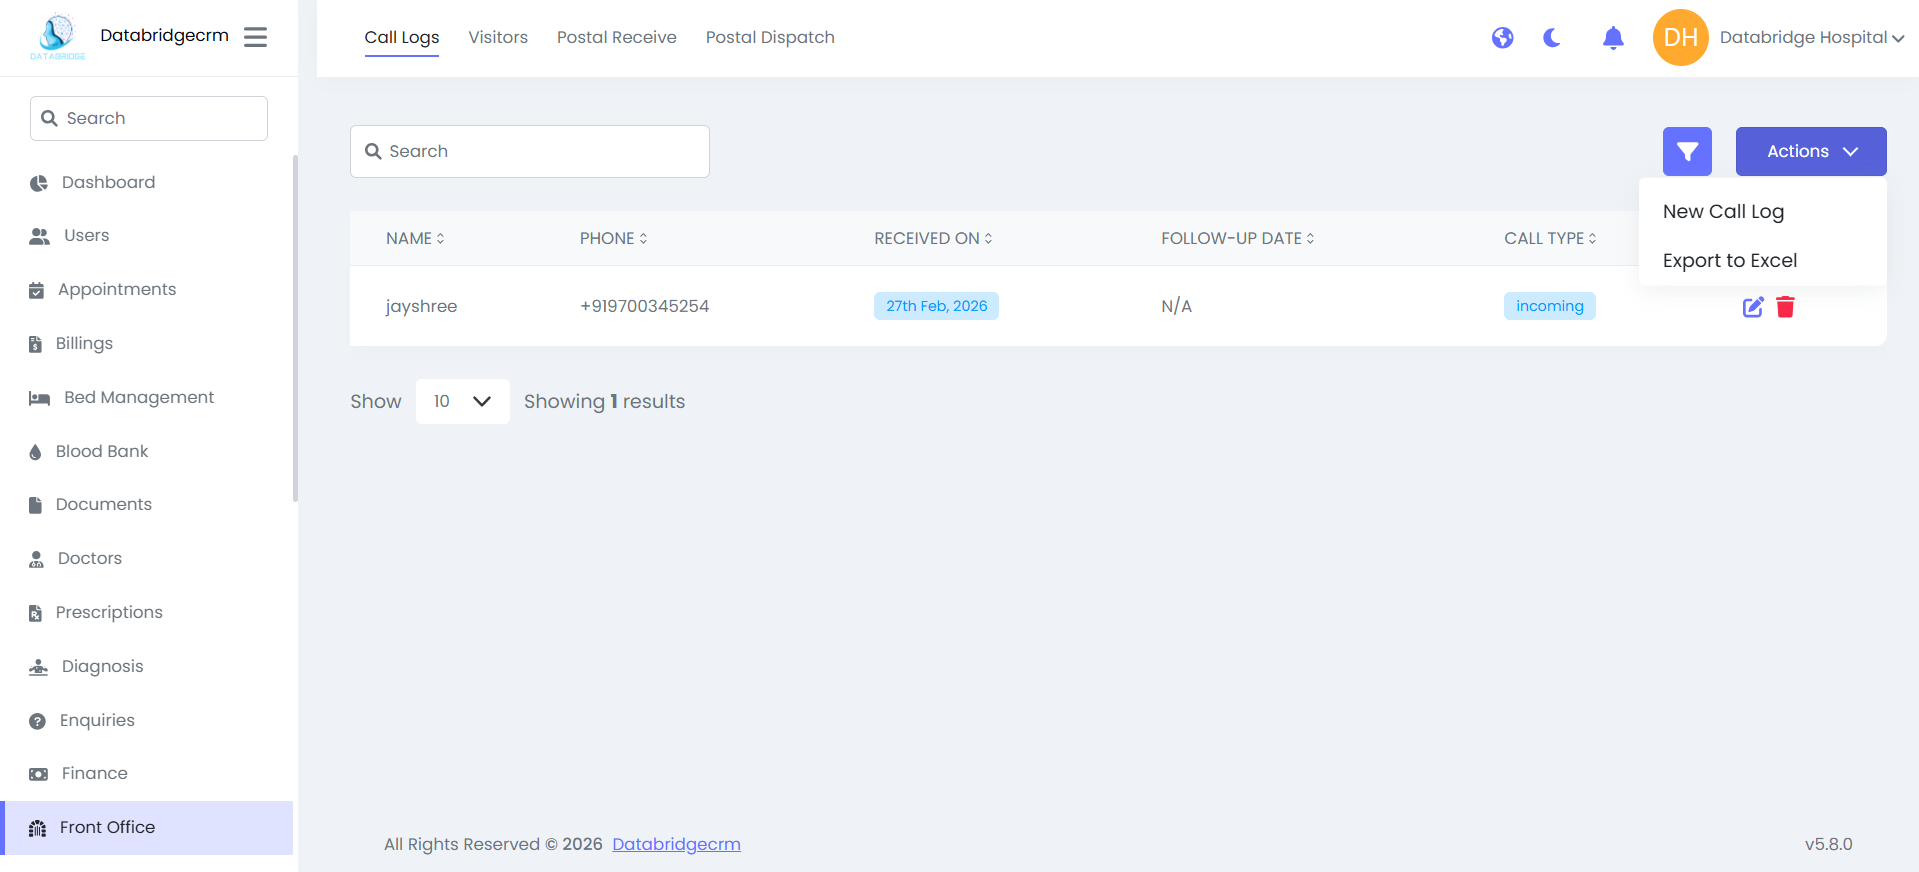
Call Logs:
Used to record incoming and outgoing calls.
Call Log List View:
Displays:
- Name
- Phone
- Received On
- Follow-Up Date
- Call Type (Incoming / Outgoing)
- Action (Edit / Delete)
Used to record incoming and outgoing calls.
Call Log List View:
Displays:
- Name
- Phone
- Received On
- Follow-Up Date
- Call Type (Incoming / Outgoing)
- Action (Edit / Delete)
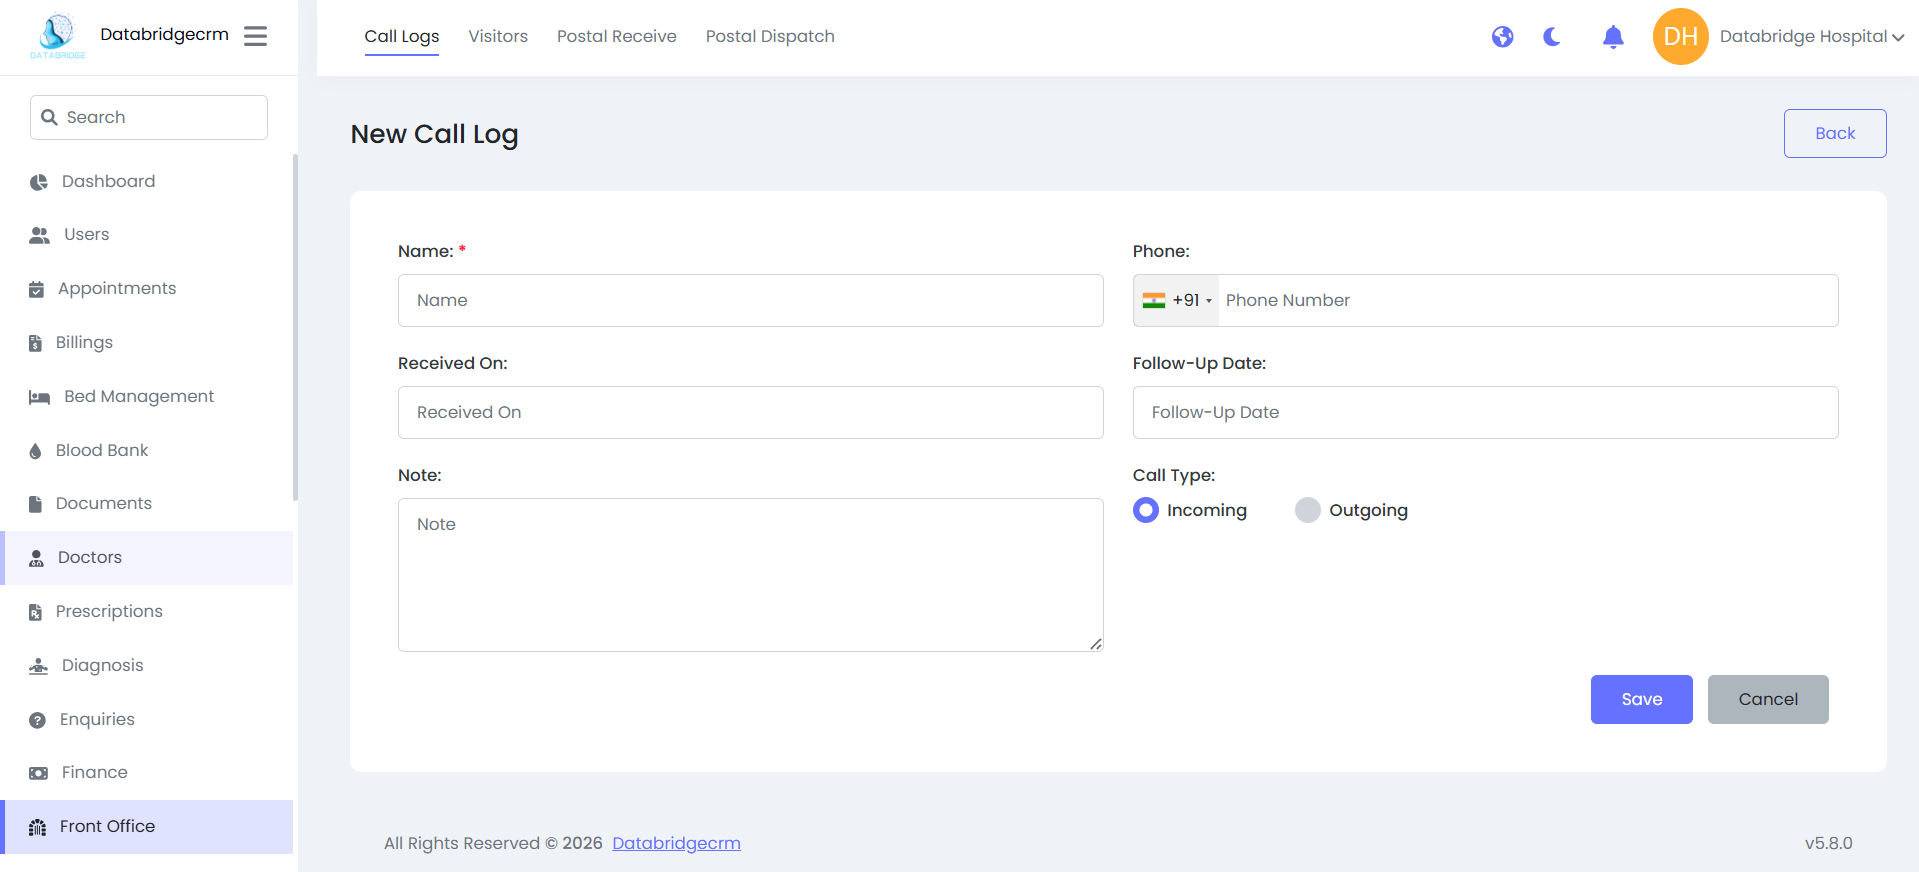
Create New Call Log:
Steps:
Navigate to Front Office → Call Logs
Click Actions → New Call Log
Fill in:
Name
Phone
Received On
Follow-Up Date (Optional)
Note
Call Type (Incoming / Outgoing)
Click Save
Steps:
Navigate to Front Office → Call Logs
Click Actions → New Call Log
Fill in:
Name
Phone
Received On
Follow-Up Date (Optional)
Note
Call Type (Incoming / Outgoing)
Click Save
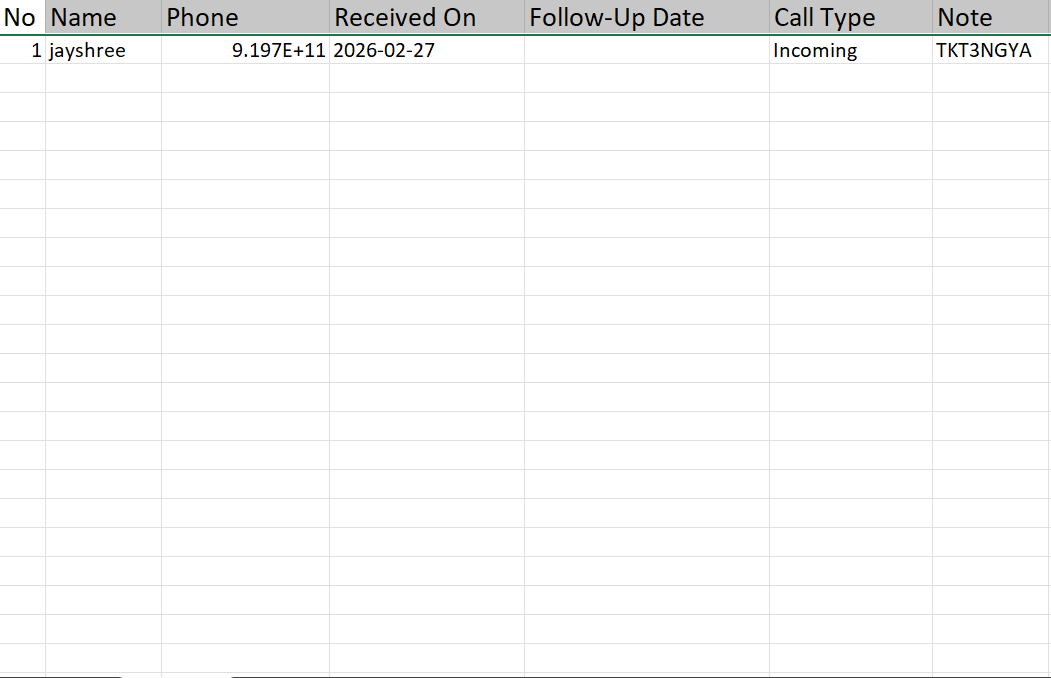
Export to Excel File.
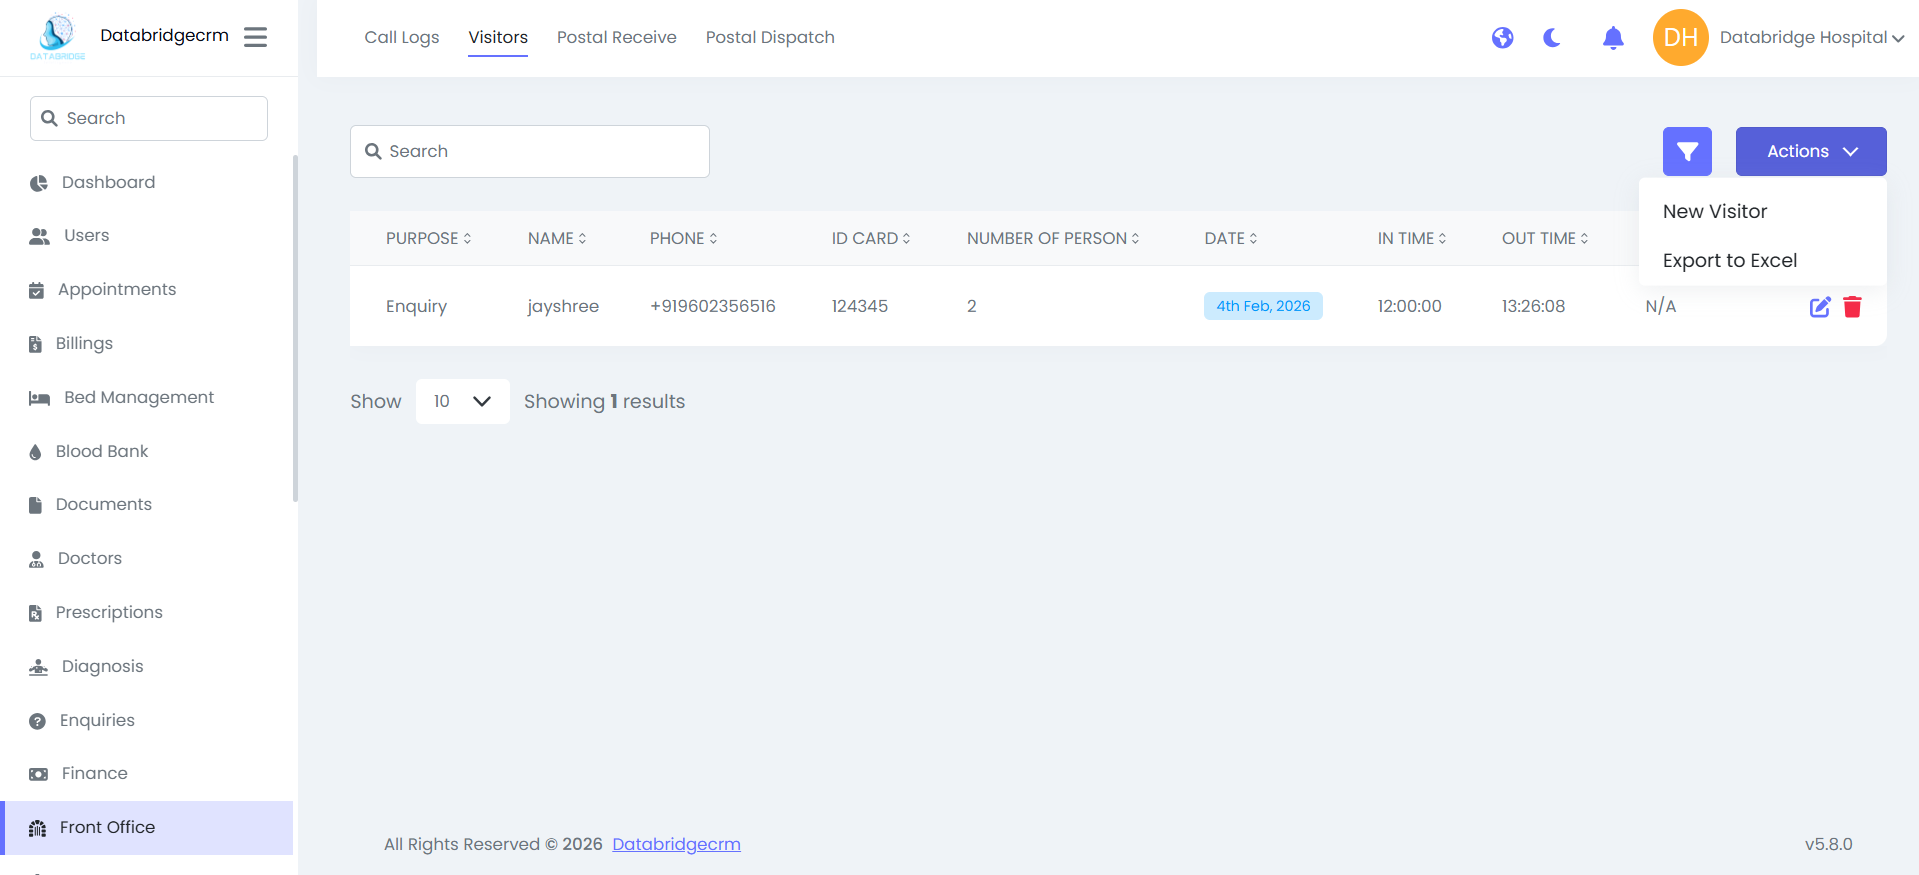
Visitors:
Used to manage hospital visitor entry records.
Visitor List View:
Displays:
Purpose
Name
Phone
ID Card
Number Of Person
Date
In Time
Out Time
Attachment
Action (Edit / Delete)
Used to manage hospital visitor entry records.
Visitor List View:
Displays:
Purpose
Name
Phone
ID Card
Number Of Person
Date
In Time
Out Time
Attachment
Action (Edit / Delete)

Add New Visitor:
Steps:
Navigate to Front Office → Visitors
Click Actions → New Visitor
Fill in:
Purpose
Name
Phone
ID Card
Number Of Person
Date
In Time
Out Time
Note
Attachment (Optional)
Click Save
Steps:
Navigate to Front Office → Visitors
Click Actions → New Visitor
Fill in:
Purpose
Name
Phone
ID Card
Number Of Person
Date
In Time
Out Time
Note
Attachment (Optional)
Click Save
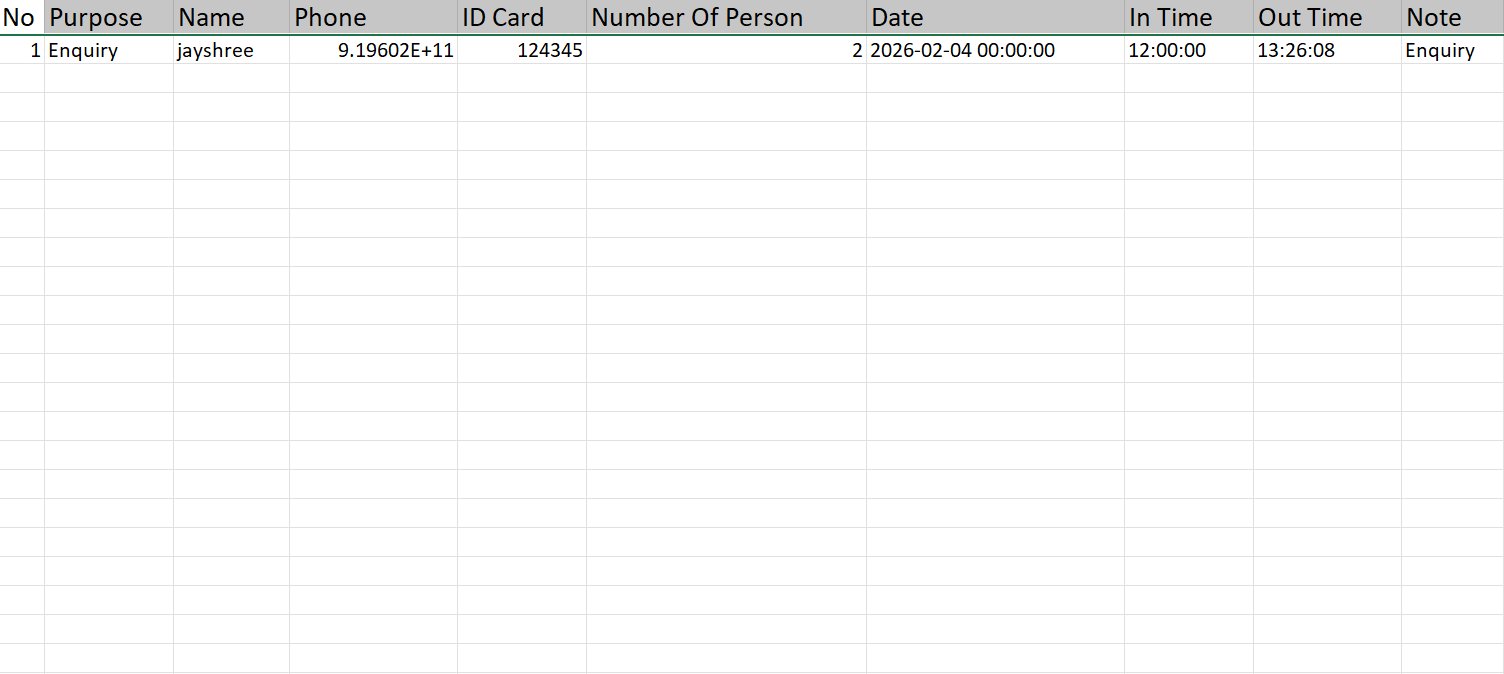
Export to Excel File!
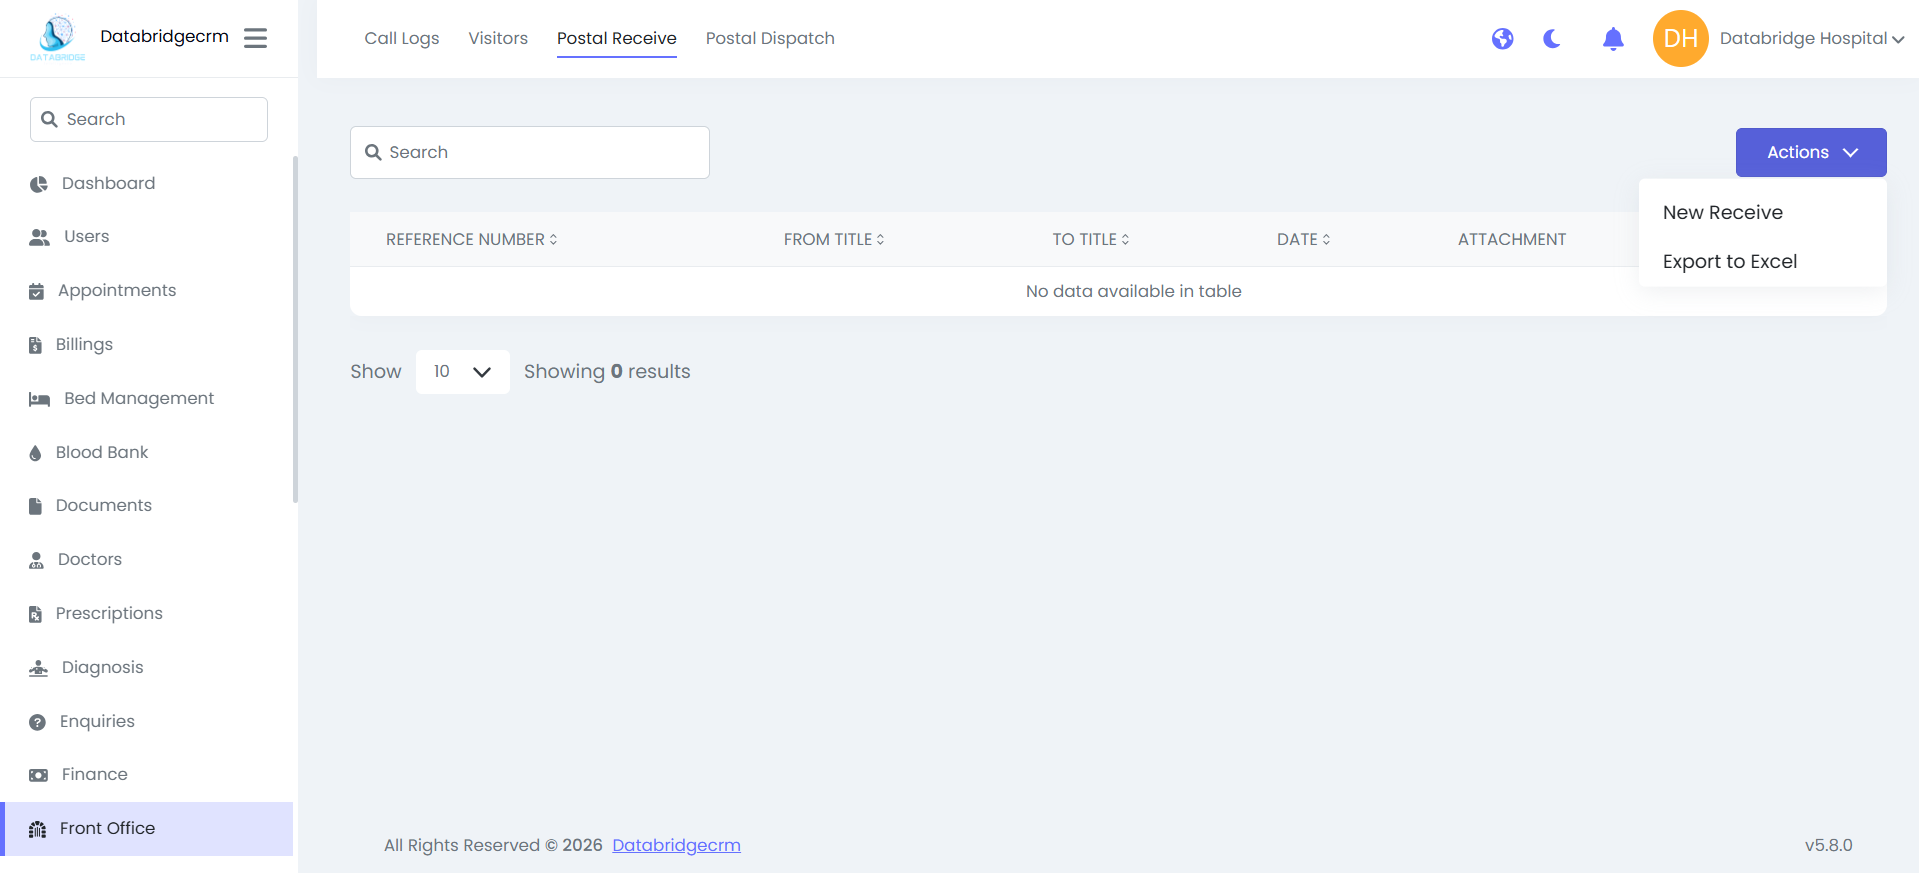
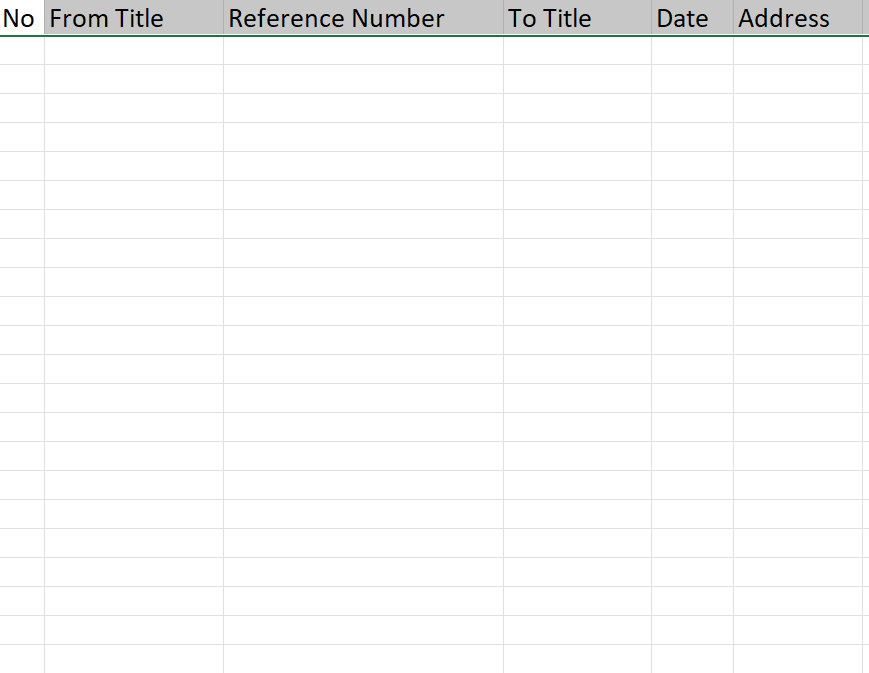
Postal Receive:
Used to record incoming postal/courier documents.
Receive List View:
Displays:
Reference Number
From Title
To Title
Date
Attachment
Used to record incoming postal/courier documents.
Receive List View:
Displays:
Reference Number
From Title
To Title
Date
Attachment

Add New Receive Entry:
Steps:
Navigate to Front Office → Postal Receive
Click Actions → New Receive
Fill in:
- From Title
- Reference Number
- Date
- To Title
- Address
- Attachment (Optional)
Click Save
Steps:
Navigate to Front Office → Postal Receive
Click Actions → New Receive
Fill in:
- From Title
- Reference Number
- Date
- To Title
- Address
- Attachment (Optional)
Click Save
Export file in Excel!
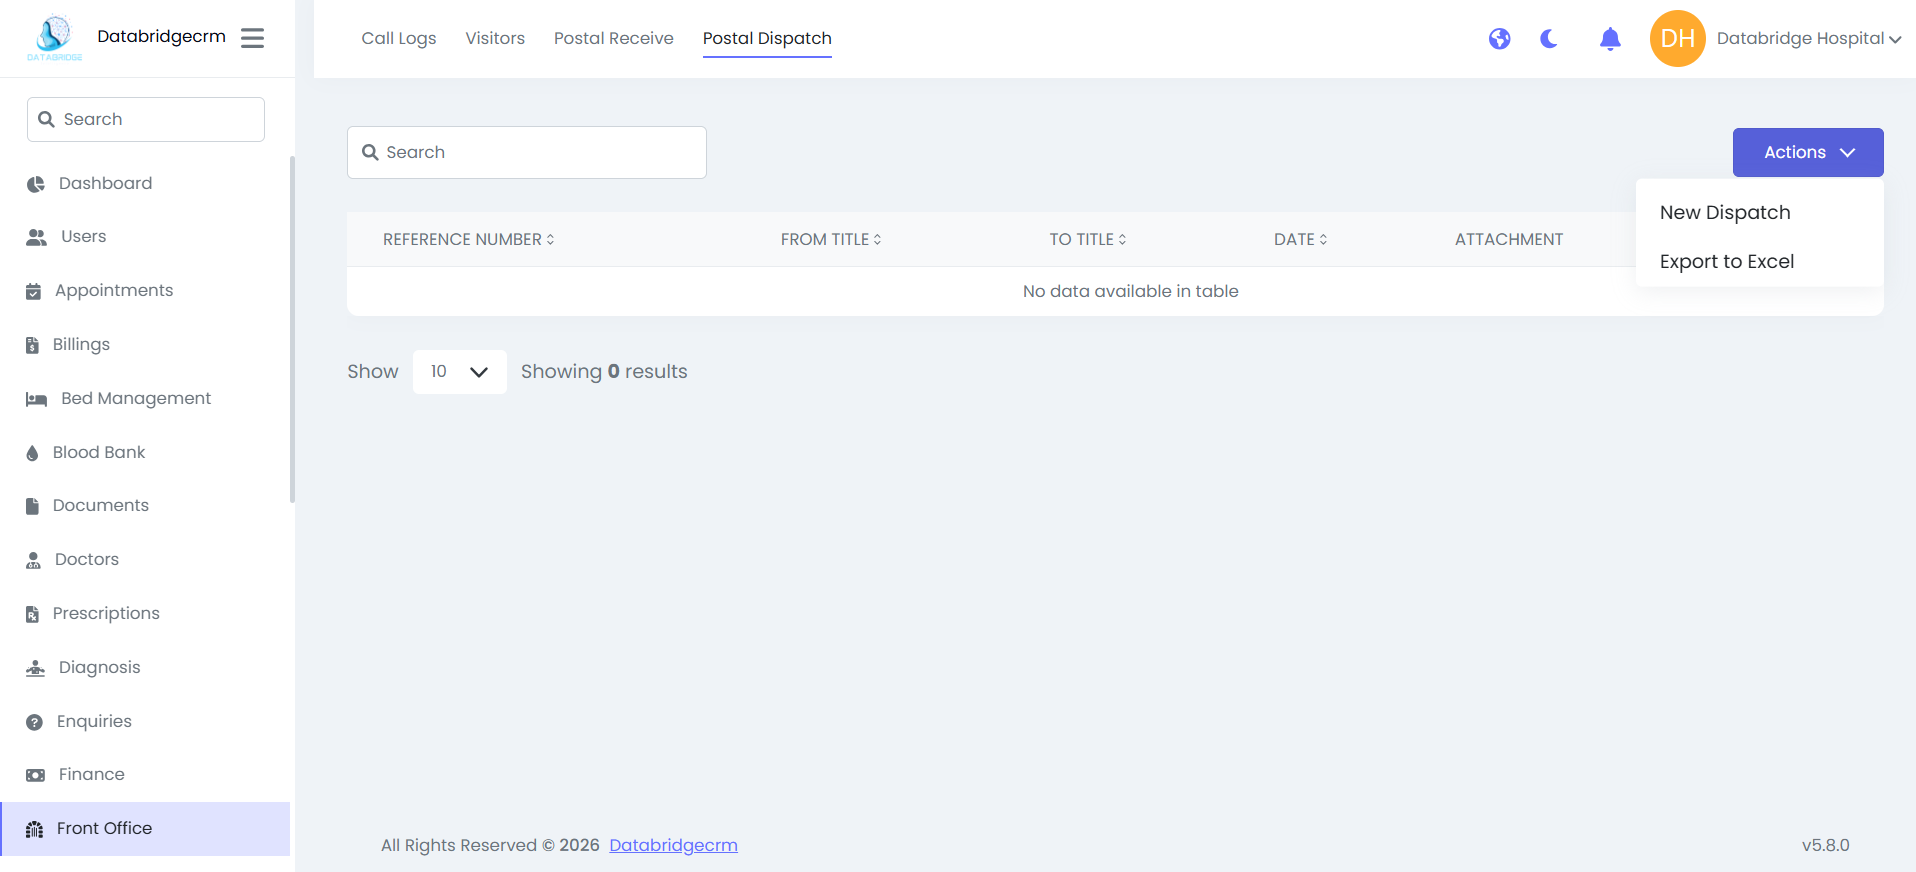
Postal Dispatch:
Used to record outgoing postal/courier documents.
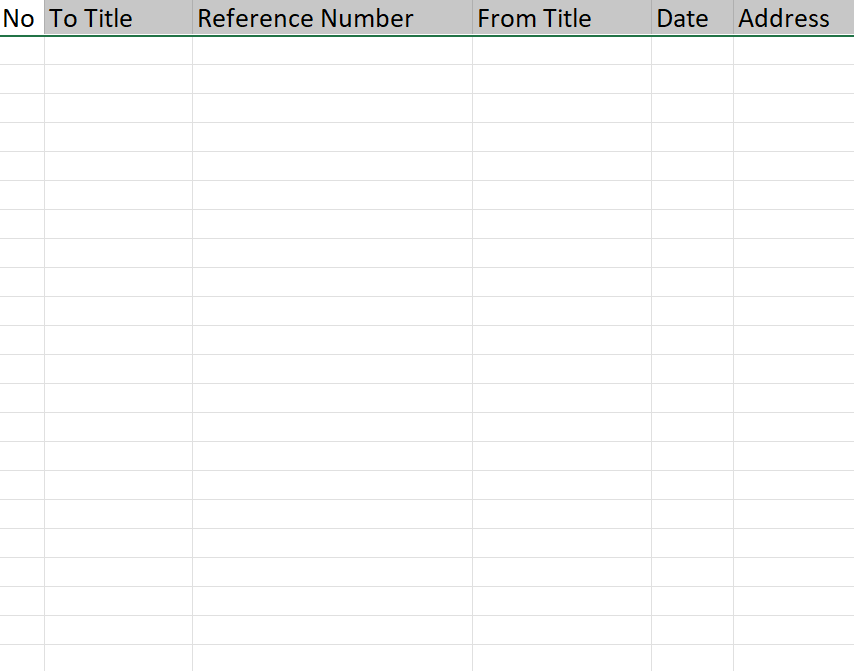
Dispatch List View:
Displays:
Reference Number
From Title
To Title
Date
Attachment
Used to record outgoing postal/courier documents.
Dispatch List View:
Displays:
Reference Number
From Title
To Title
Date
Attachment
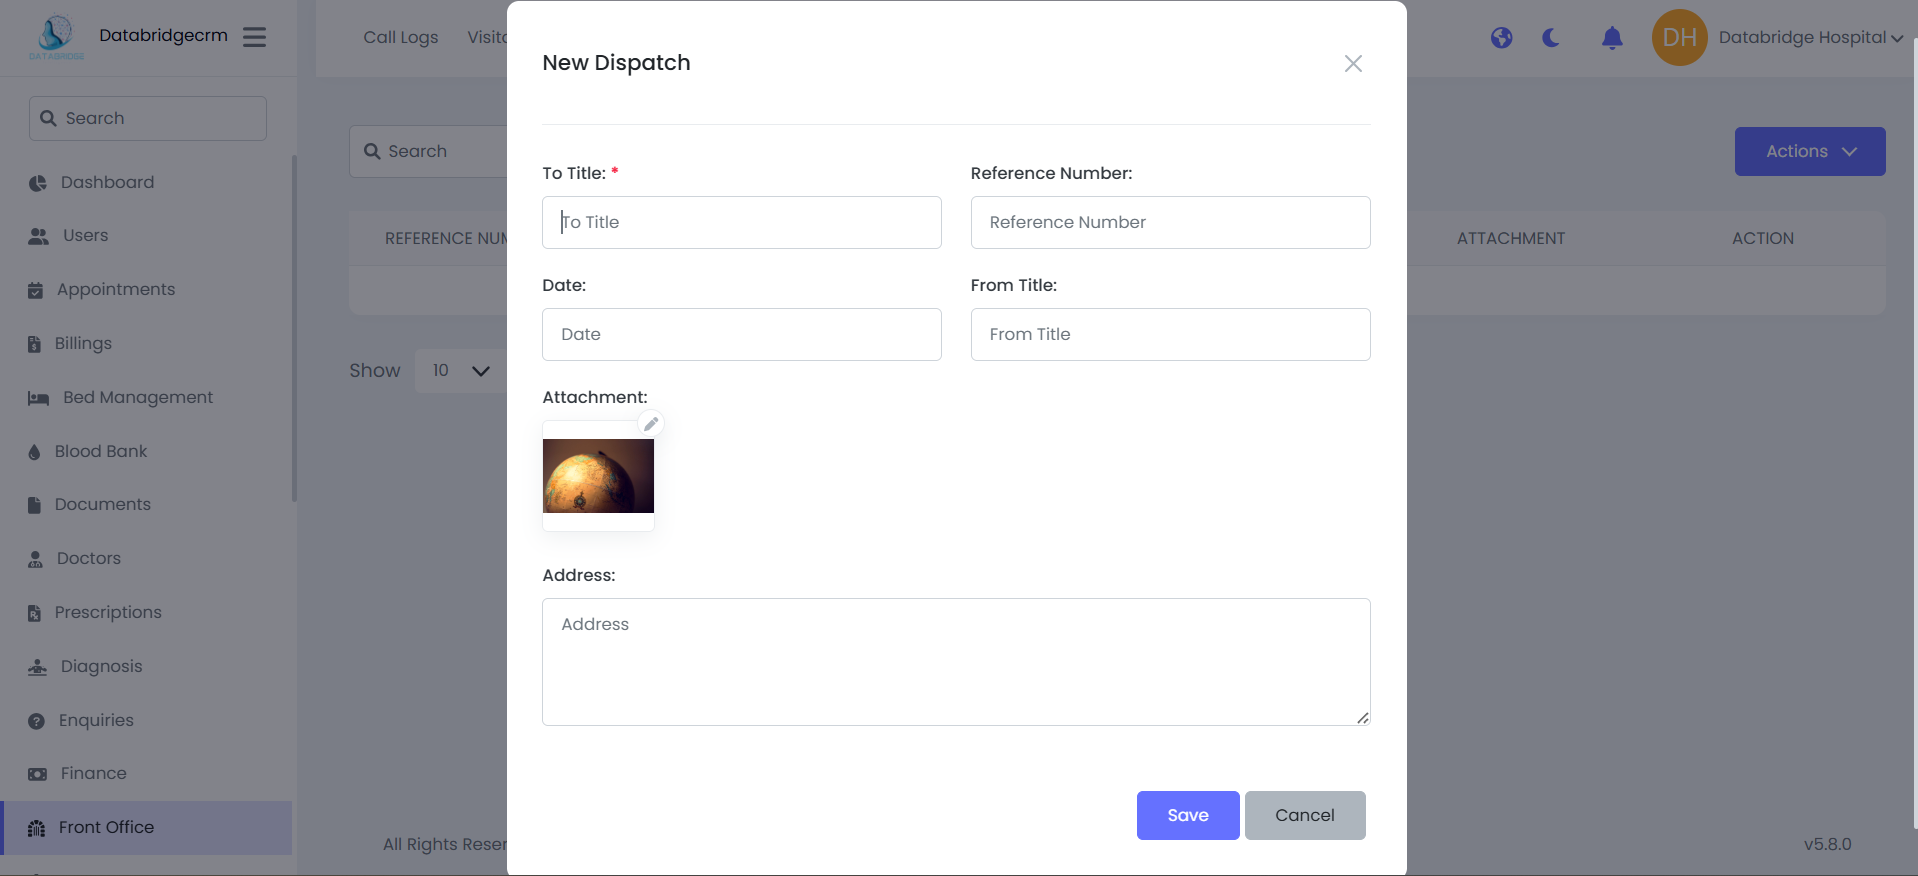
Add New Dispatch Entry:
Steps:
Navigate to Front Office → Postal Dispatch
Click Actions → New Dispatch
Fill in:
To Title
Reference Number
Date
From Title
Address
Attachment (Optional)
Click Save
Steps:
Navigate to Front Office → Postal Dispatch
Click Actions → New Dispatch
Fill in:
To Title
Reference Number
Date
From Title
Address
Attachment (Optional)
Click Save
Export in Excel File!
Front CMS
Front CMS module is used to manage and update the hospital website content directly from the admin panel.It controls homepage sections, services, testimonials, notice boards, and static pages like About Us and Terms & Conditions.
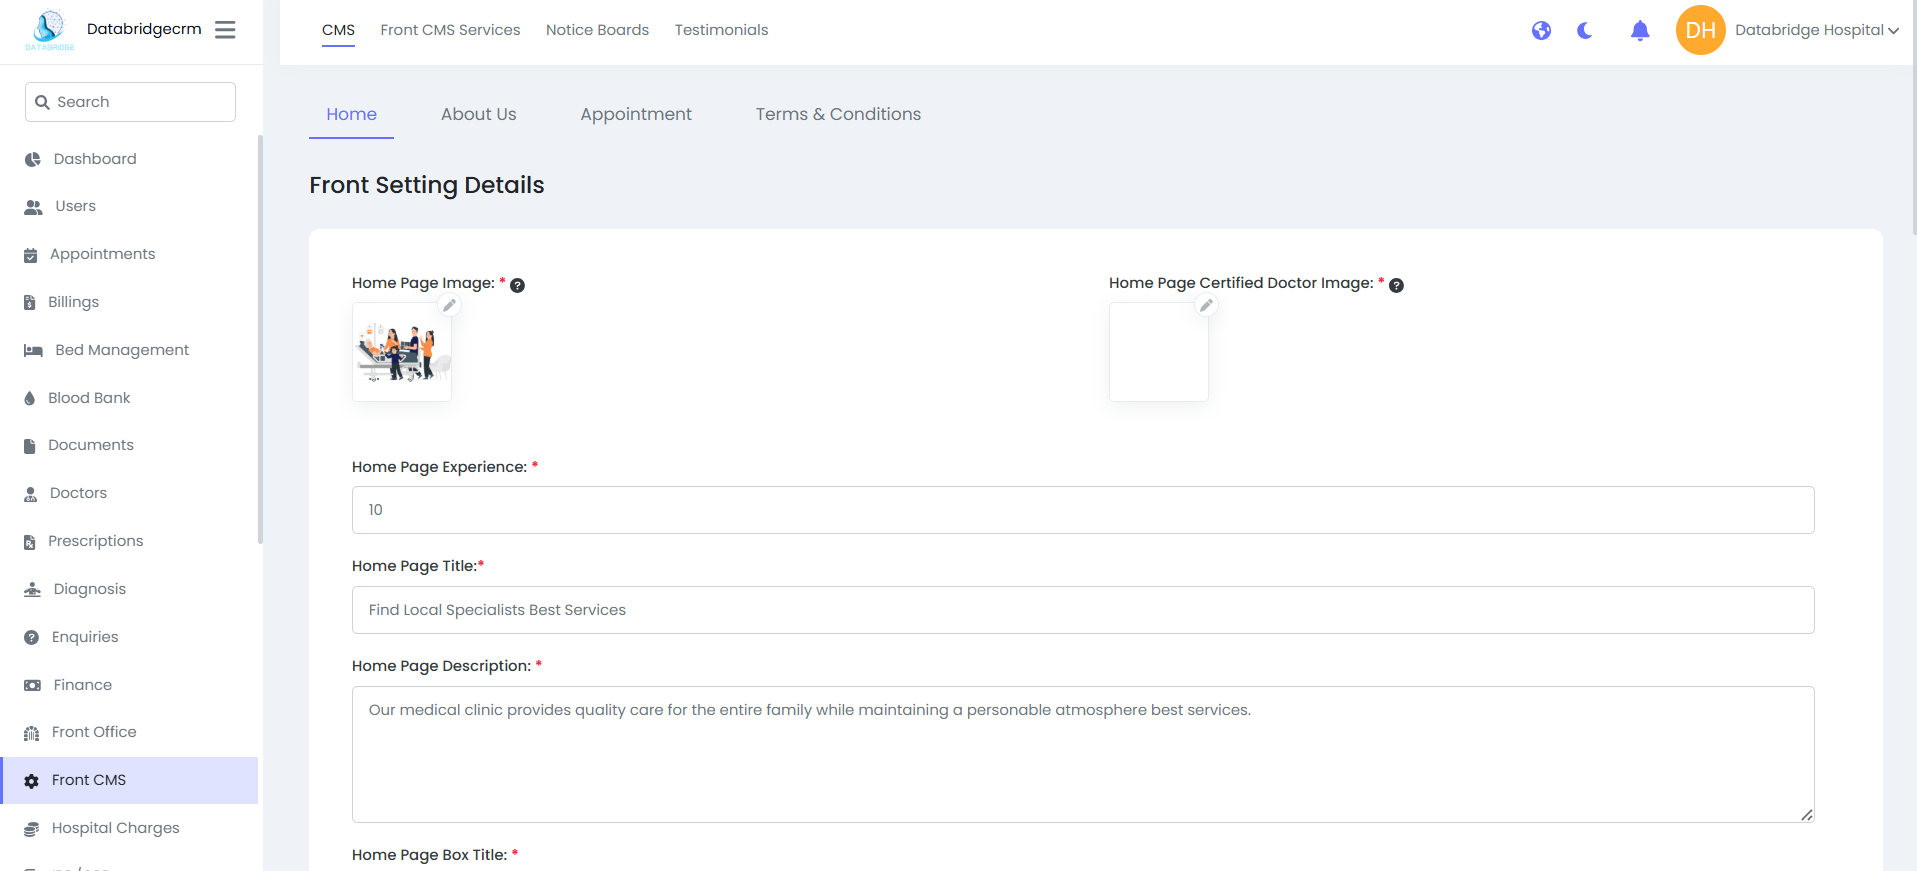
Includes:
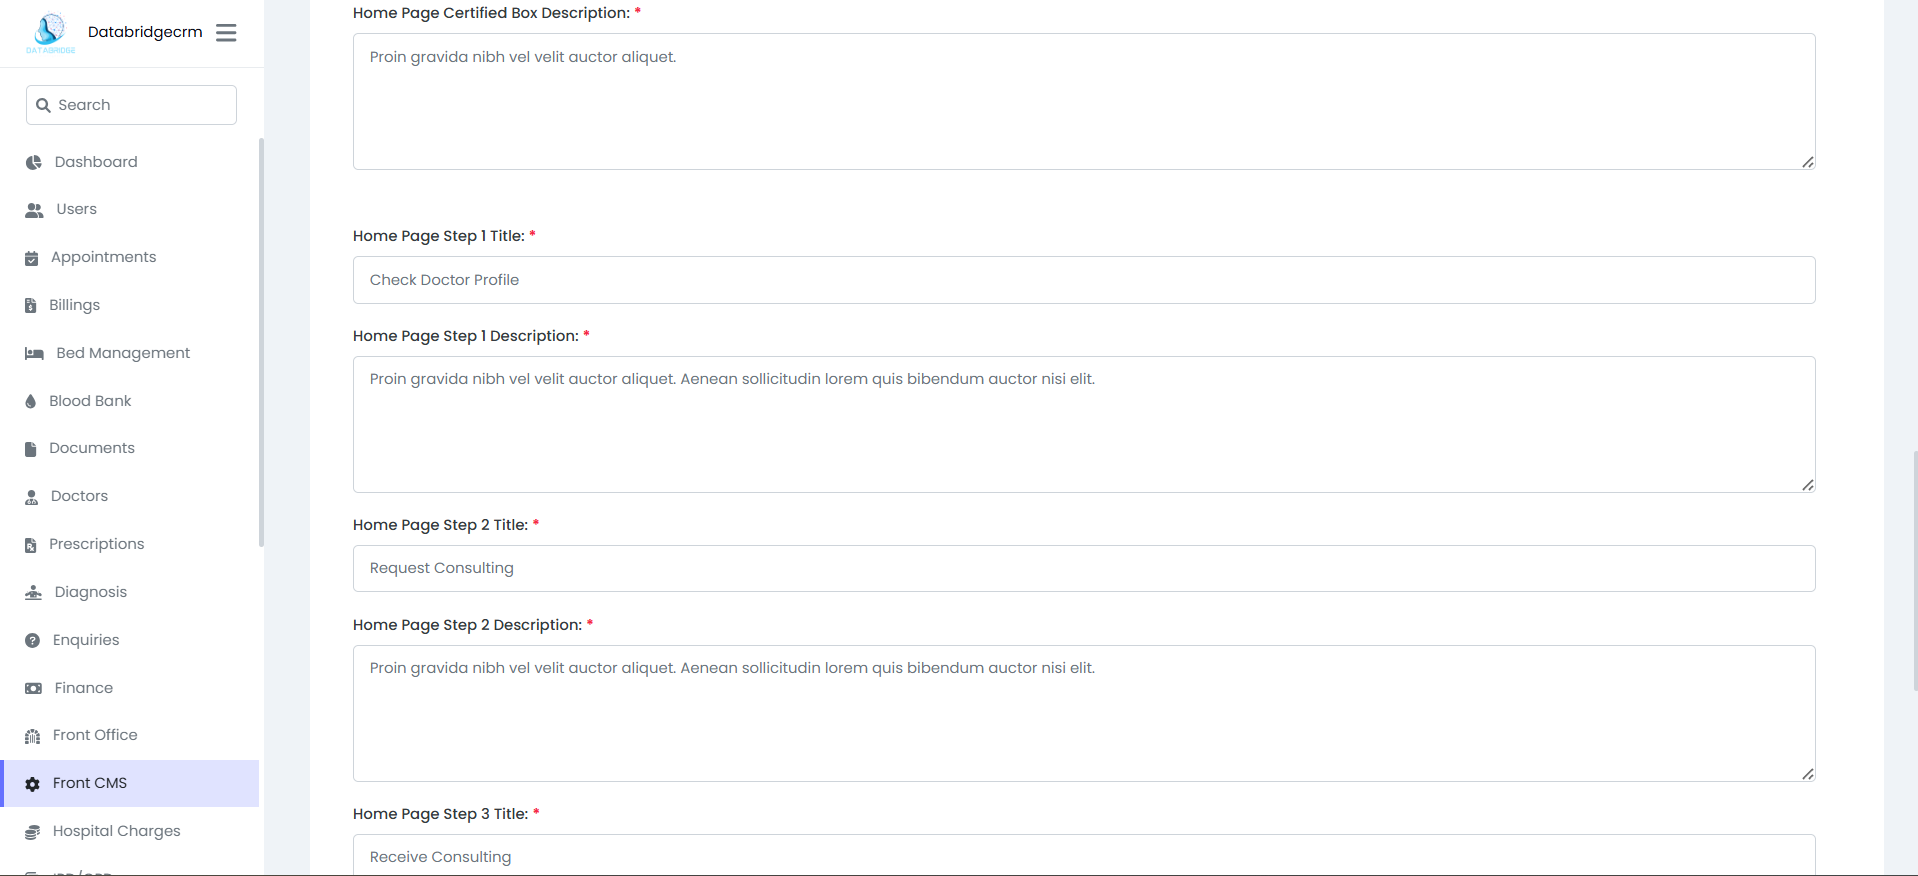
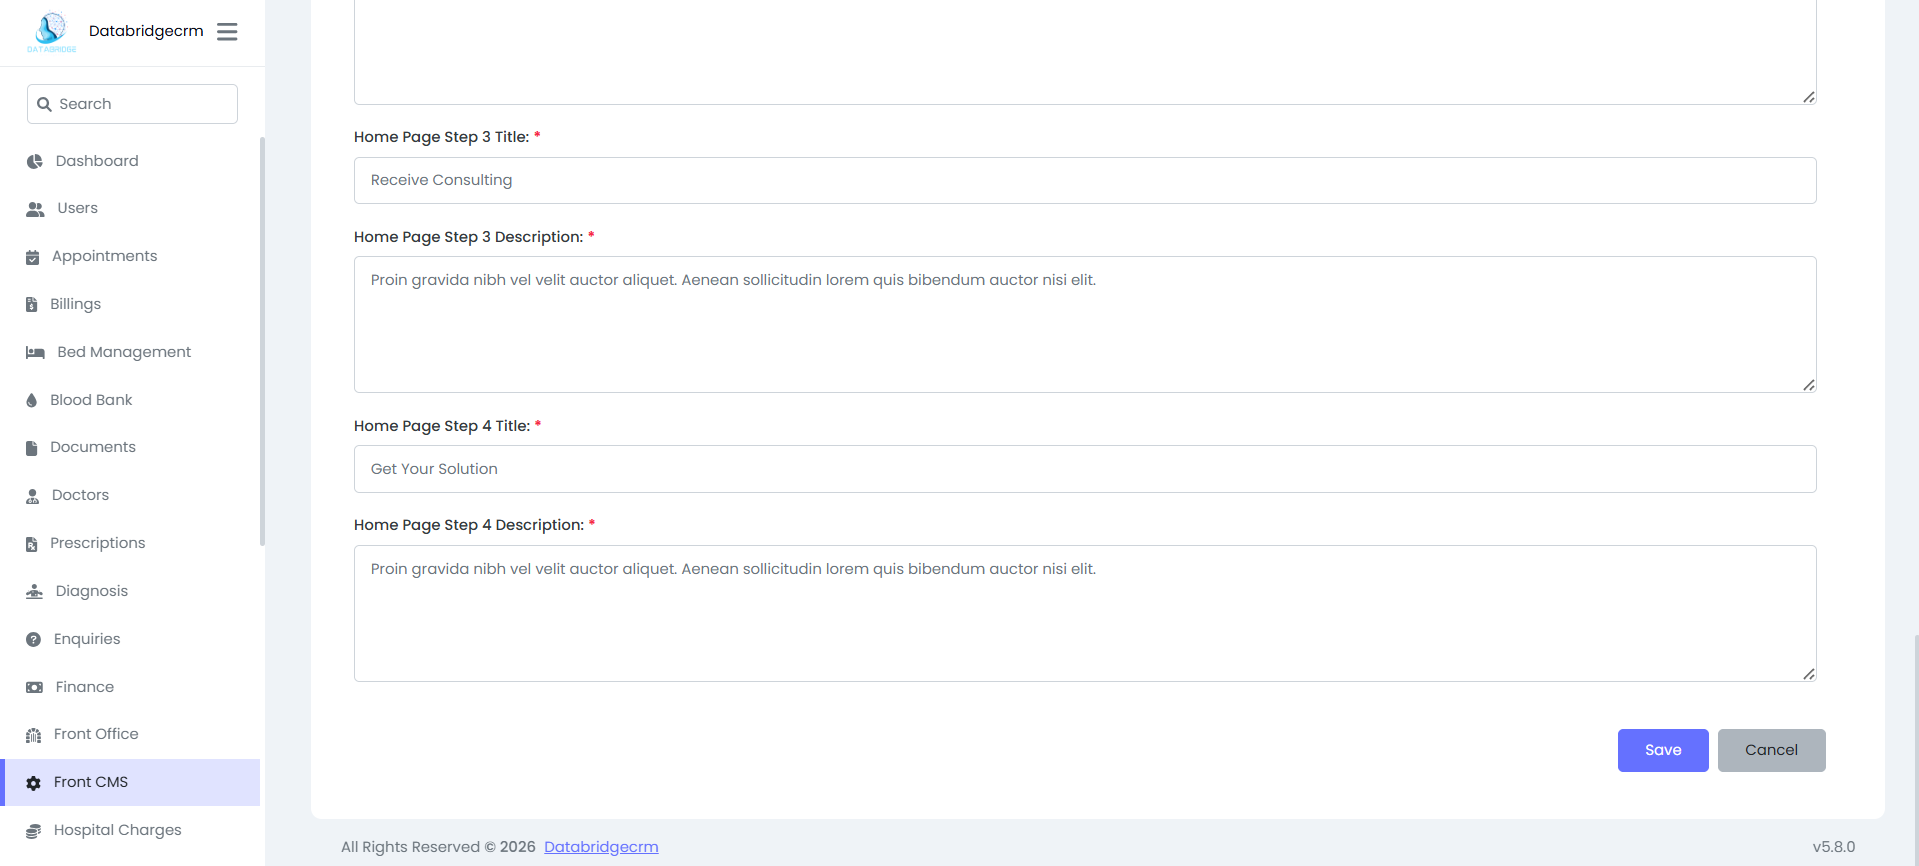
1. Home Page Settings
Manage:
- Home Image
- Title & Description
- Experience Count
- Step 1–4 Titles & Descriptions
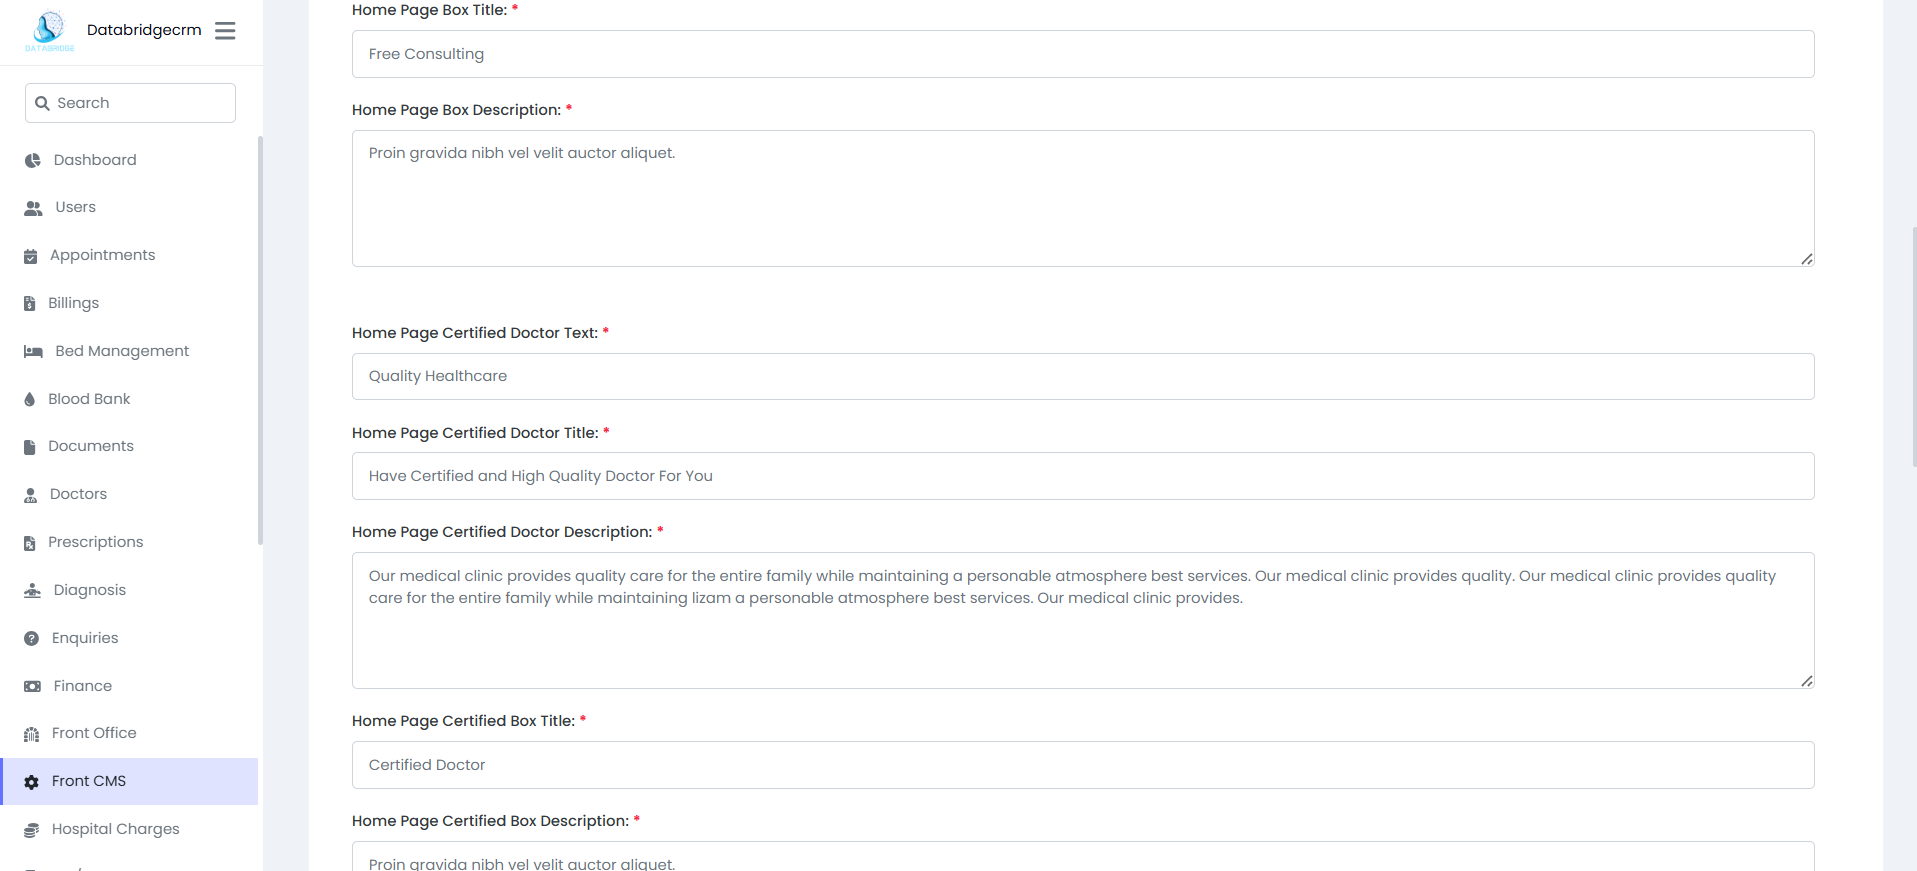
- Certified Doctor Section
- Highlight Boxes
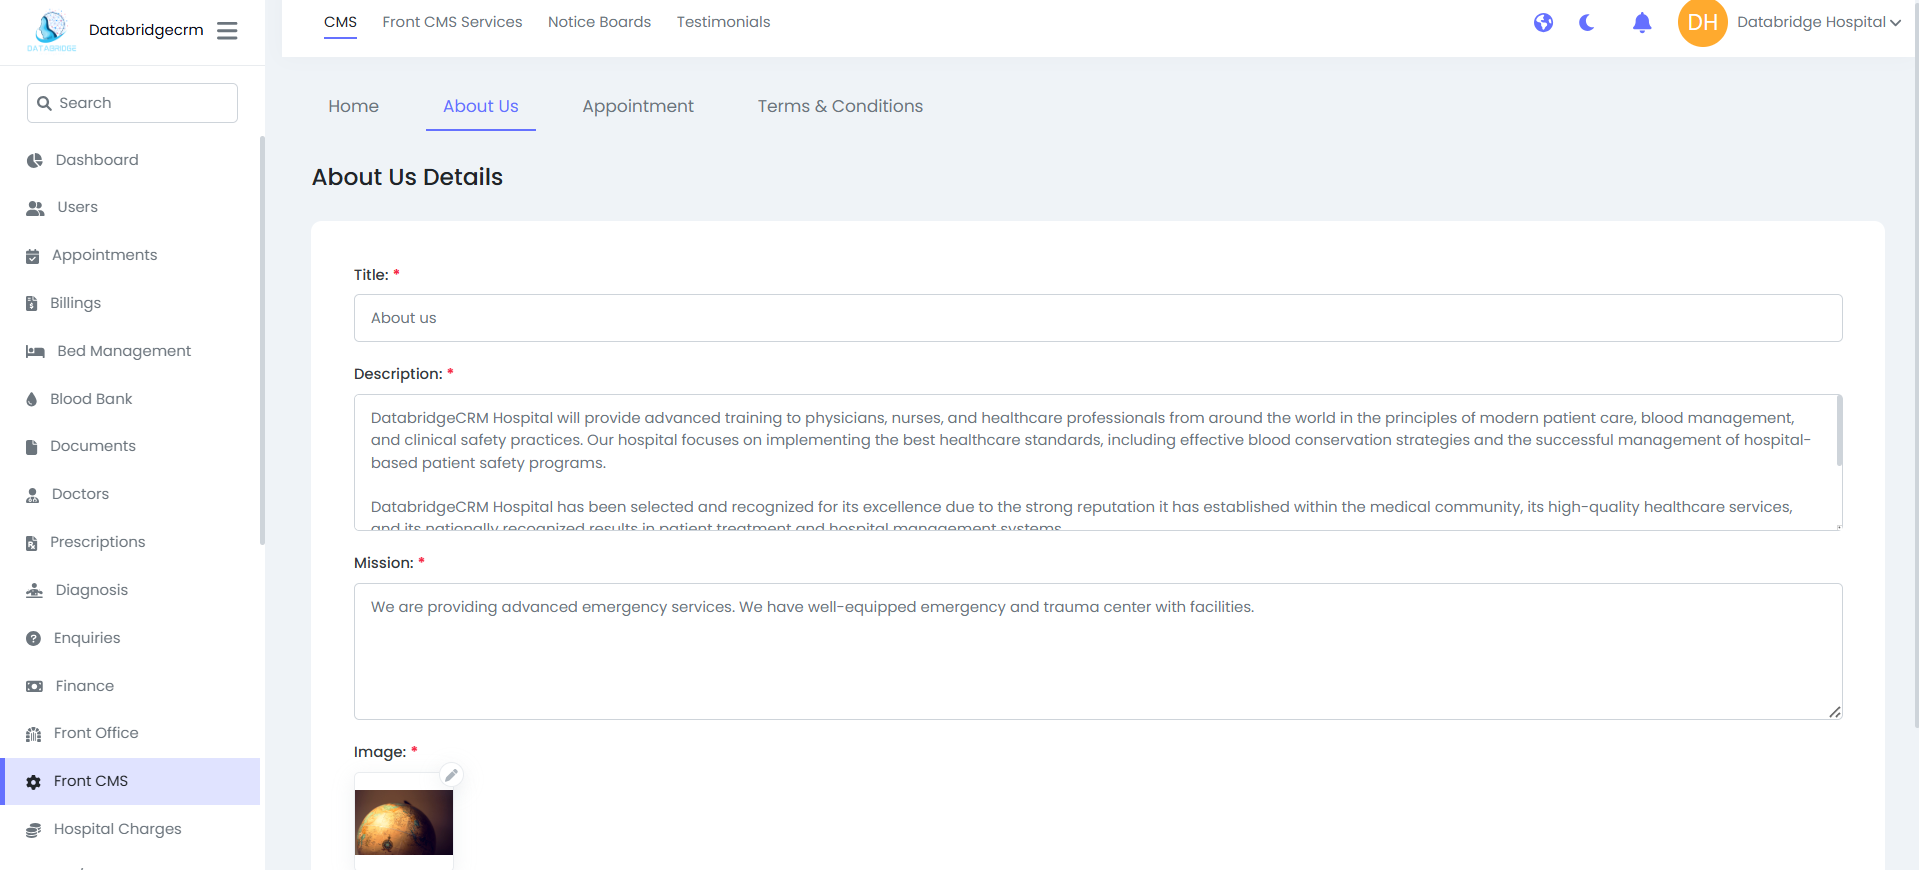
About Us Page:
Manage:
- Title
- Description
- Mission
- Image
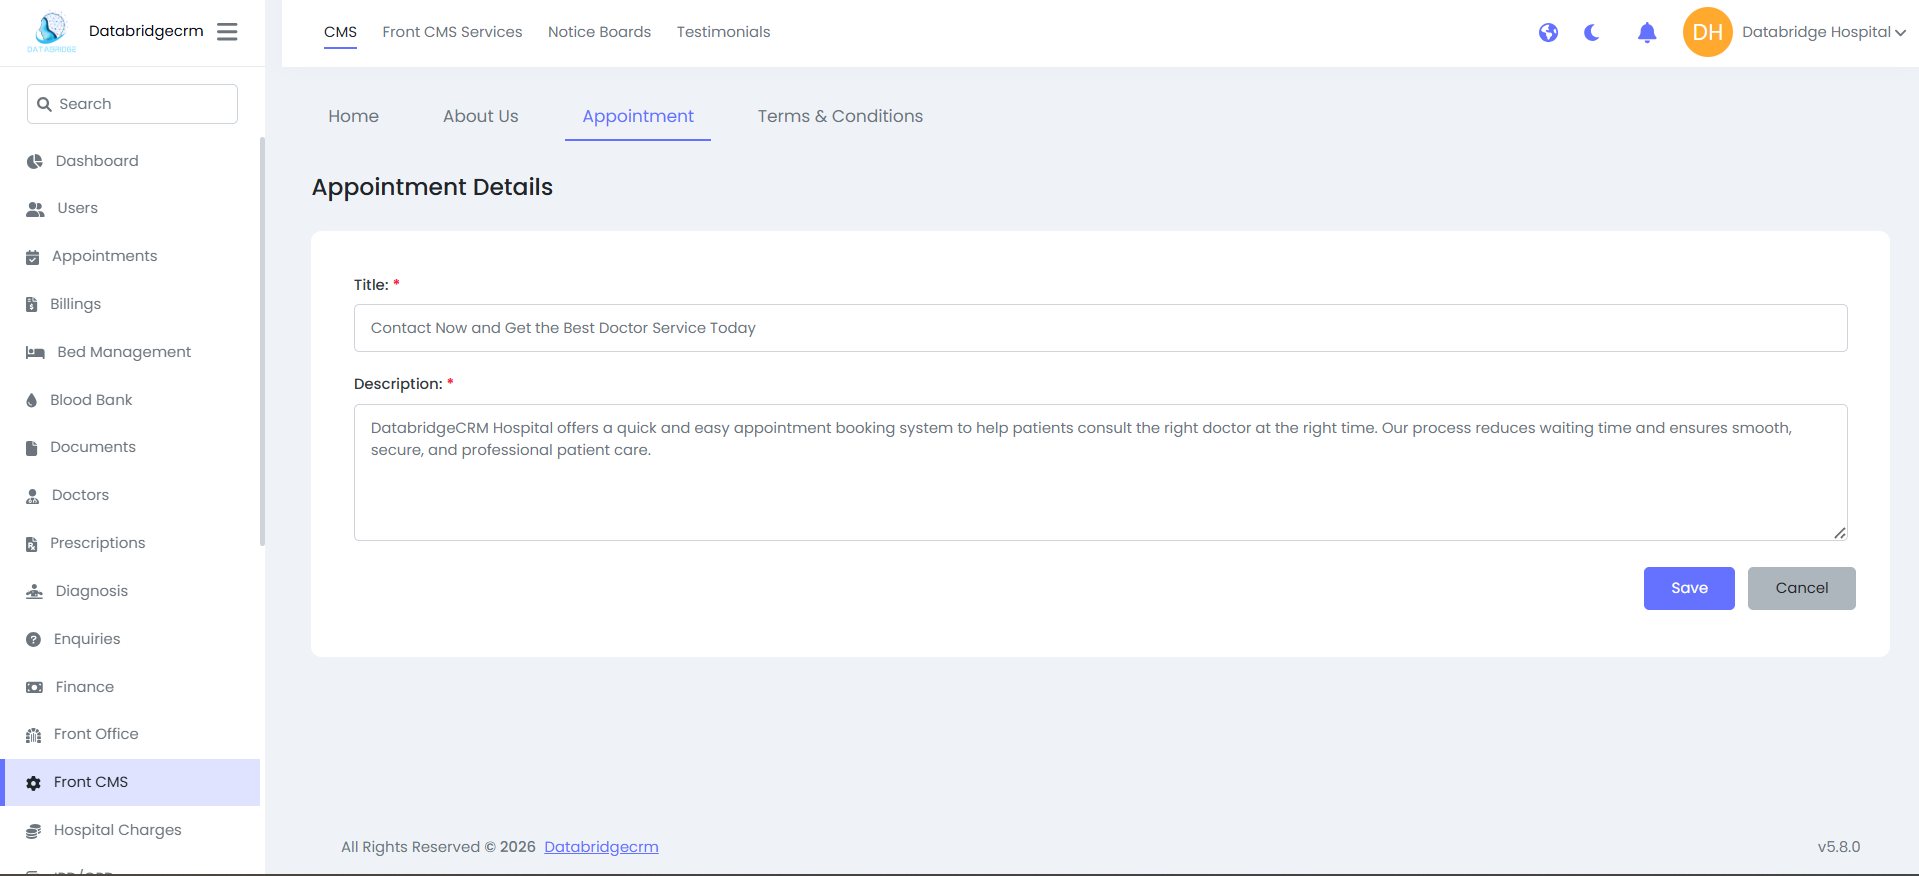
3. Appointment Page
Manage:
- Appointment Title
- Description
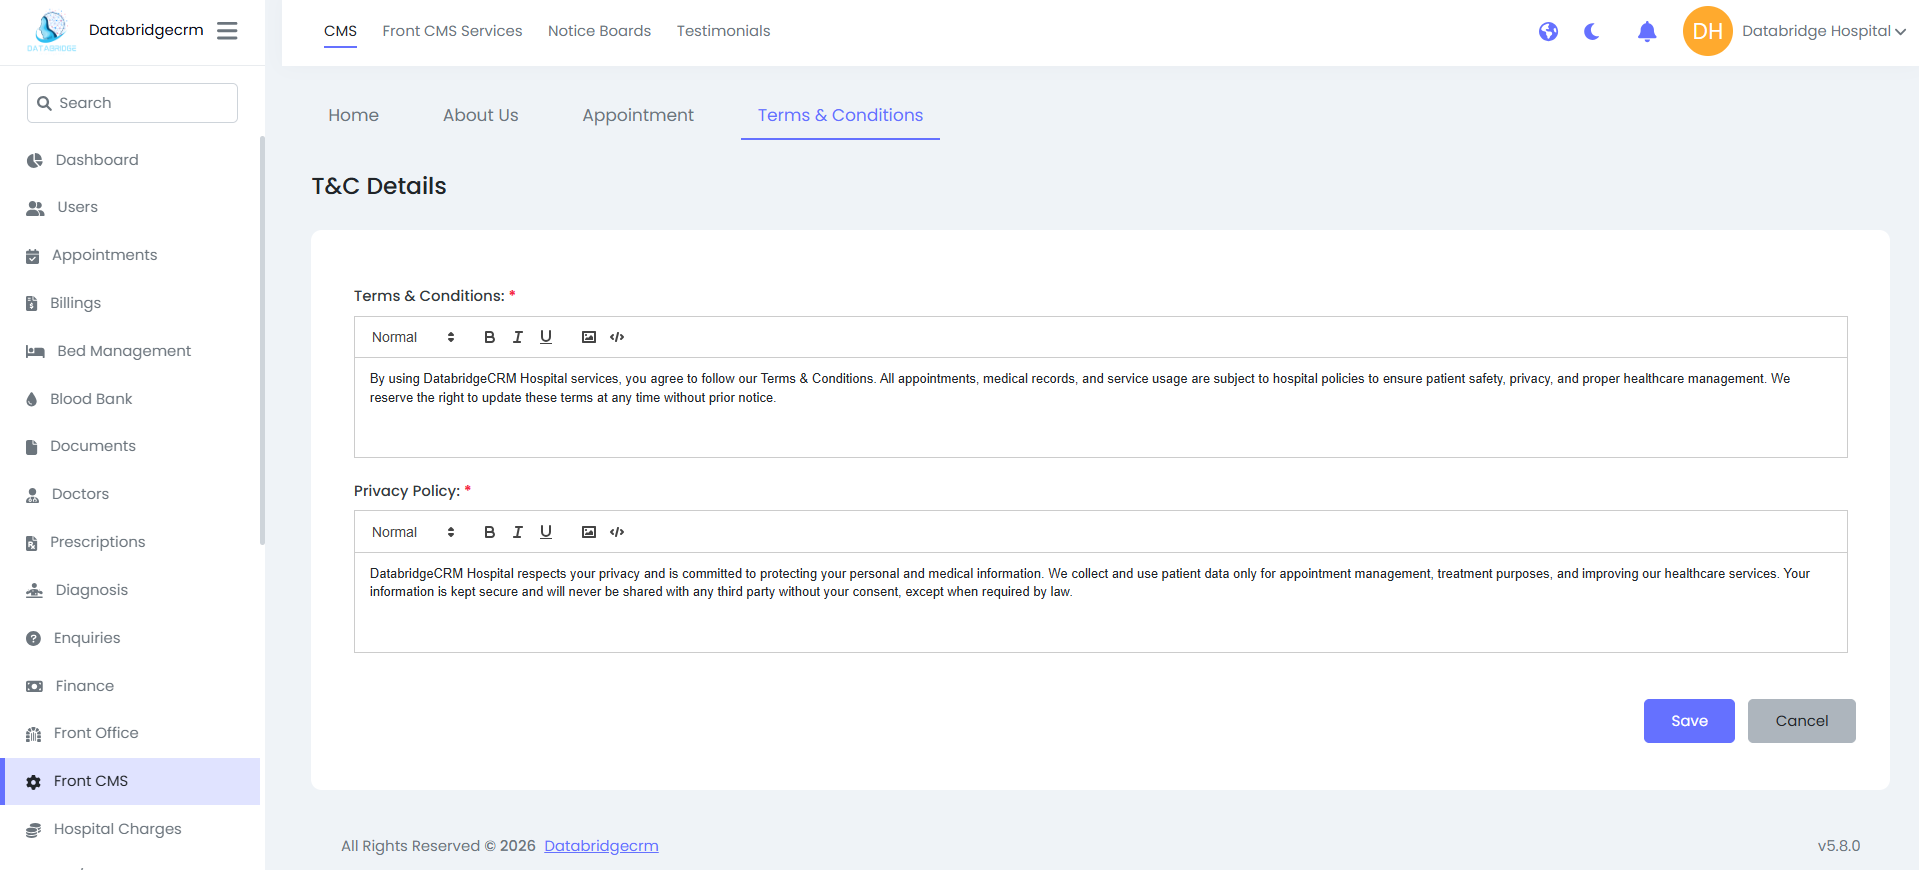
4. Terms & Conditions
Manage:
- Terms & Conditions Content
- Privacy Policy Content
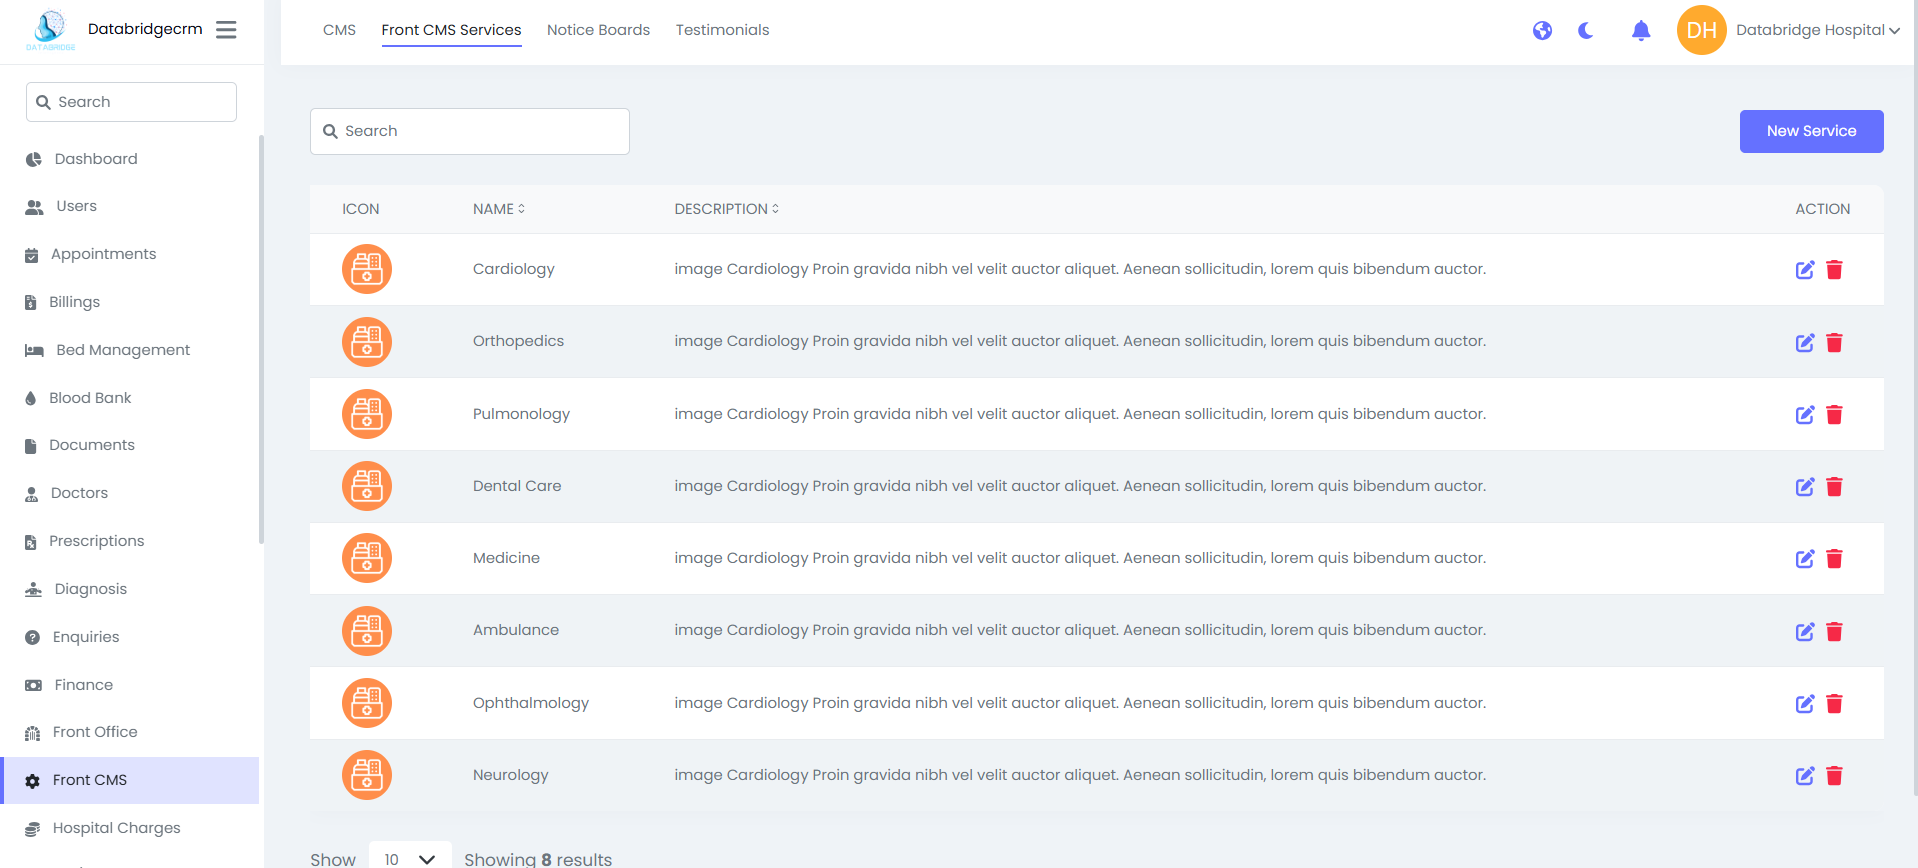
5. Front CMS Services
Add / Edit hospital services:
- Icon
- Service Name
- Description
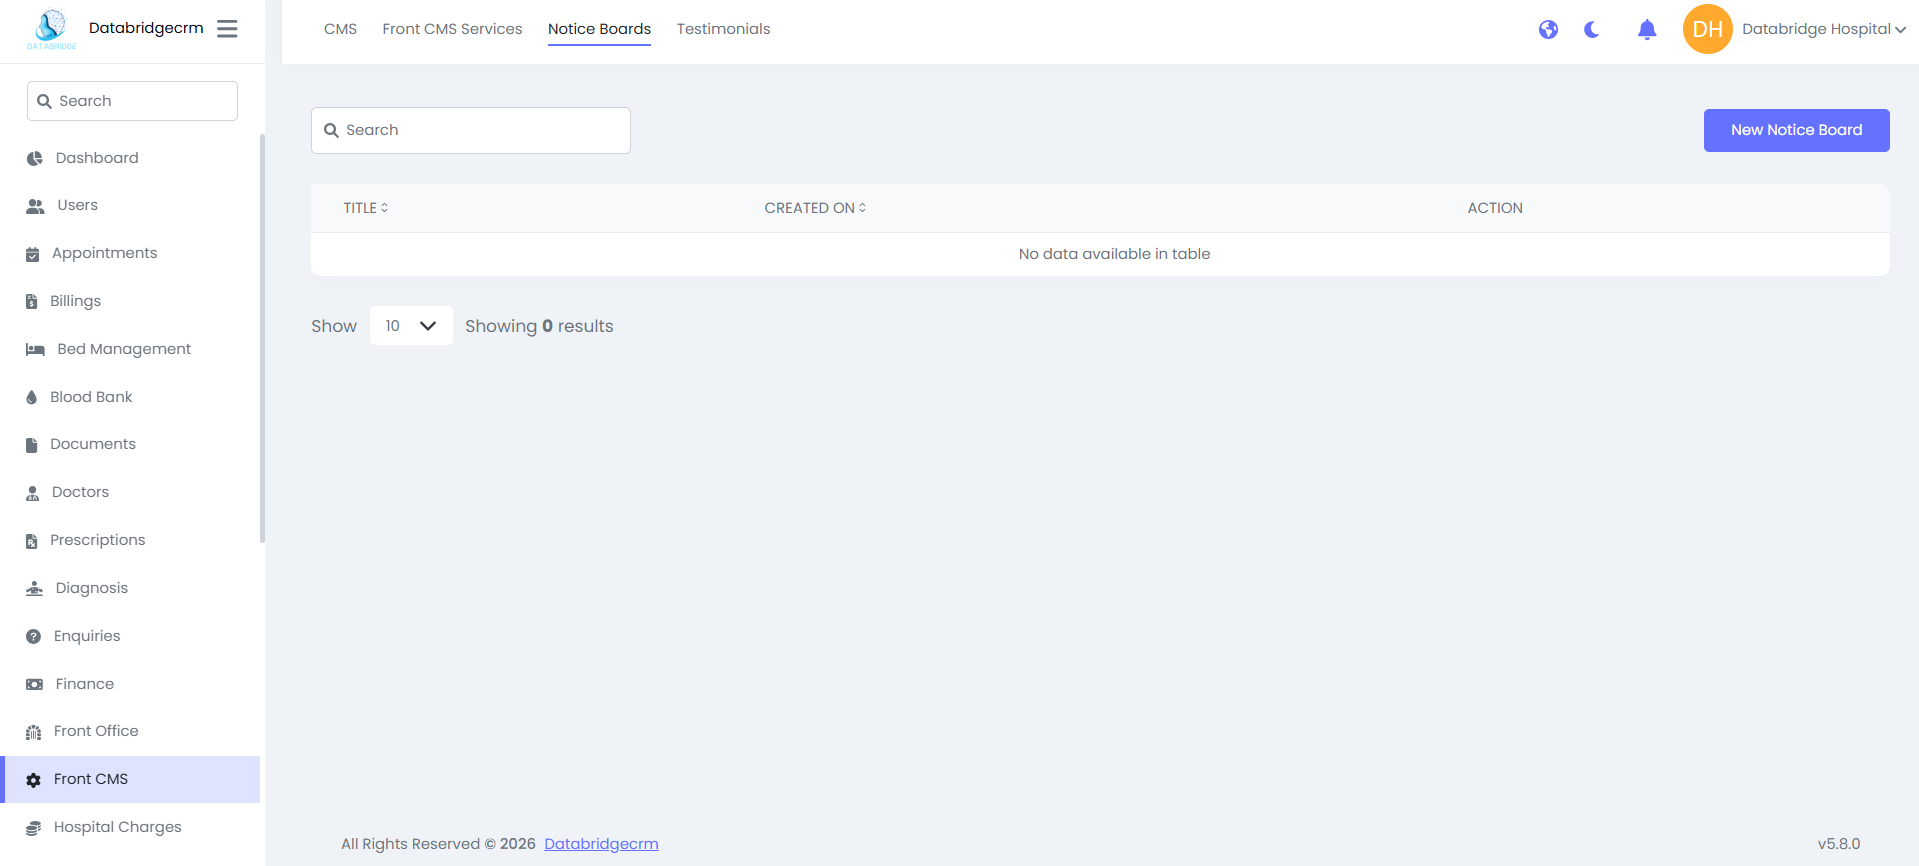
6. Notice Boards
Create and manage website announcements:
- Title
- Created Date
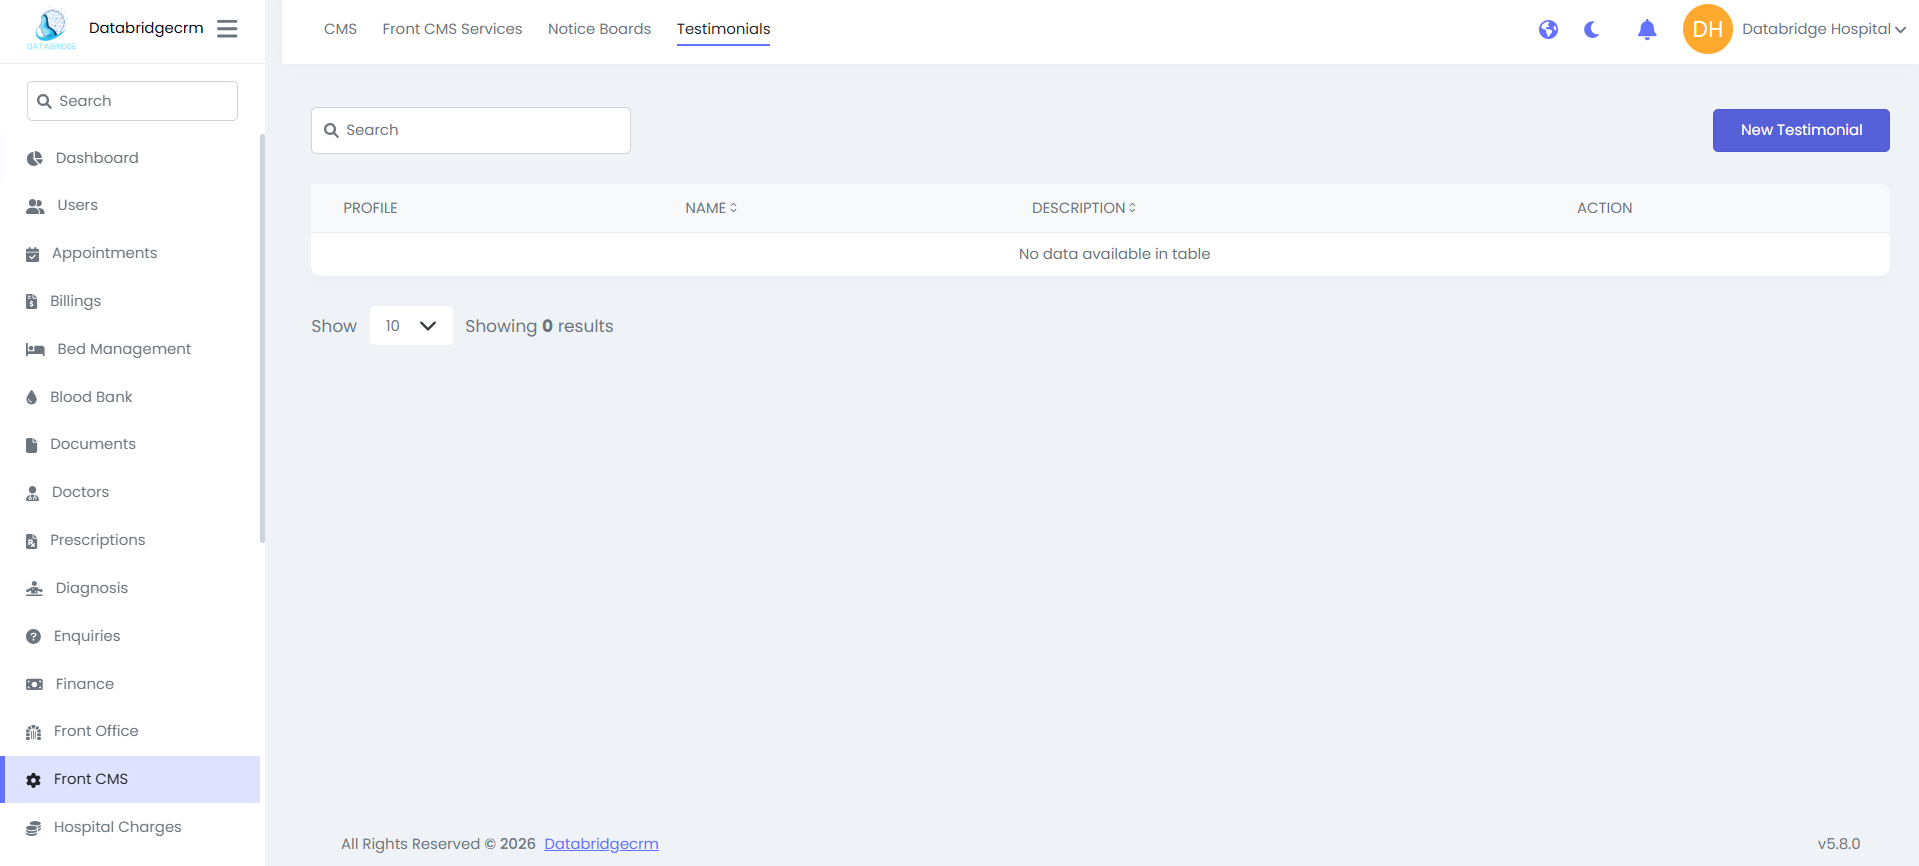
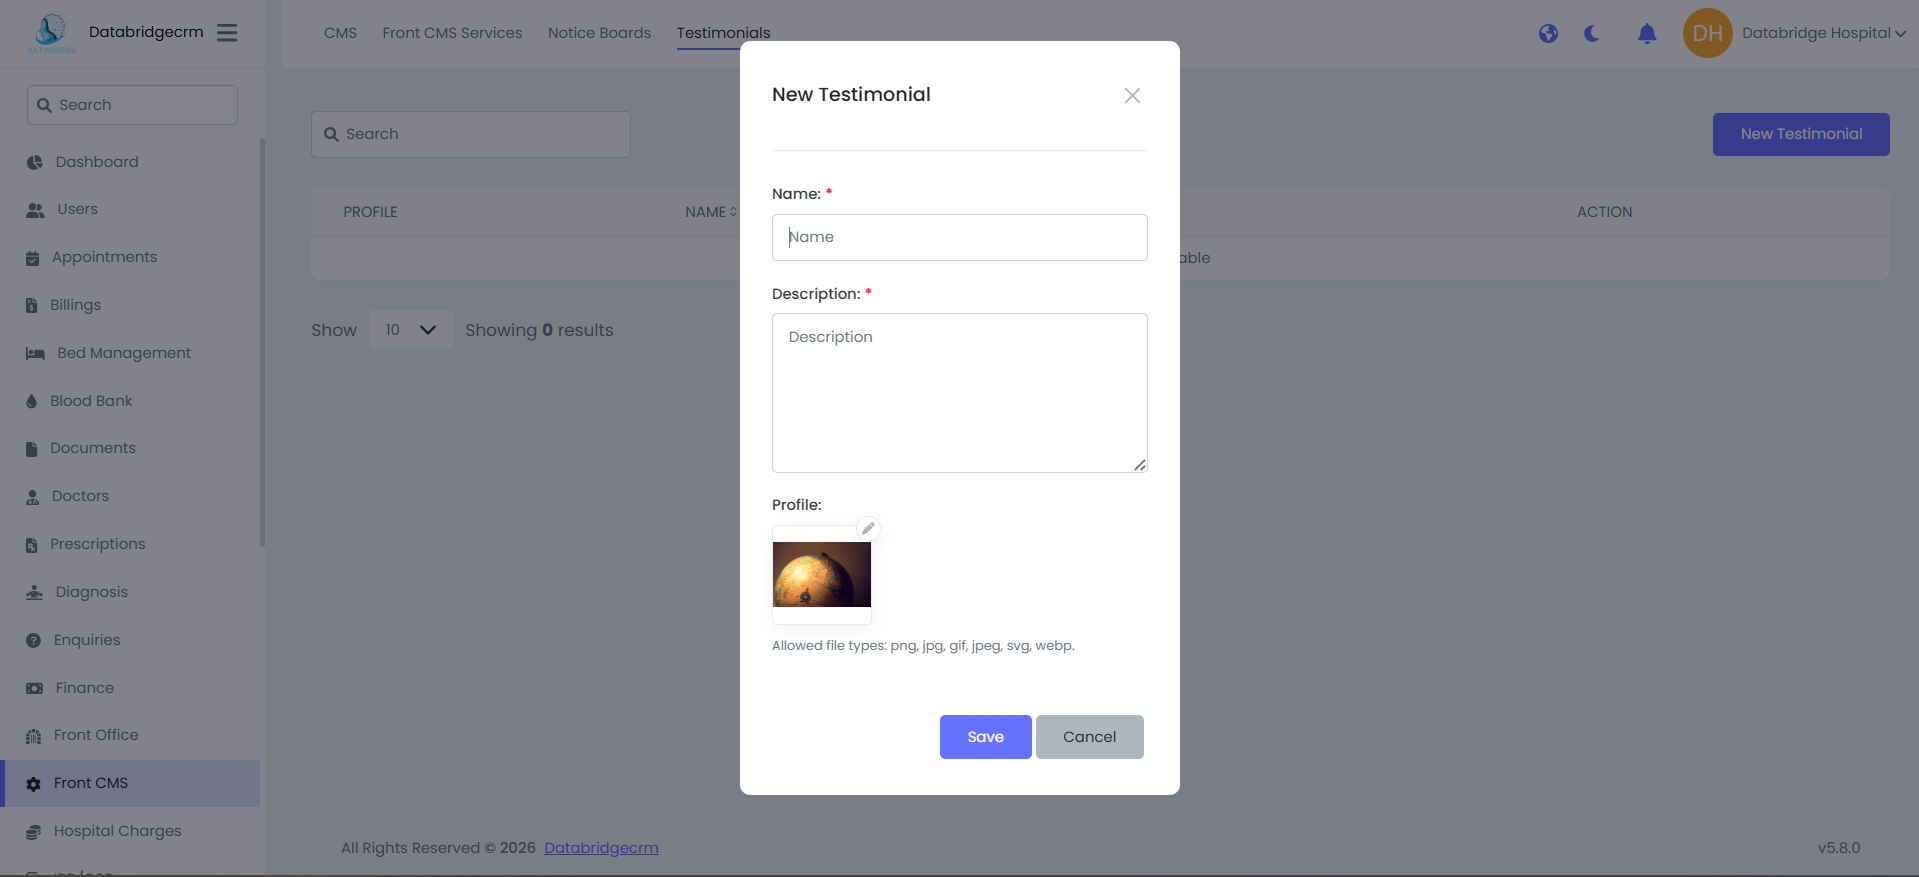
7. Testimonials
Manage patient feedback section:
- Name
- Description
- Profile Image
Steps to Update:
Go to Front CMS
Select required section
Update content
Click Save
1. Home Page Settings
Manage:
- Home Image
- Title & Description
- Experience Count
- Step 1–4 Titles & Descriptions
- Certified Doctor Section
- Highlight Boxes
About Us Page:
Manage:
- Title
- Description
- Mission
- Image
3. Appointment Page
Manage:
- Appointment Title
- Description
4. Terms & Conditions
Manage:
- Terms & Conditions Content
- Privacy Policy Content
5. Front CMS Services
Add / Edit hospital services:
- Icon
- Service Name
- Description
6. Notice Boards
Create and manage website announcements:
- Title
- Created Date
7. Testimonials
Manage patient feedback section:
- Name
- Description
- Profile Image
Steps to Update:
Go to Front CMS
Select required section
Update content
Click Save
Hospital Charges
Hospital Charges module is used to manage all hospital service charges including categories, standard charges, and doctor OPD consultation fees.
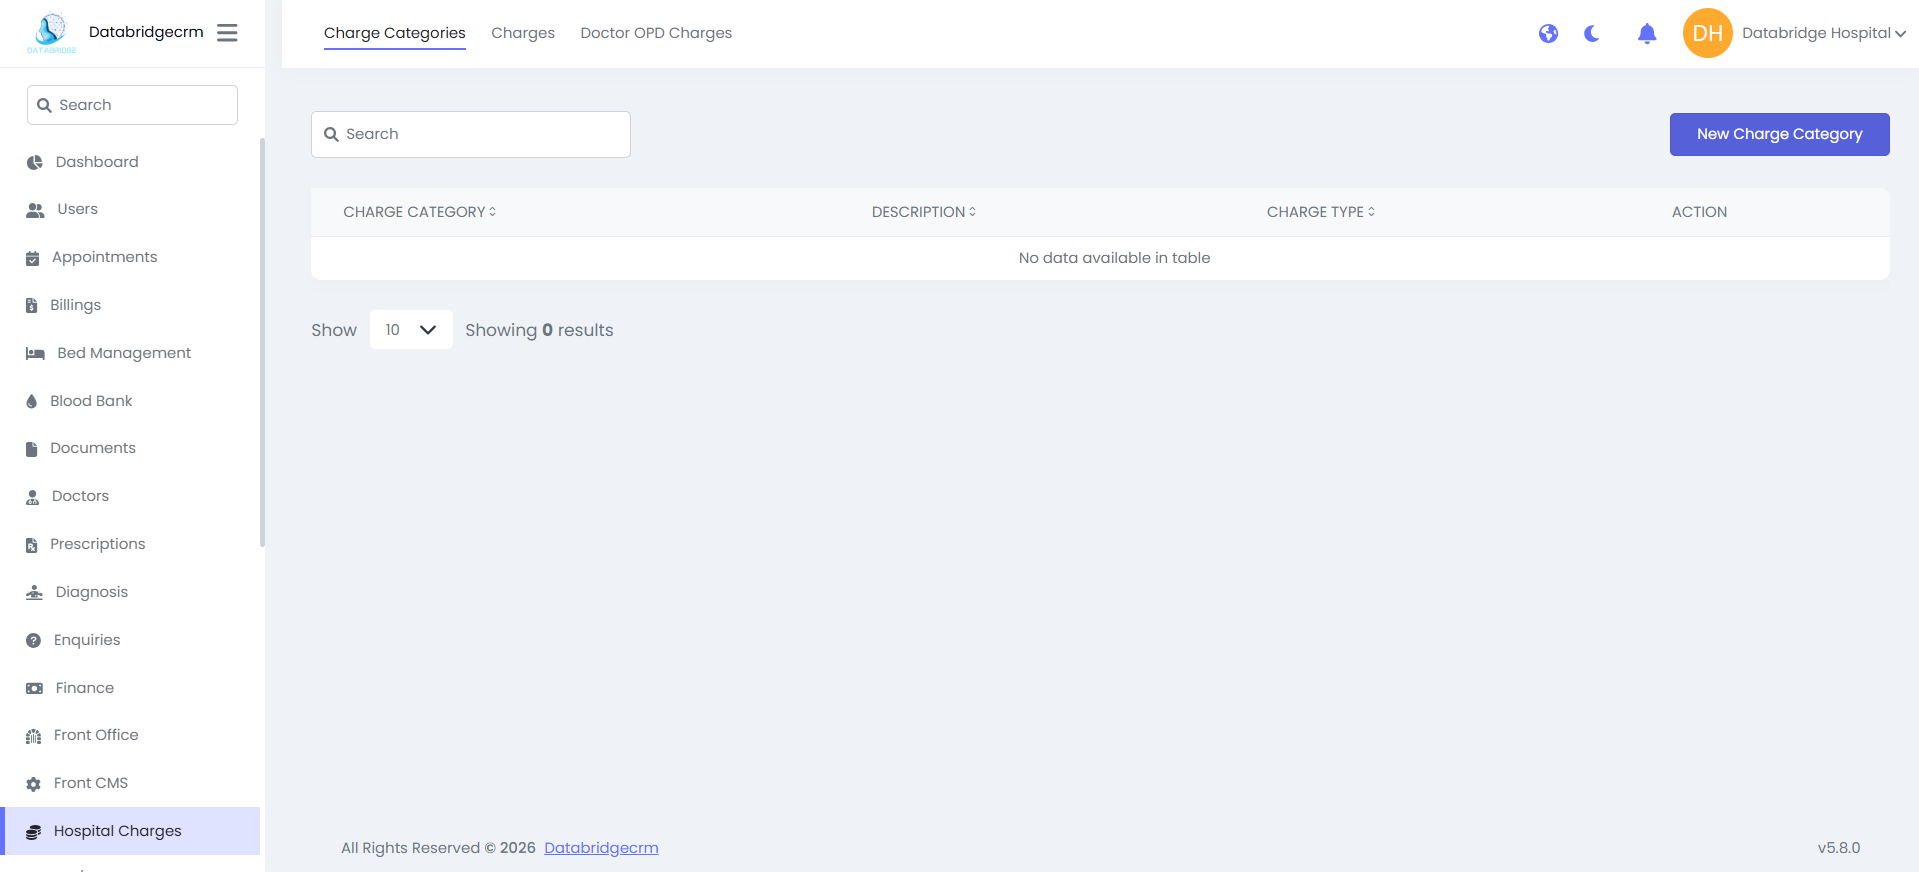
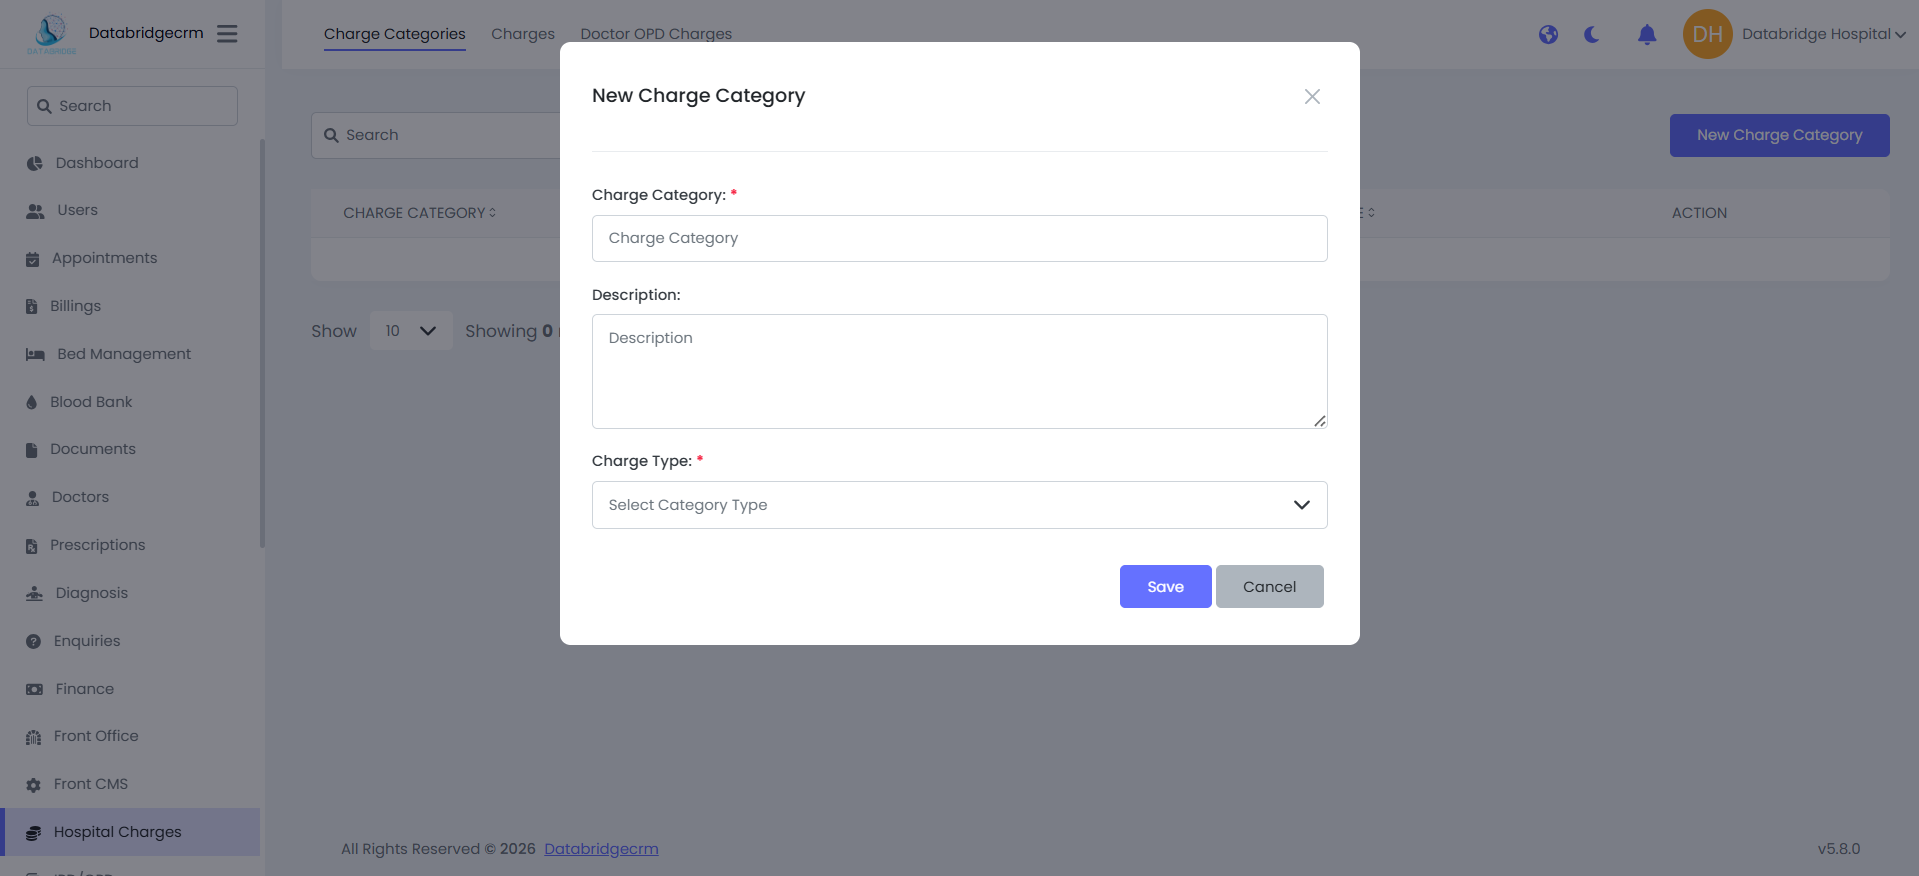
Charge Categories:
Create different billing categories for hospital services.
Fields:
- Charge Category* – Category Name
- Description – Short detail about category
- Charge Type* – Select type (e.g., OPD, IPD, etc.)
Use:
Helps organize services under proper billing groups.
Create different billing categories for hospital services.
Fields:
- Charge Category* – Category Name
- Description – Short detail about category
- Charge Type* – Select type (e.g., OPD, IPD, etc.)
Use:
Helps organize services under proper billing groups.
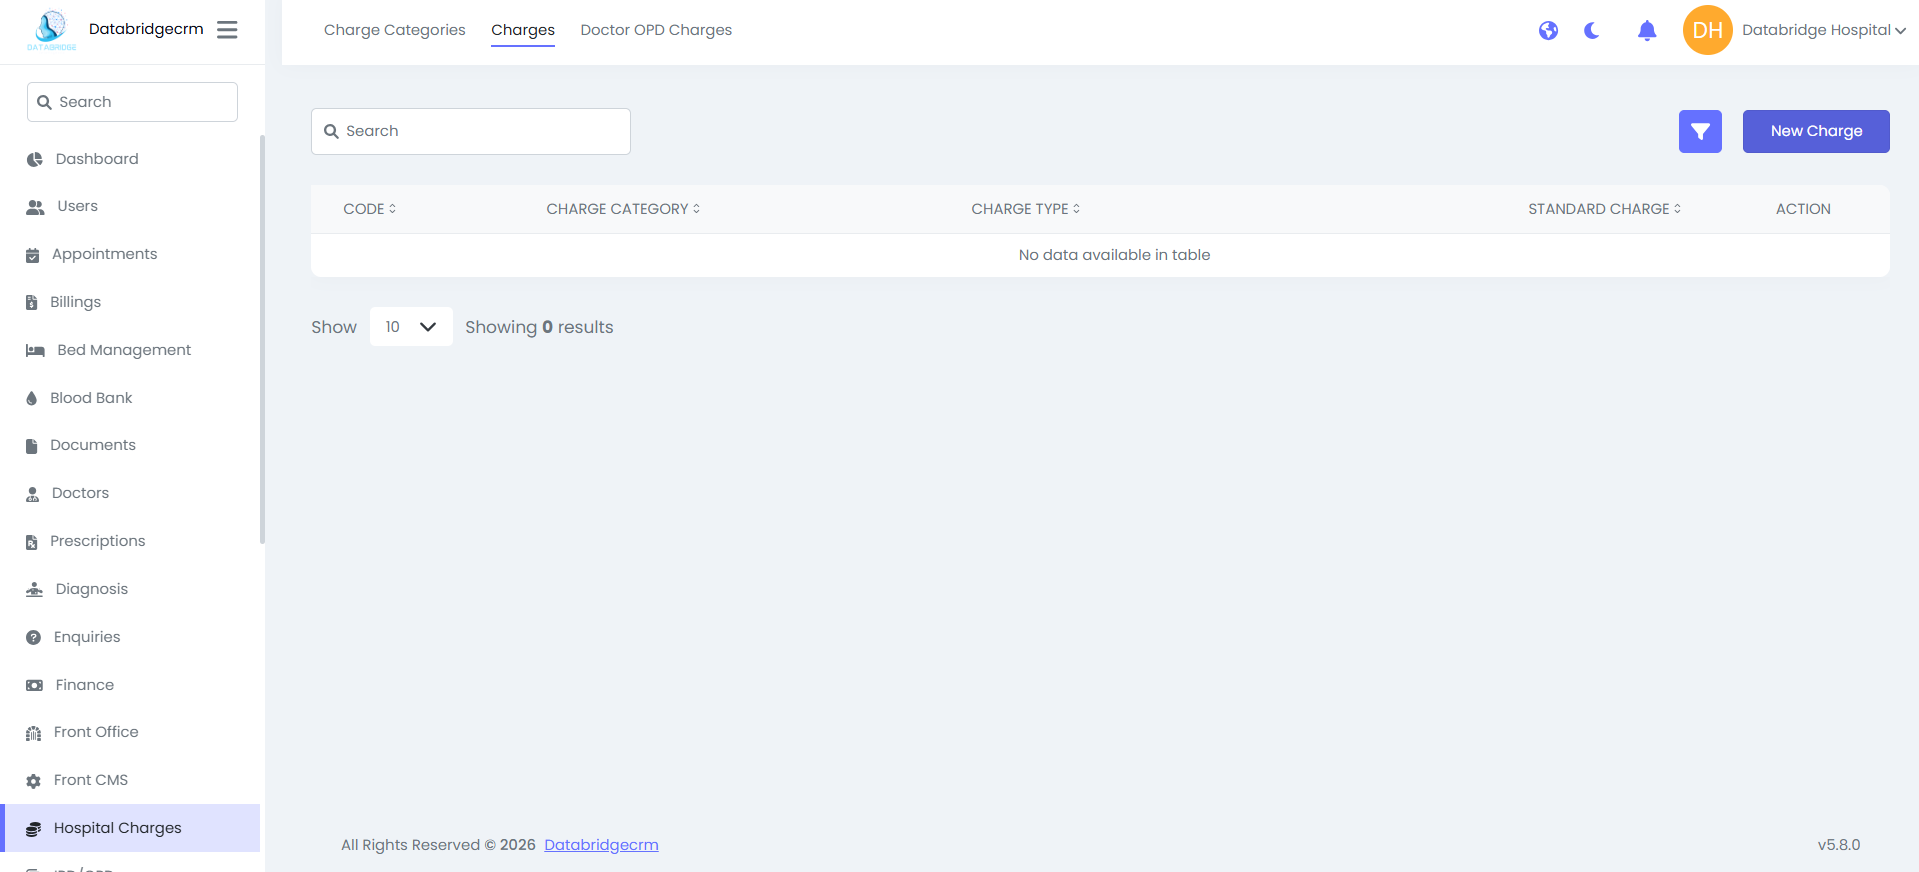
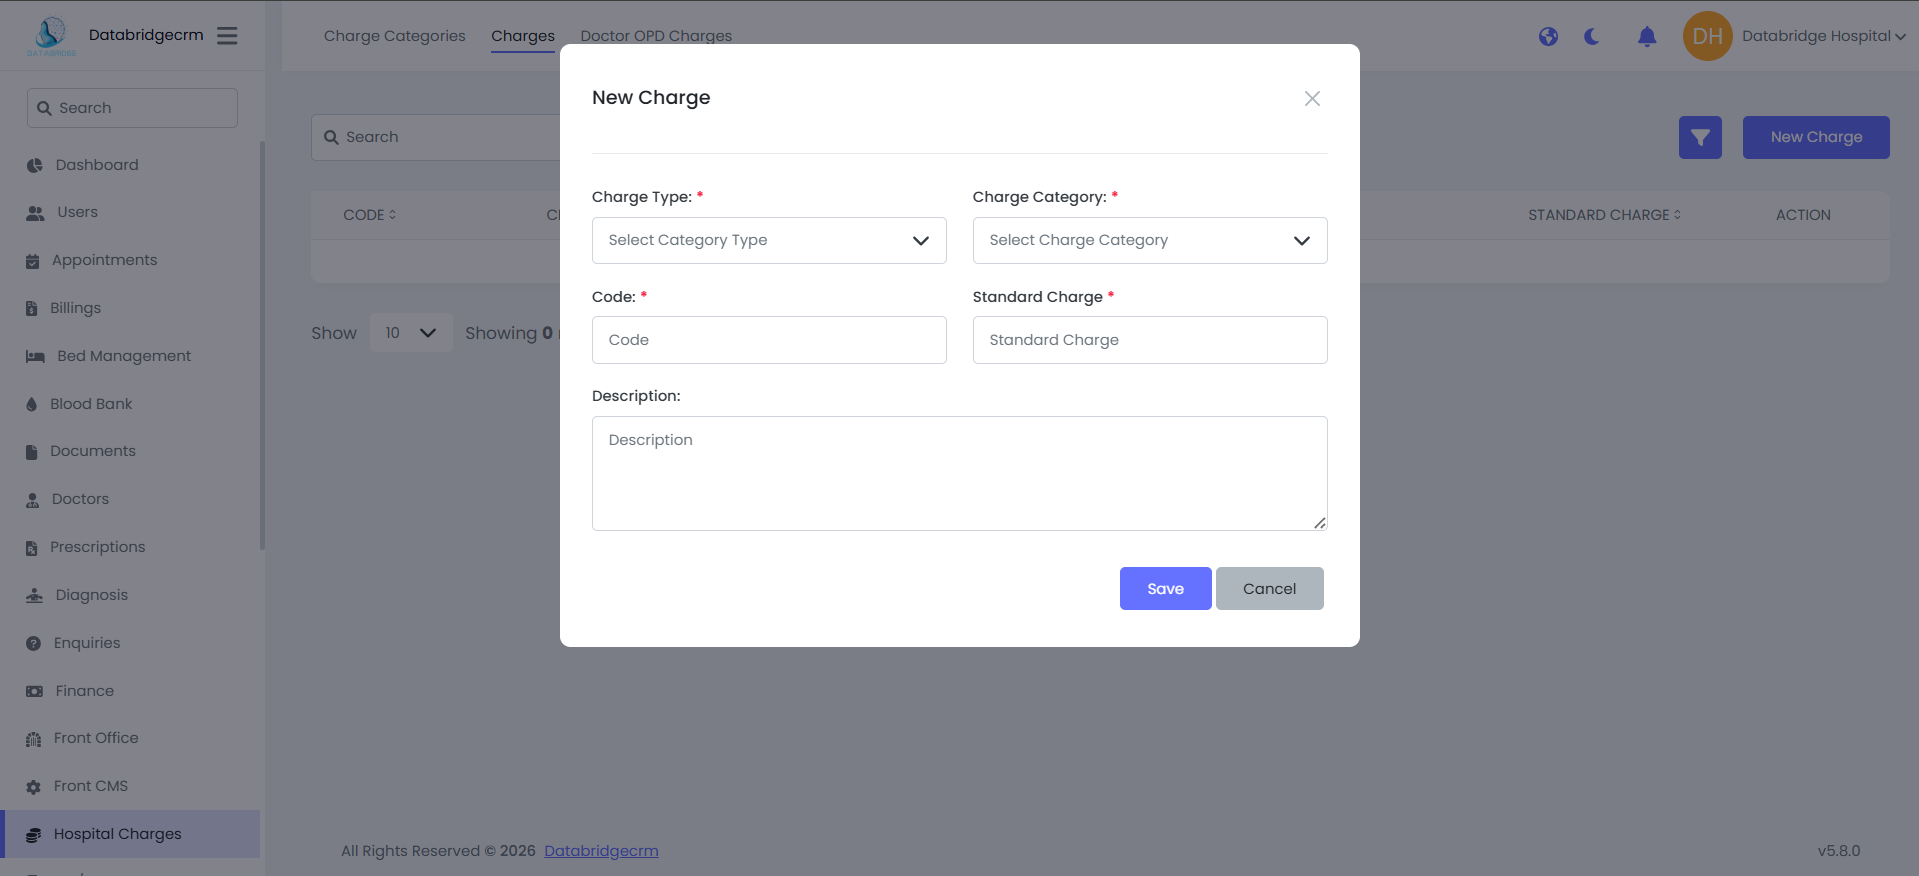
Charges:
Add standard charges under selected categories.
Fields:
- Charge Type* – Select Category Type
- Charge Category* – Select Category
- Code* – Unique charge code
- Standard Charge* – Fixed amount
- Description – Optional details
Use:
Defines fixed service rates (e.g., X-Ray, Test, Bed Charge, etc.)
Add standard charges under selected categories.
Fields:
- Charge Type* – Select Category Type
- Charge Category* – Select Category
- Code* – Unique charge code
- Standard Charge* – Fixed amount
- Description – Optional details
Use:
Defines fixed service rates (e.g., X-Ray, Test, Bed Charge, etc.)

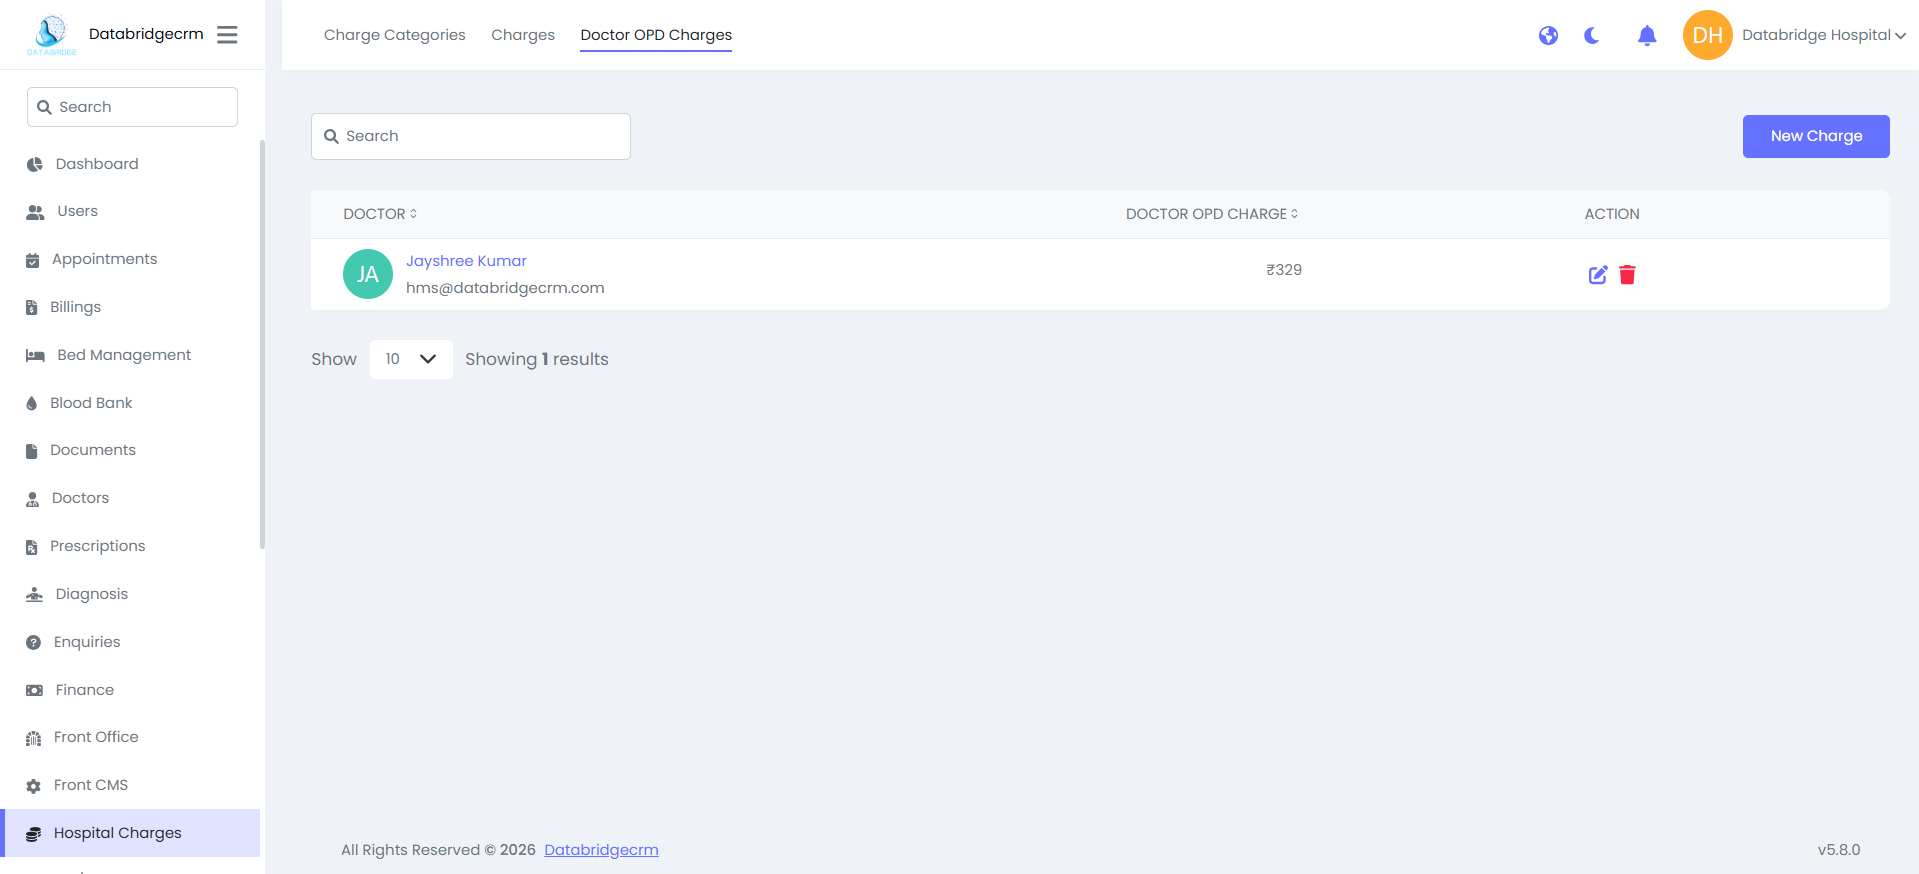
Doctor OPD Charges:
Set individual consultation fee for doctors.
Fields:
- Doctor* – Select doctor
- Doctor OPD Charge* – Consultation amount
Use:
Assign separate OPD fee per doctor.
Set individual consultation fee for doctors.
Fields:
- Doctor* – Select doctor
- Doctor OPD Charge* – Consultation amount
Use:
Assign separate OPD fee per doctor.
Buttons & Actions:
New Charge / New Charge Category – Add new entry
Edit Icon – Modify charge
Delete Icon – Remove charge
Search Bar – Find specific entry
Filter Option – Advanced filtering
Workflow:
Create Charge Category
Add Charges under that category
Set Doctor OPD Charges if required
New Charge / New Charge Category – Add new entry
Edit Icon – Modify charge
Delete Icon – Remove charge
Search Bar – Find specific entry
Filter Option – Advanced filtering
Workflow:
Create Charge Category
Add Charges under that category
Set Doctor OPD Charges if required
IPD / OPD
IPD/OPD module is used to manage Out-Patient (OPD) and In-Patient (IPD) records including doctor assignment, billing, bed allocation, and visit tracking.

IPD:
Manage patients admitted in hospital for treatment.
New IPD Patient – Fields:
Patient* – Select patient
Case* – Choose case
IPD No – Auto generated
Height / Weight
Blood Pressure
Admission Date*
Doctor* – Assigned doctor
Bed Type* – Select bed category
Bed* – Assign specific bed
Symptoms
Notes
Is Old Patient – Toggle option
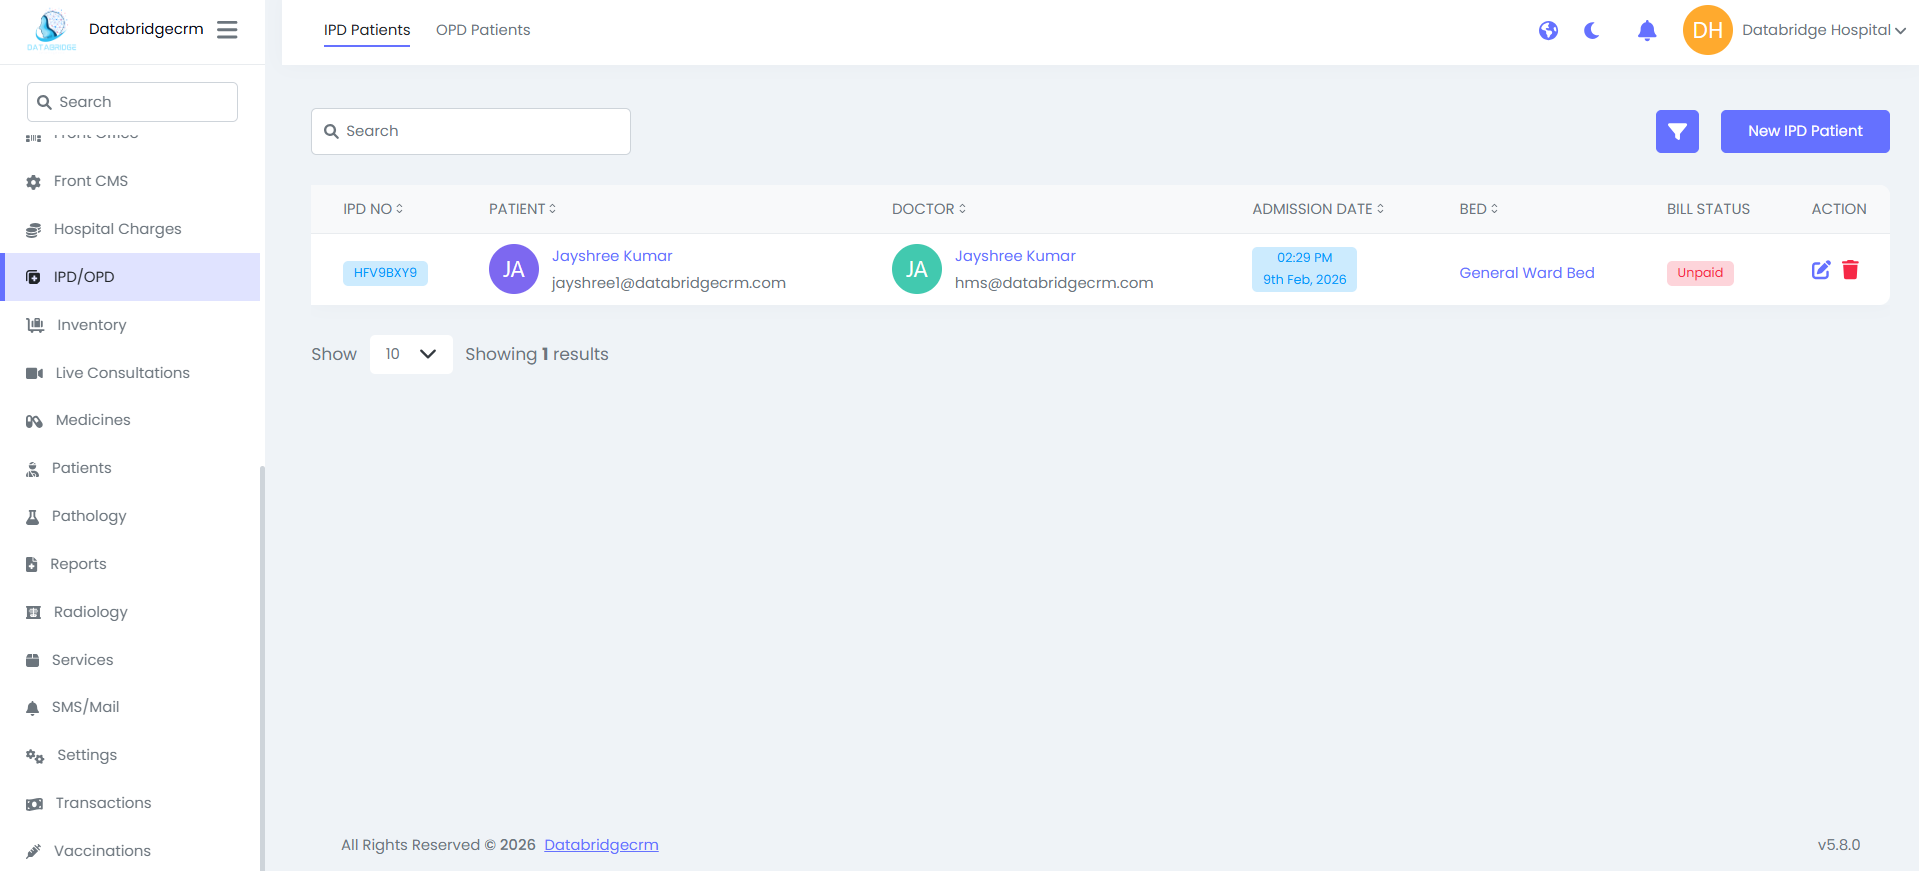
IPD List View Shows:
IPD No
Patient Name
Doctor
Admission Date
Bed
Bill Status (Paid / Unpaid)
Action (Edit / Delete)
IPD No
Patient Name
Doctor
Admission Date
Bed
Bill Status (Paid / Unpaid)
Action (Edit / Delete)

New OPD Patient:
Patient* – Select patient
Case* – Choose case type
OPD No – Auto generated number
Height / Weight – Physical details
Blood Pressure – BP reading
Appointment Date* – Visit date & time
Doctor* – Assigned doctor
Doctor OPD Charge* – Consultation fee
Payment Mode* – Cash / Online etc.
Symptoms – Patient complaints
Notes – Extra remarks
Is Old Patient – Toggle for previous patient
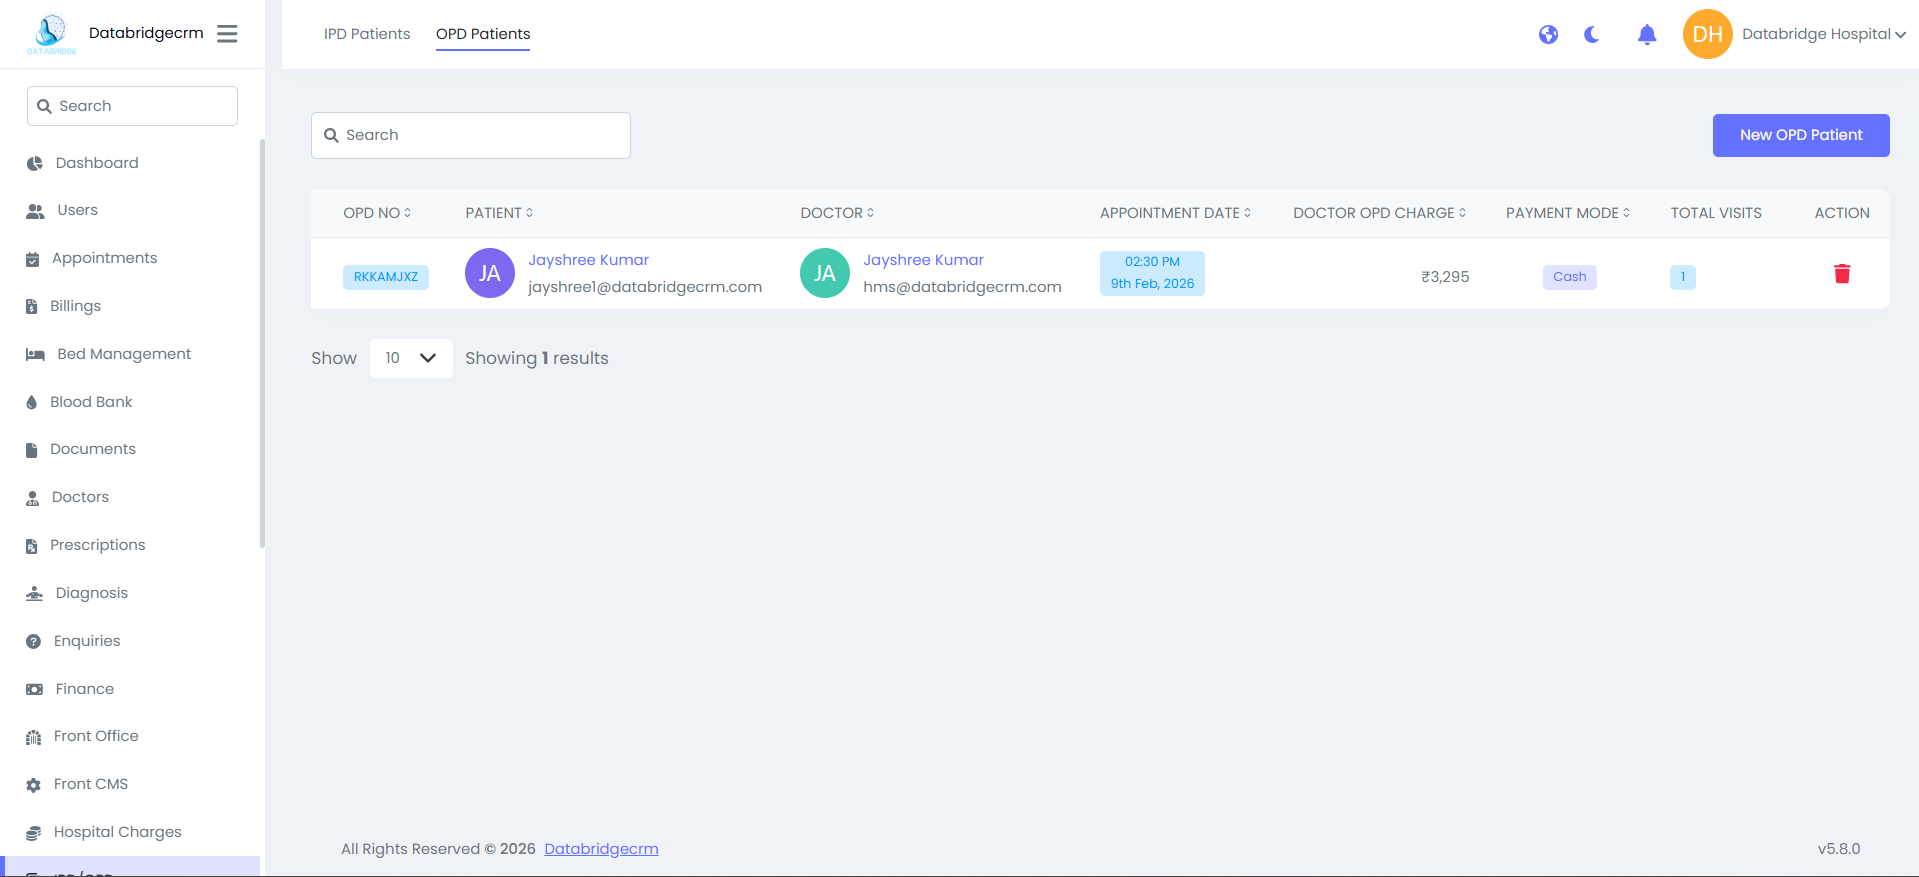
OPD List View Shows:
- OPD No
- Patient Name
- Doctor
- Appointment Date
- Doctor OPD Charge
- Payment Mode
- Total Visits
- Action (Delete)
- OPD No
- Patient Name
- Doctor
- Appointment Date
- Doctor OPD Charge
- Payment Mode
- Total Visits
- Action (Delete)
🔁 Workflow:
OPD Process
Add OPD Patient
Assign Doctor
Collect OPD Charge
Save Record
IPD Process
Add IPD Patient
Assign Doctor
Allocate Bed
Manage Billing
Discharge Patient
OPD Process
Add OPD Patient
Assign Doctor
Collect OPD Charge
Save Record
IPD Process
Add IPD Patient
Assign Doctor
Allocate Bed
Manage Billing
Discharge Patient
Inventory
Inventory module is used to manage hospital items, categories, stock records, and issued items. It helps track availability, stock updates, and item distribution.
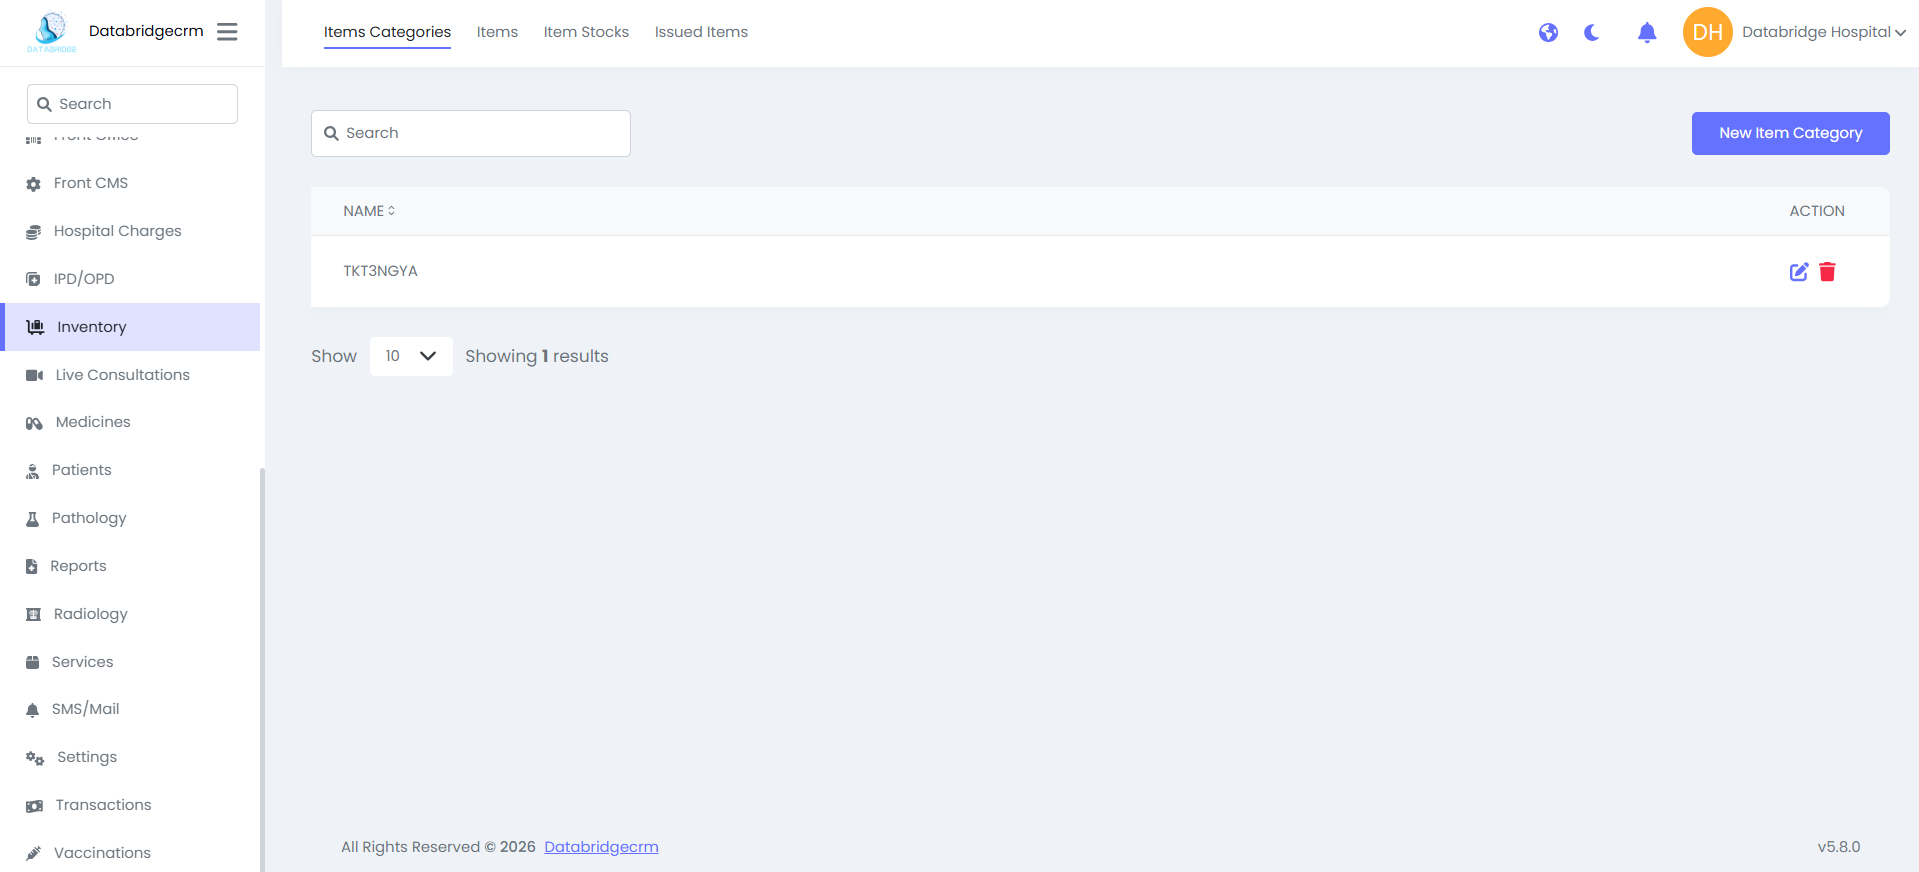
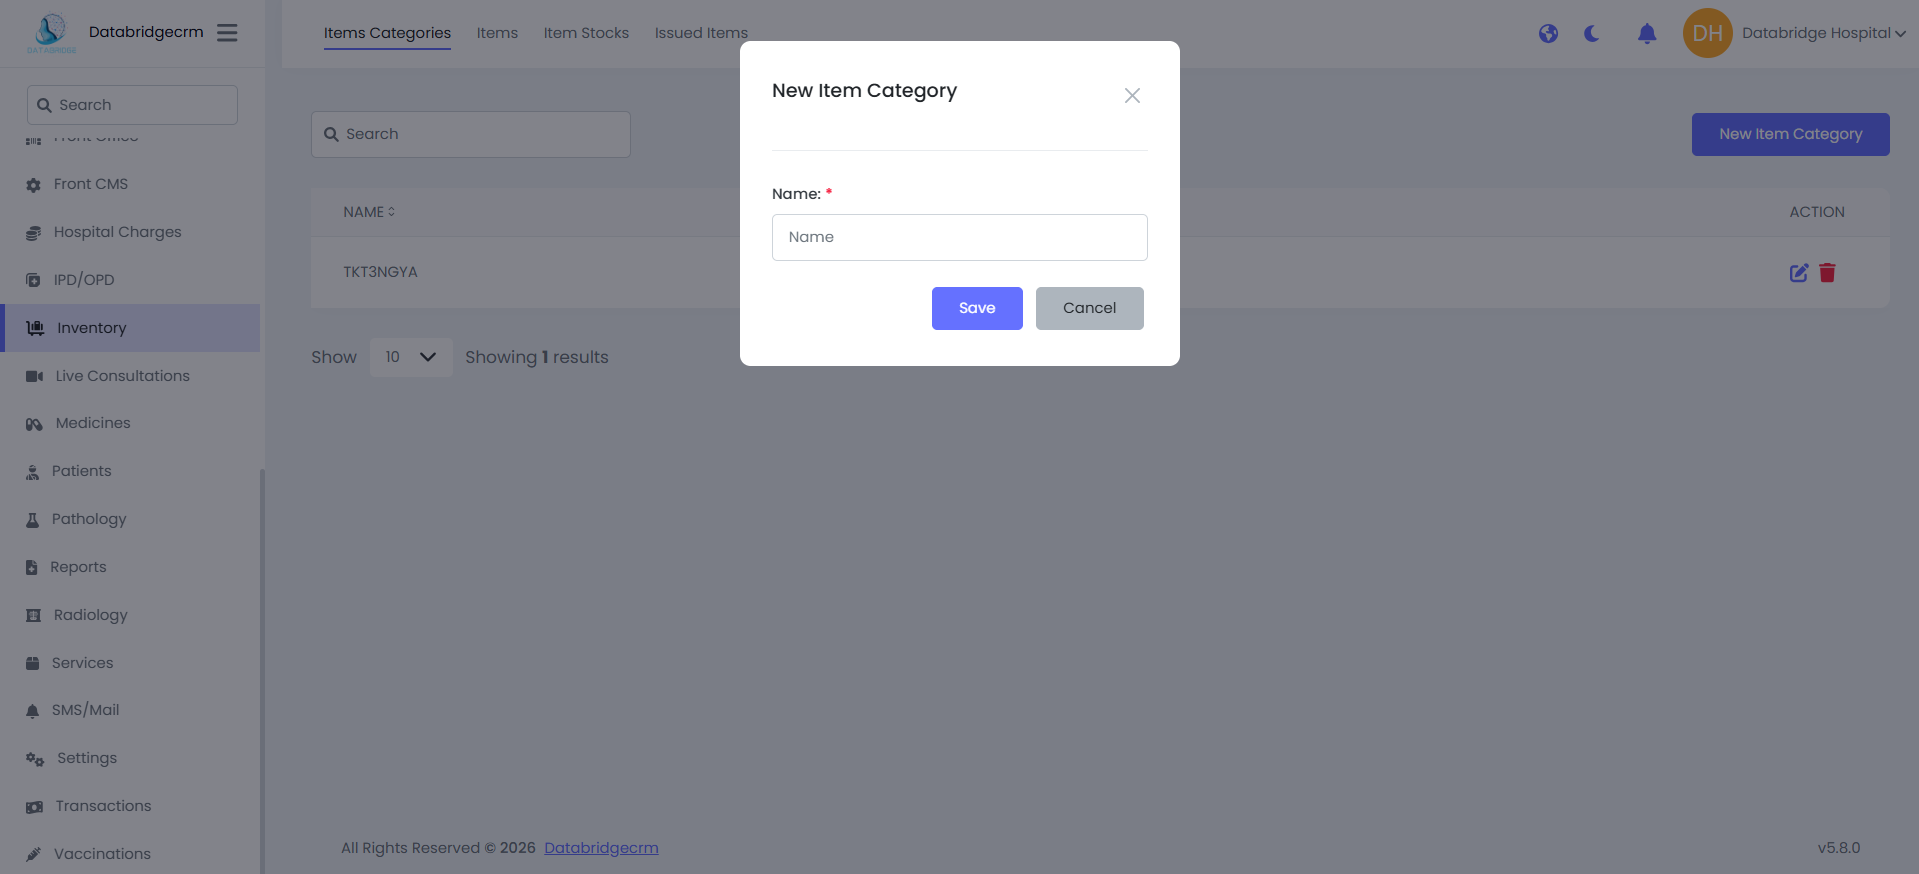
Item Categories:
Create and manage item categories (Example: Medicines, Equipment, Surgical Tools).
New Item Category:
- Name* – Enter category name
- Save – Store category
List View Shows:
- Category Name
- Action (Edit / Delete)
Create and manage item categories (Example: Medicines, Equipment, Surgical Tools).
New Item Category:
- Name* – Enter category name
- Save – Store category
List View Shows:
- Category Name
- Action (Edit / Delete)
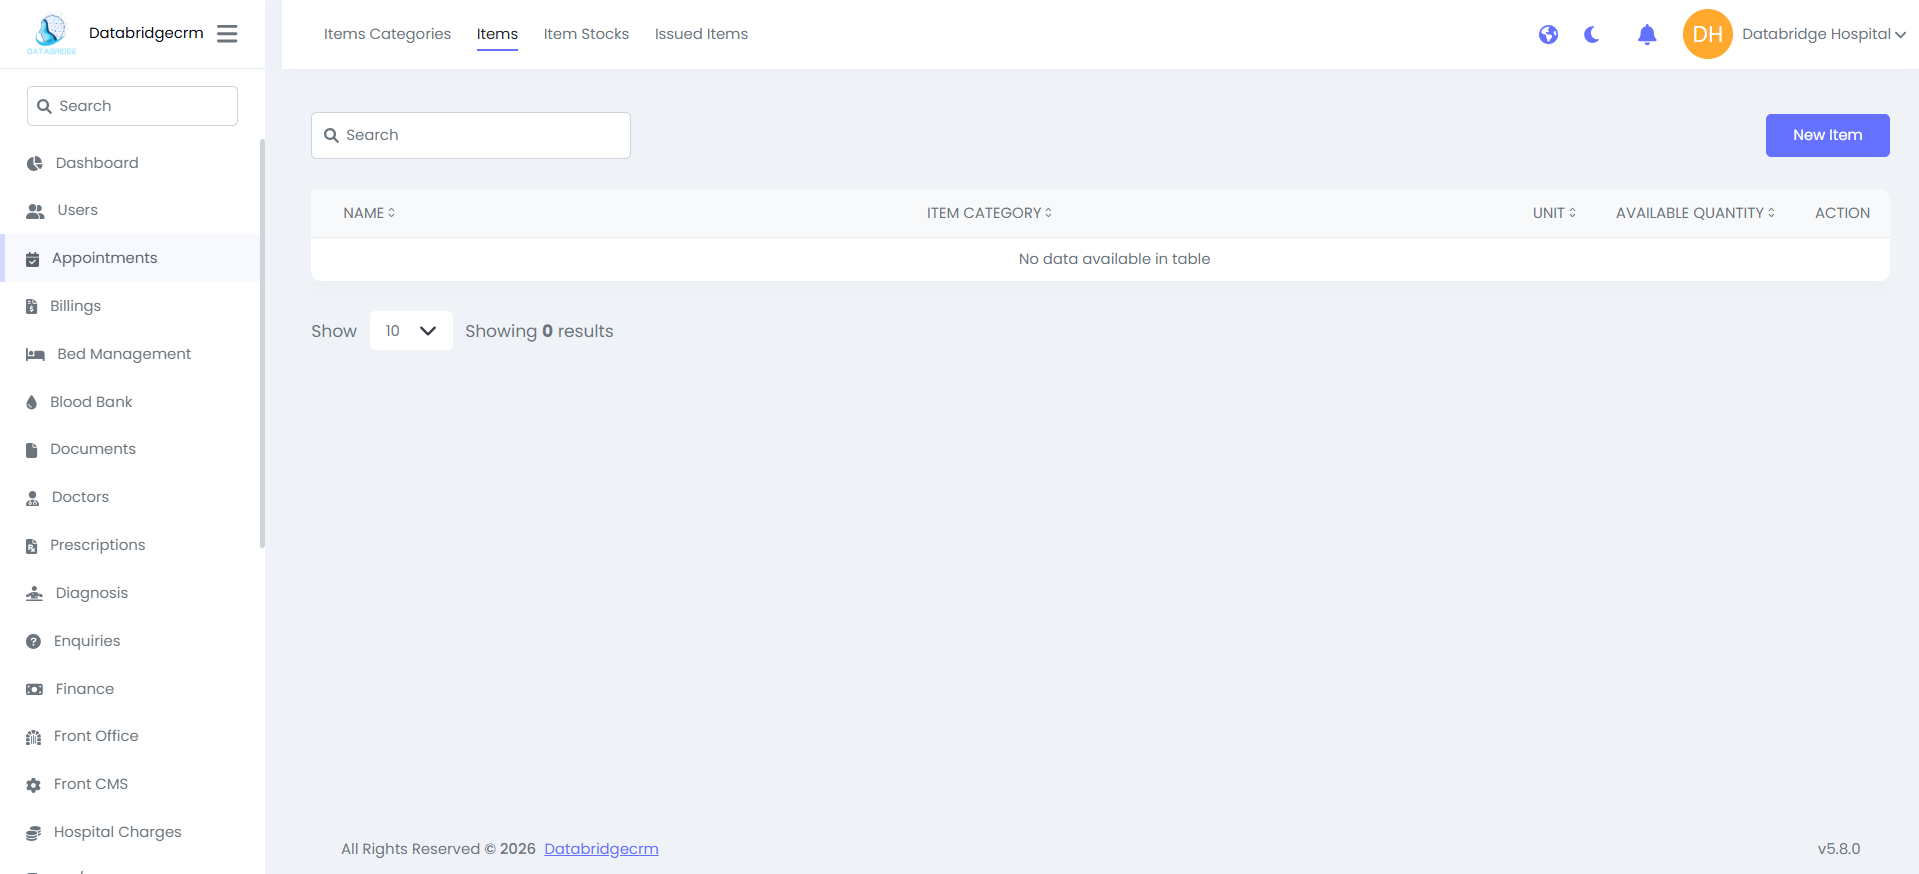
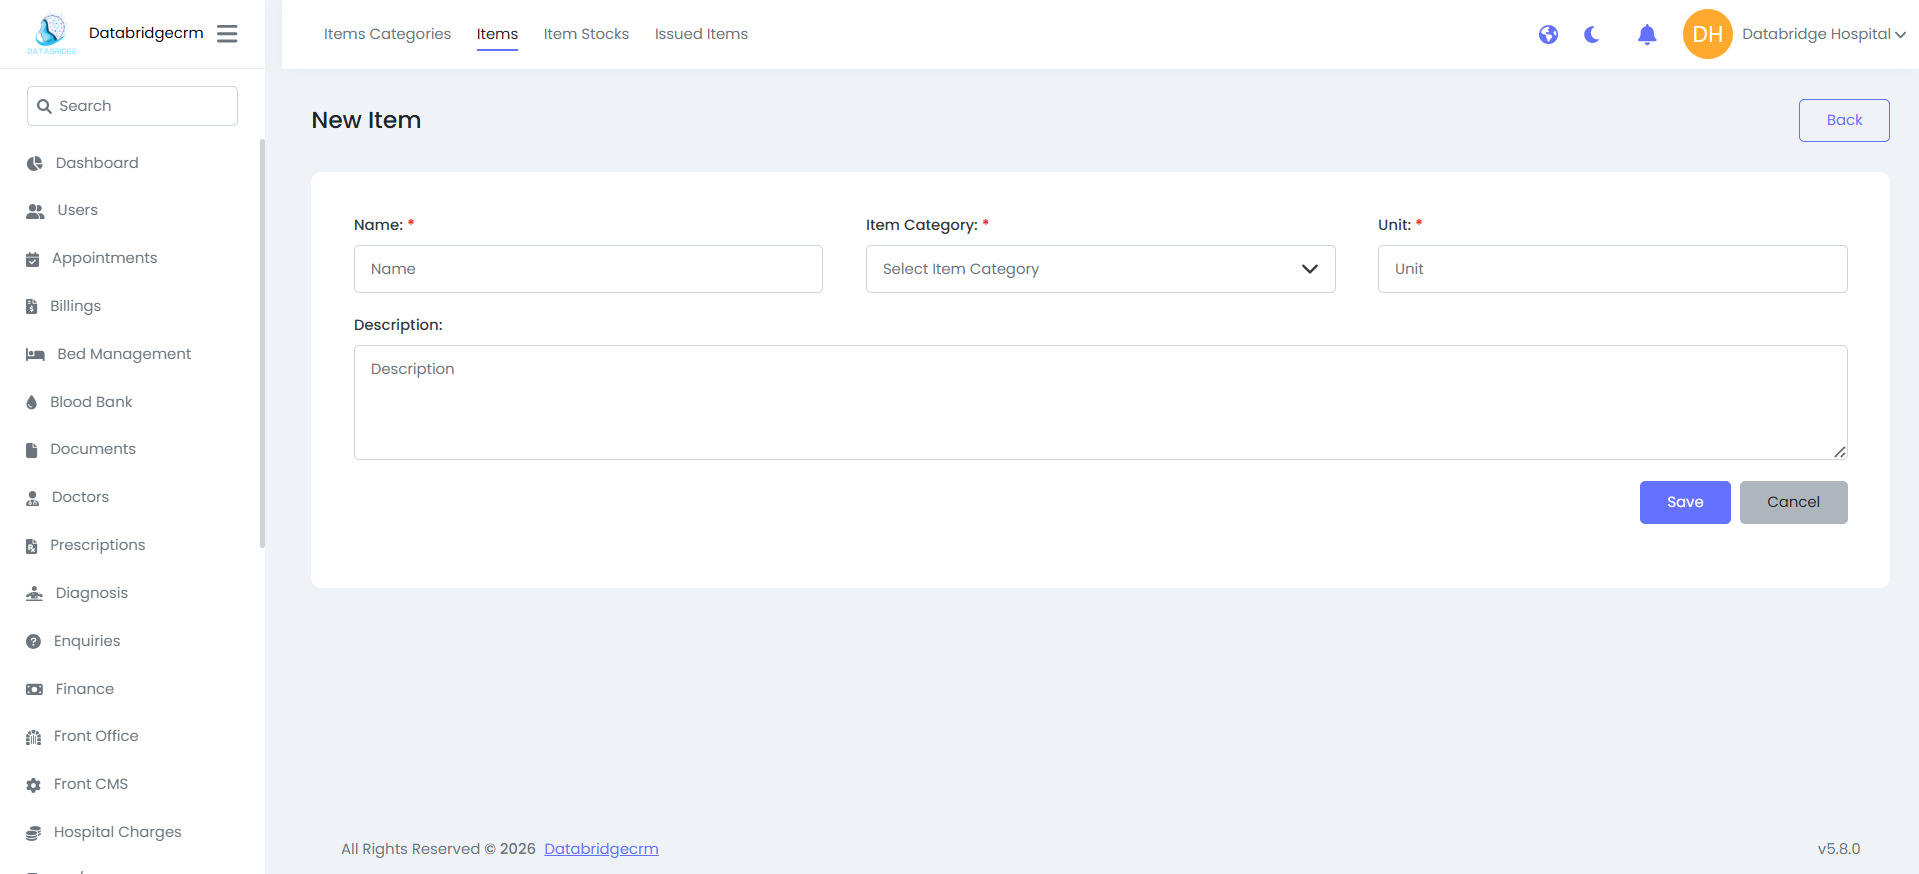
Items:
Add individual items under specific categories.
New Item:
Name– Item name
Item Category – Select category
Unit – Unit type (Piece, Box, Bottle etc.)
Description – Optional details
List View Shows:
Item Name
Item Category
Unit
Available Quantity
Action (Edit / Delete)
Add individual items under specific categories.
New Item:
Name– Item name
Item Category – Select category
Unit – Unit type (Piece, Box, Bottle etc.)
Description – Optional details
List View Shows:
Item Name
Item Category
Unit
Available Quantity
Action (Edit / Delete)
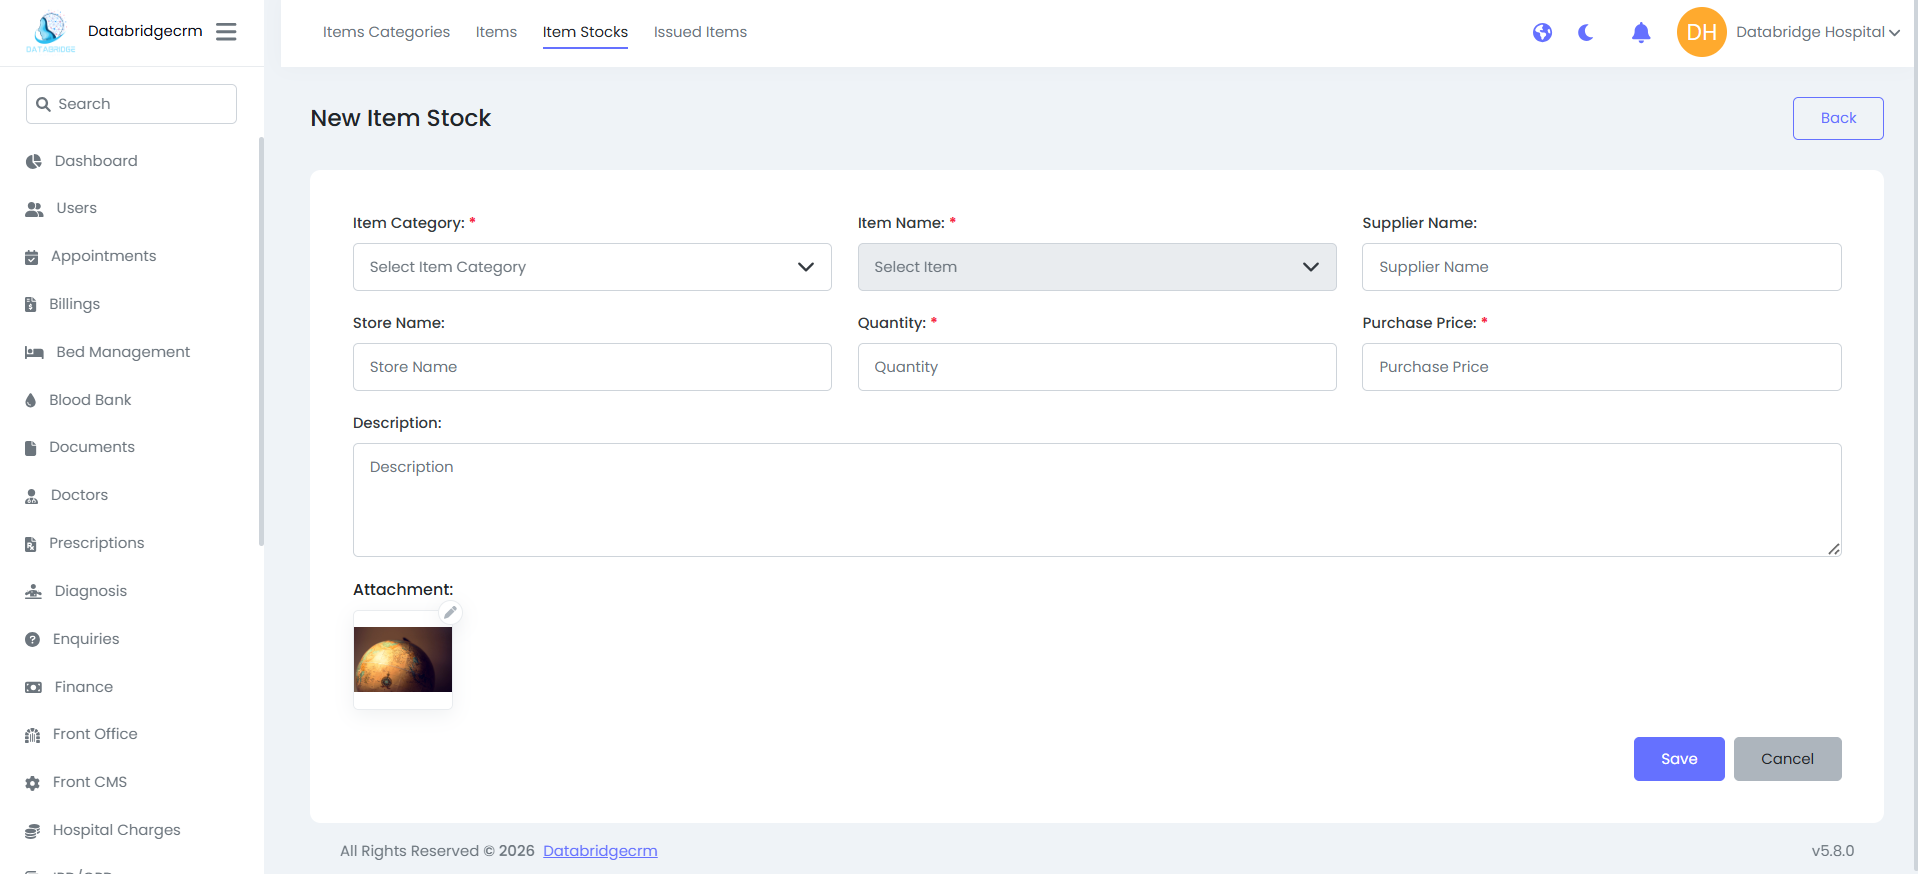
Item Stocks:
Add stock quantity for items and manage purchase details.
New Item Stock:
Item Category* – Select category
Item Name* – Select item
Supplier Name – Vendor name
Store Name – Storage location
Quantity* – Added stock quantity
Purchase Price* – Buying cost
Description – Notes
Attachment – Upload invoice/image
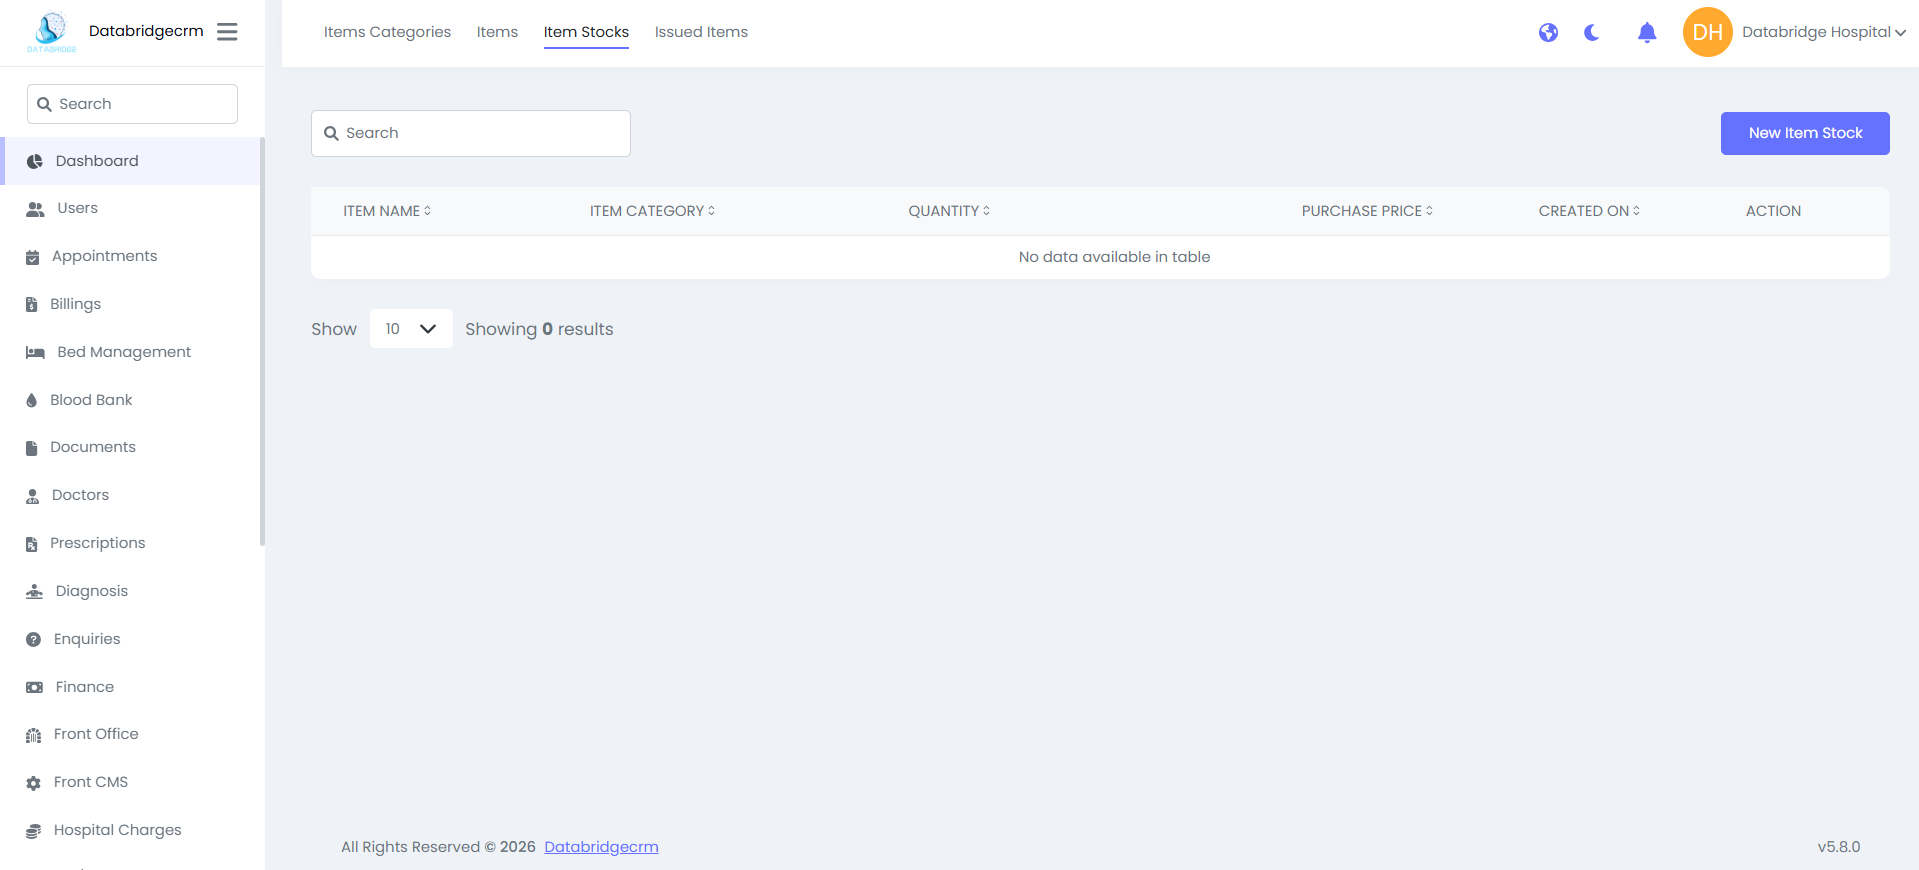
List View Shows:
Item Name
Item Category
Quantity
Purchase Price
Created On
Action (Edit / Delete)
Item Name
Item Category
Quantity
Purchase Price
Created On
Action (Edit / Delete)
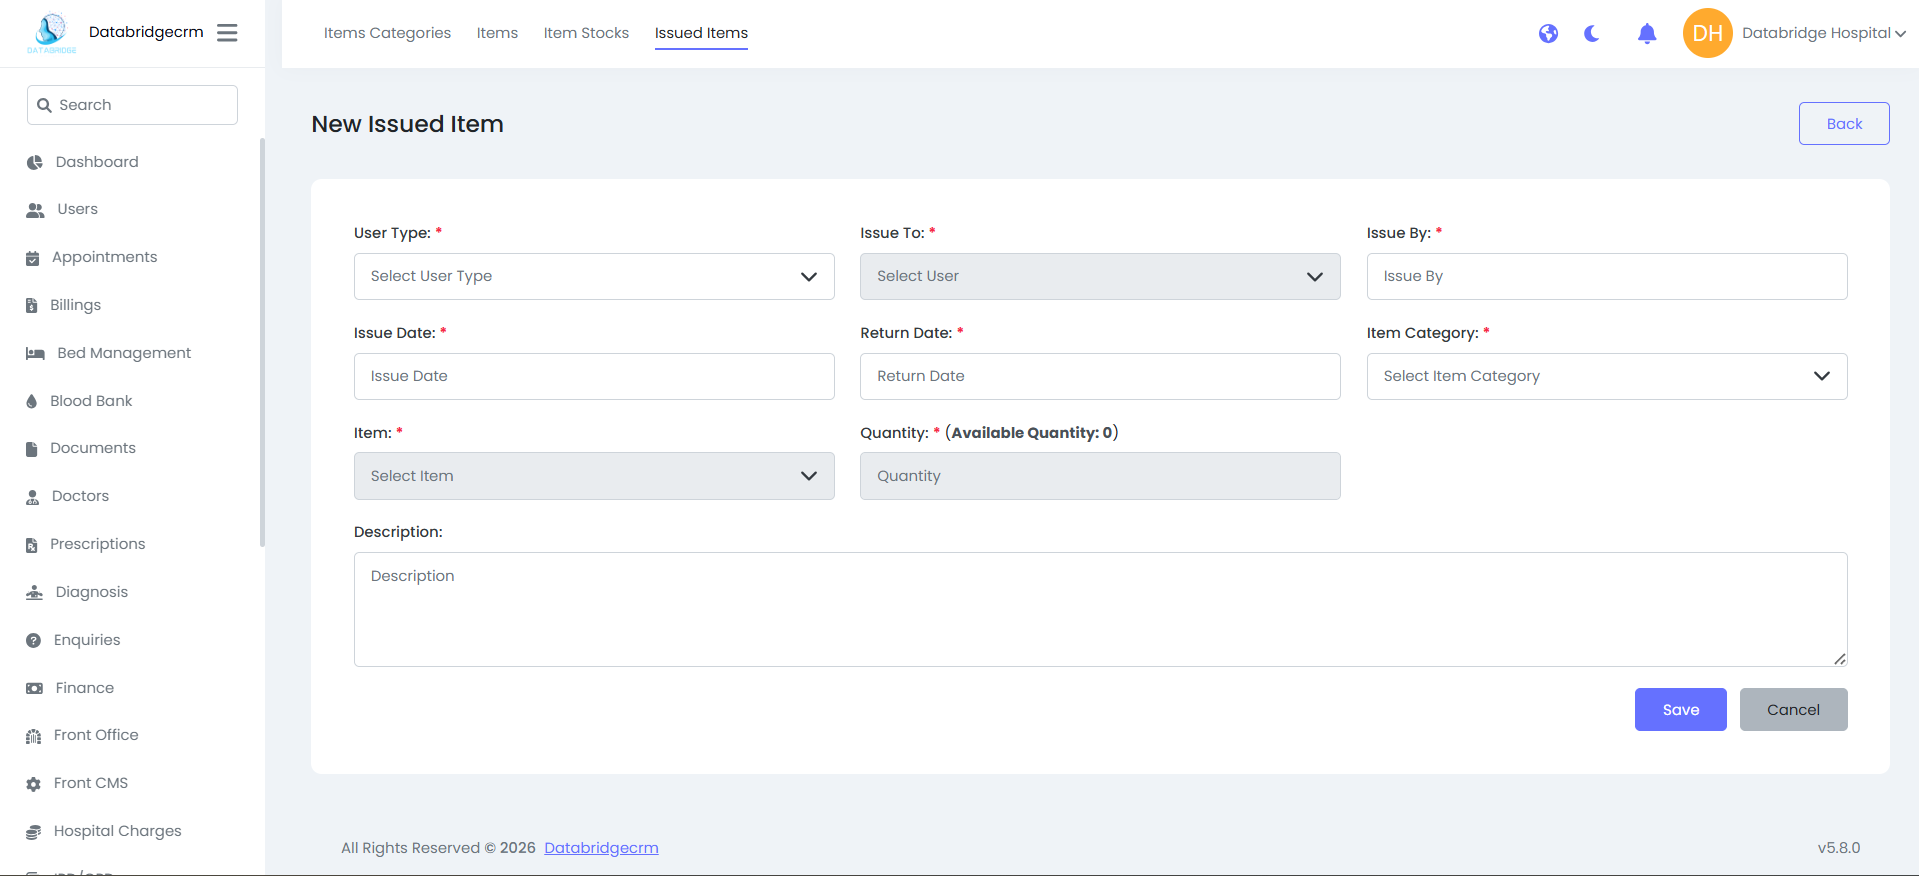
Issued Items:
Track items issued to staff or users.
New Issued Item:
User Type* – Staff role
Issue To* – Select user
Issue By* – Issuer name
Issue Date*
Return Date*
Item Category*
Item*
Quantity* (Shows available quantity)
Description
Track items issued to staff or users.
New Issued Item:
User Type* – Staff role
Issue To* – Select user
Issue By* – Issuer name
Issue Date*
Return Date*
Item Category*
Item*
Quantity* (Shows available quantity)
Description
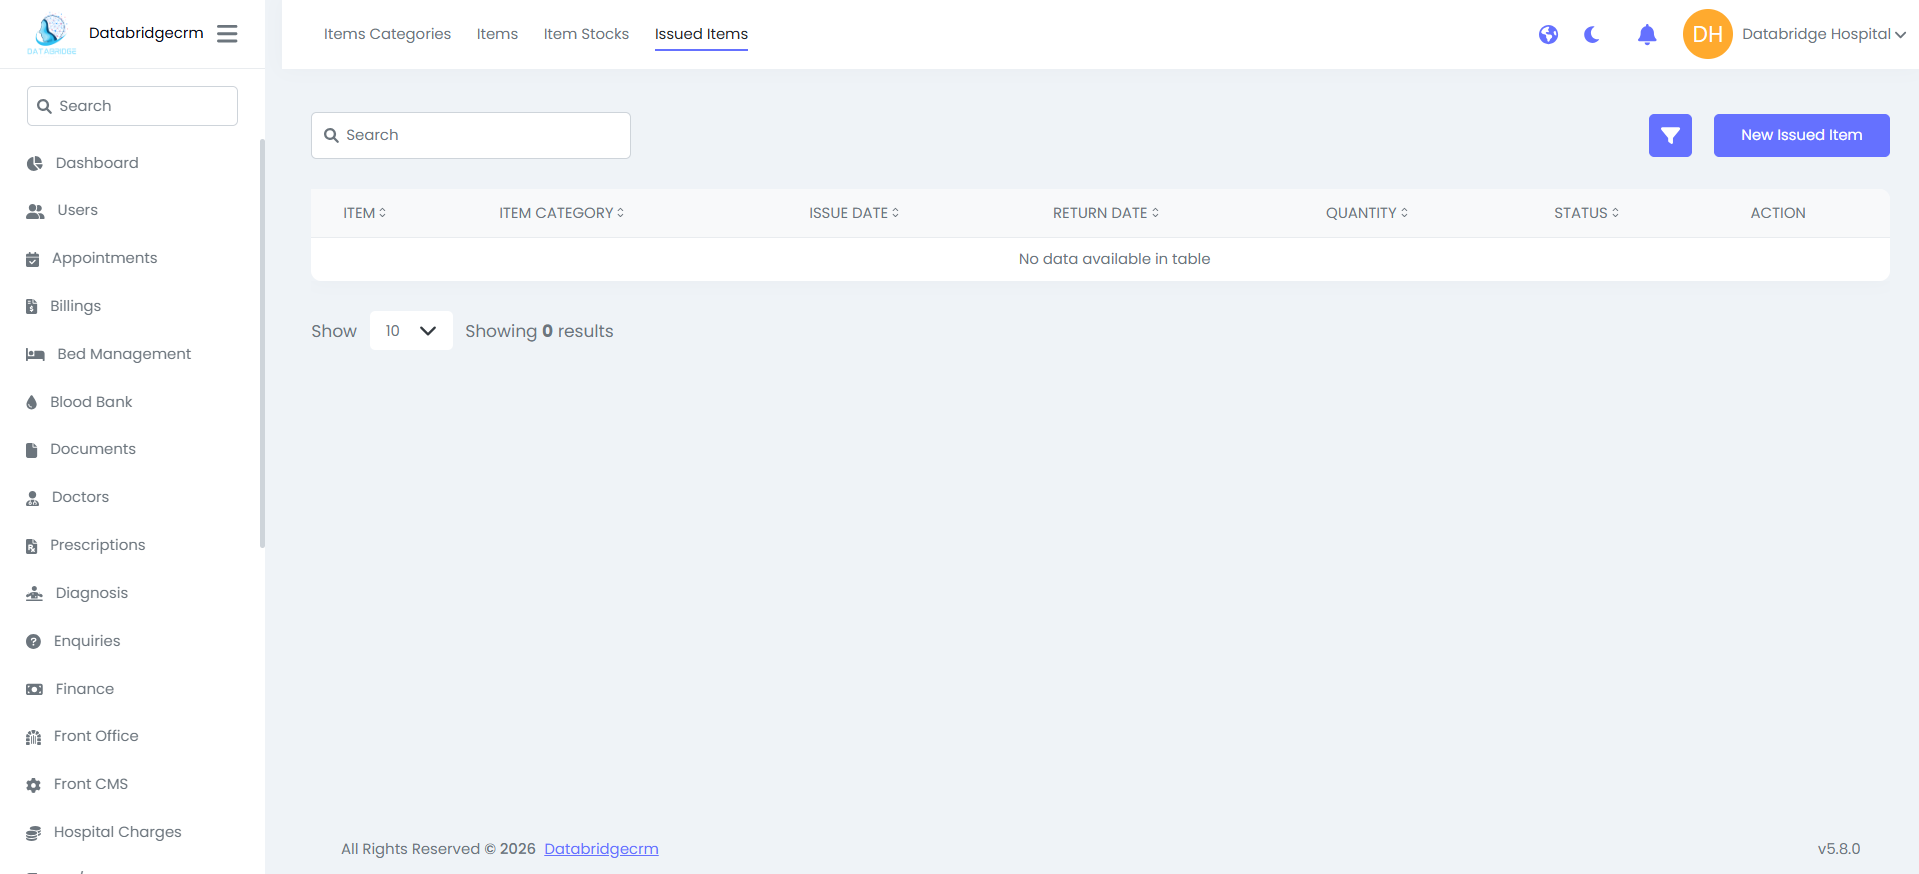
List View Shows:
- Item
- Item Category
- Issue Date
- Return Date
- Quantity
- Status
- Action
- Item
- Item Category
- Issue Date
- Return Date
- Quantity
- Status
- Action
Patients
Patients module is used to add, manage, and track all patient records in the hospital system.
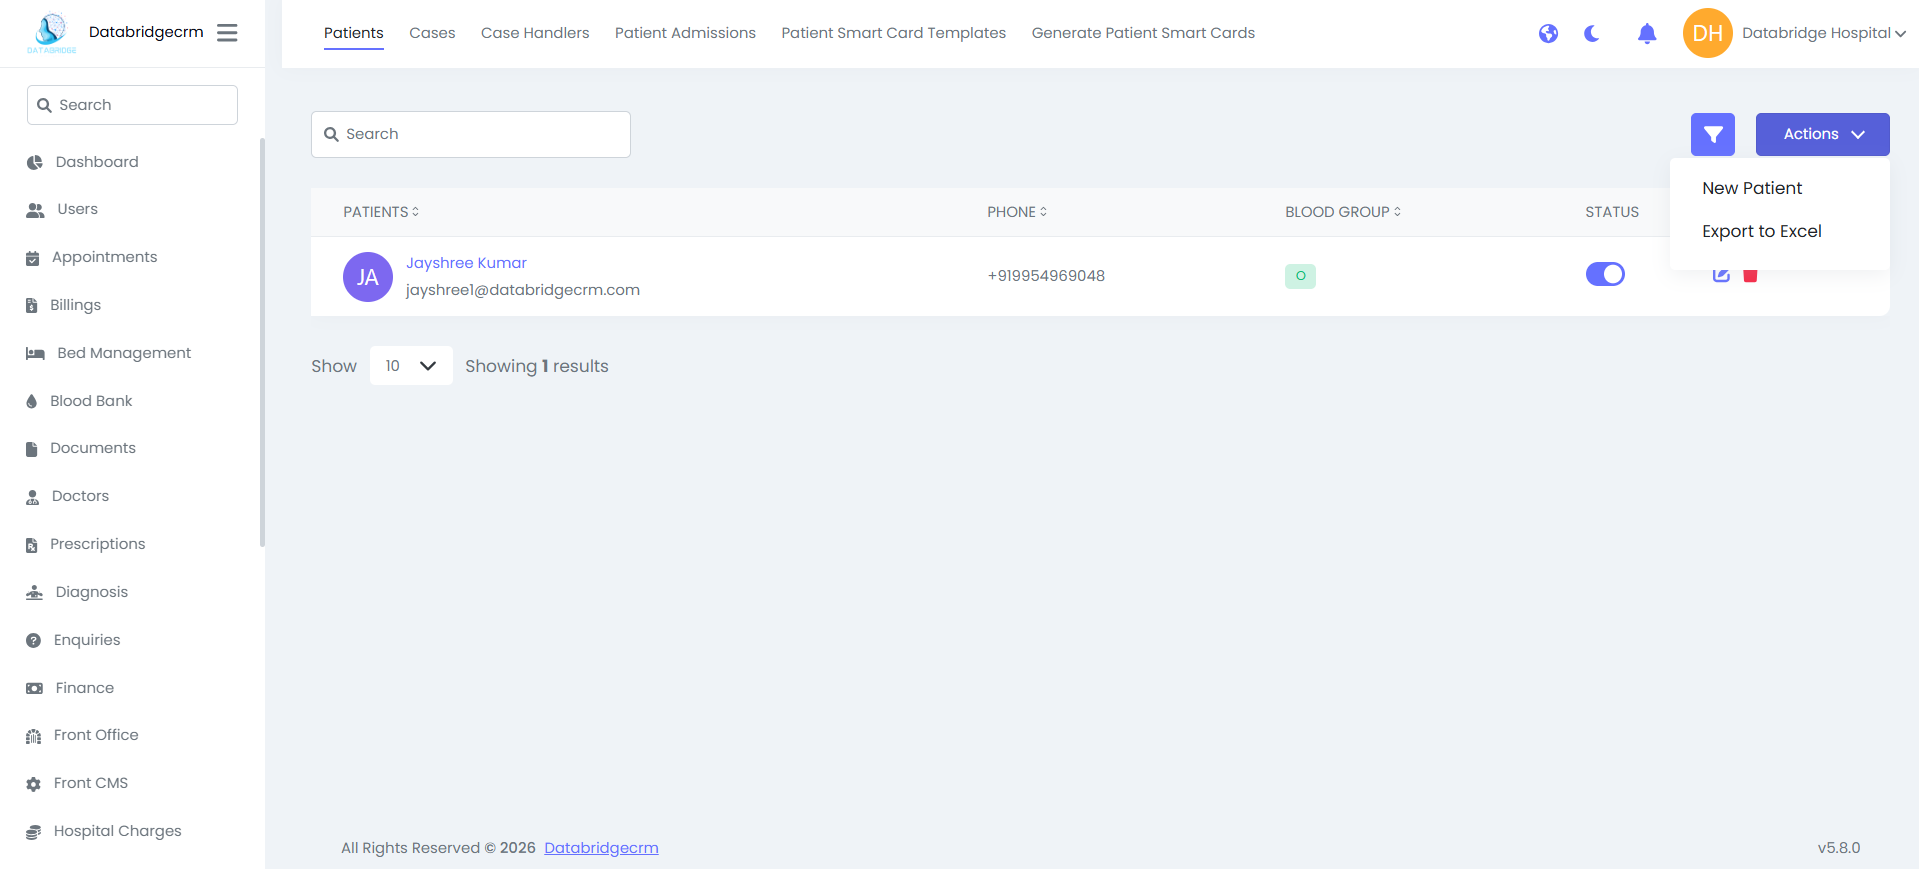
Patient List:
View all registered patients.
List View Shows:
Patient Name
Email
Phone
Blood Group
Status (Active / Inactive)
Action (Edit / Delete)
Top Options:
🔍 Search Patient
➕ New Patient
📤 Export to Excel
View all registered patients.
List View Shows:
Patient Name
Phone
Blood Group
Status (Active / Inactive)
Action (Edit / Delete)
Top Options:
🔍 Search Patient
➕ New Patient
📤 Export to Excel
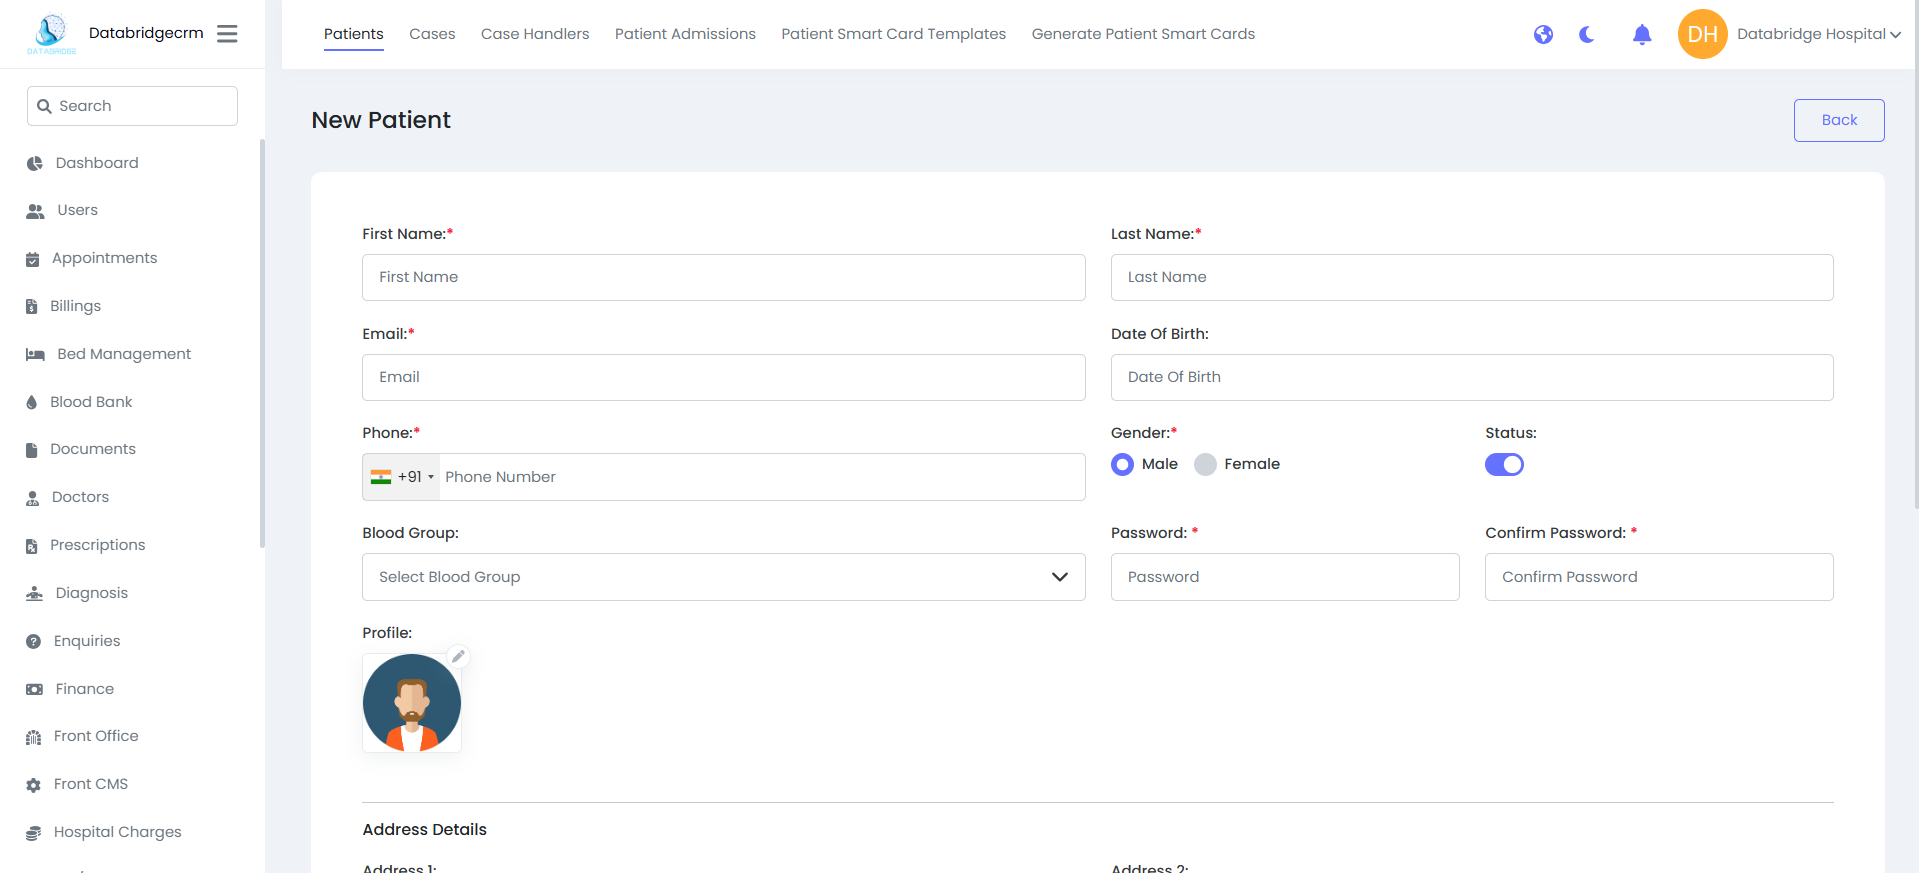
Add New Patient:
Steps:
Patients → New Patient
Required Fields
First Name*
Last Name*
Email*
Phone*
Gender*
Password & Confirm Password*
Additional Fields
Date of Birth
Blood Group
Profile Image Upload
Status (Enable / Disable)
Address Details:
Address Line 1
Address Line 2
City
State
Country
Postal Code
Click Save to register patient.
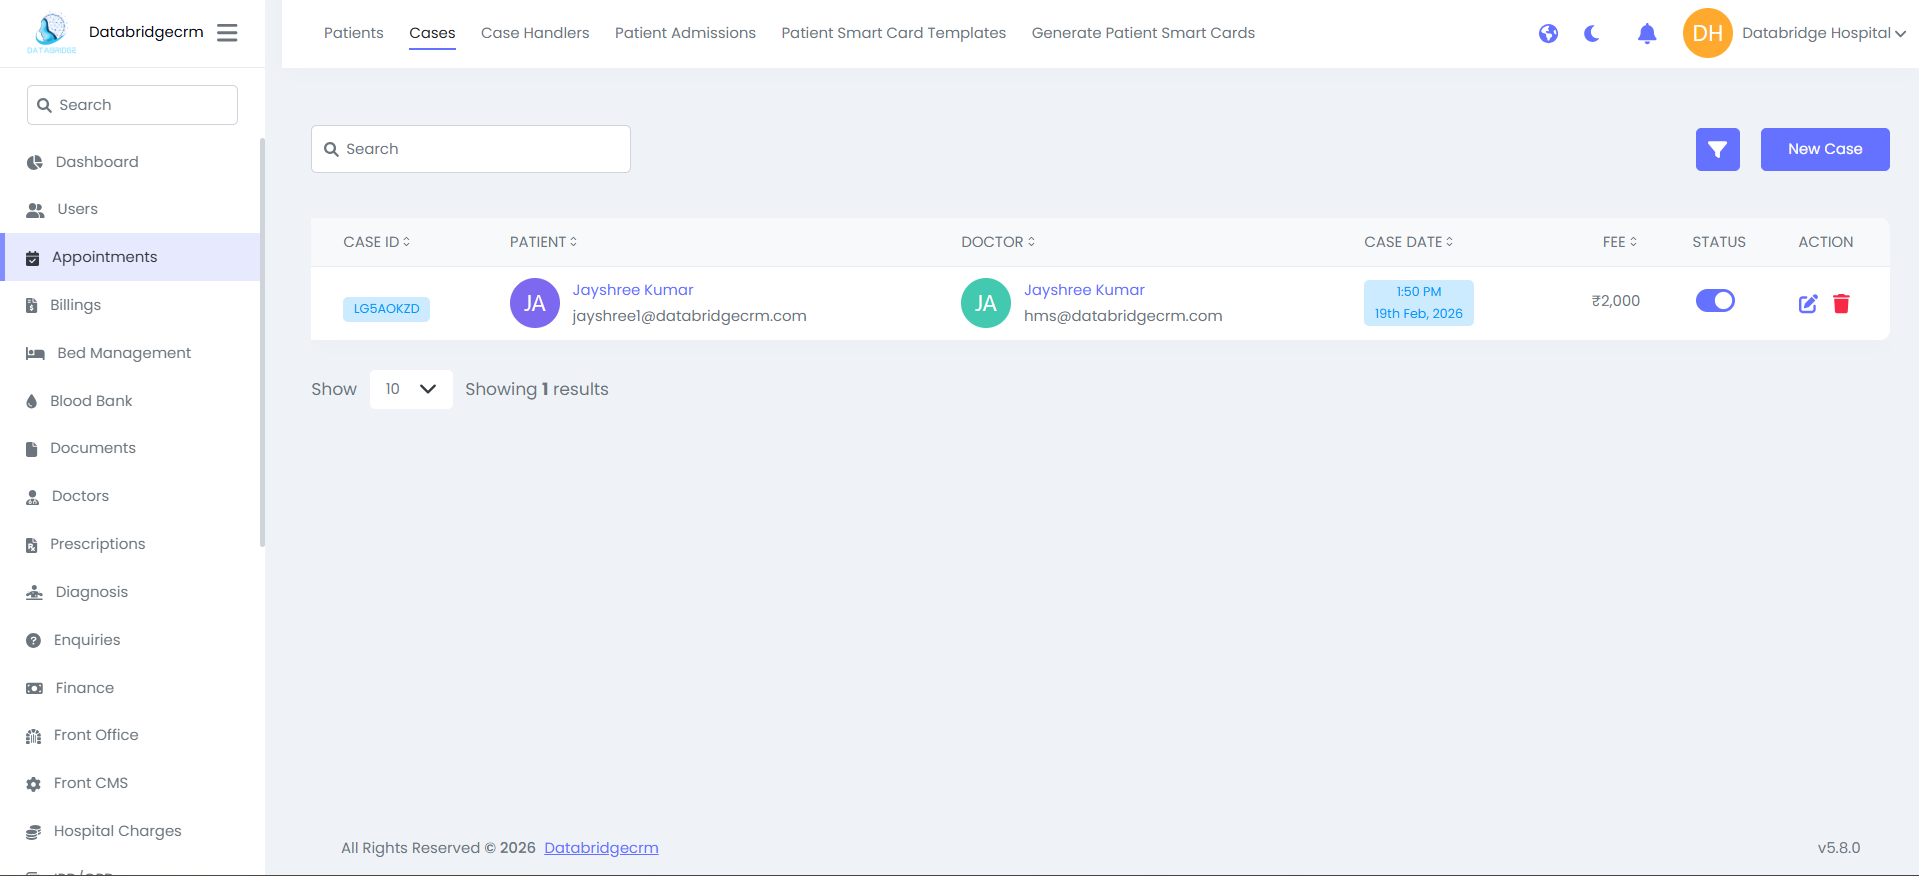
Cases:
Cases module is used to create and manage patient consultations, visits, and treatment records.
Case List:
View all created patient cases.
List View Shows:
Case ID
Patient Name
Doctor Name
Case Date & Time
Fee
Status (Active / Inactive)
Action (Edit / Delete)
Top Options:
🔍 Search Case
➕ New Case
Cases module is used to create and manage patient consultations, visits, and treatment records.
Case List:
View all created patient cases.
List View Shows:
Case ID
Patient Name
Doctor Name
Case Date & Time
Fee
Status (Active / Inactive)
Action (Edit / Delete)
Top Options:
🔍 Search Case
➕ New Case

Add New Case:
Steps:
Cases → New Case
Required Fields:
Patient* – Select Patient
Doctor* – Select Doctor
Case Date* – Select Date & Time
Fee* – Consultation Fee
Optional Fields:
- Phone
- Description
- Status (Enable / Disable)
Click Save to create case.
Steps:
Cases → New Case
Required Fields:
Patient* – Select Patient
Doctor* – Select Doctor
Case Date* – Select Date & Time
Fee* – Consultation Fee
Optional Fields:
- Phone
- Description
- Status (Enable / Disable)
Click Save to create case.
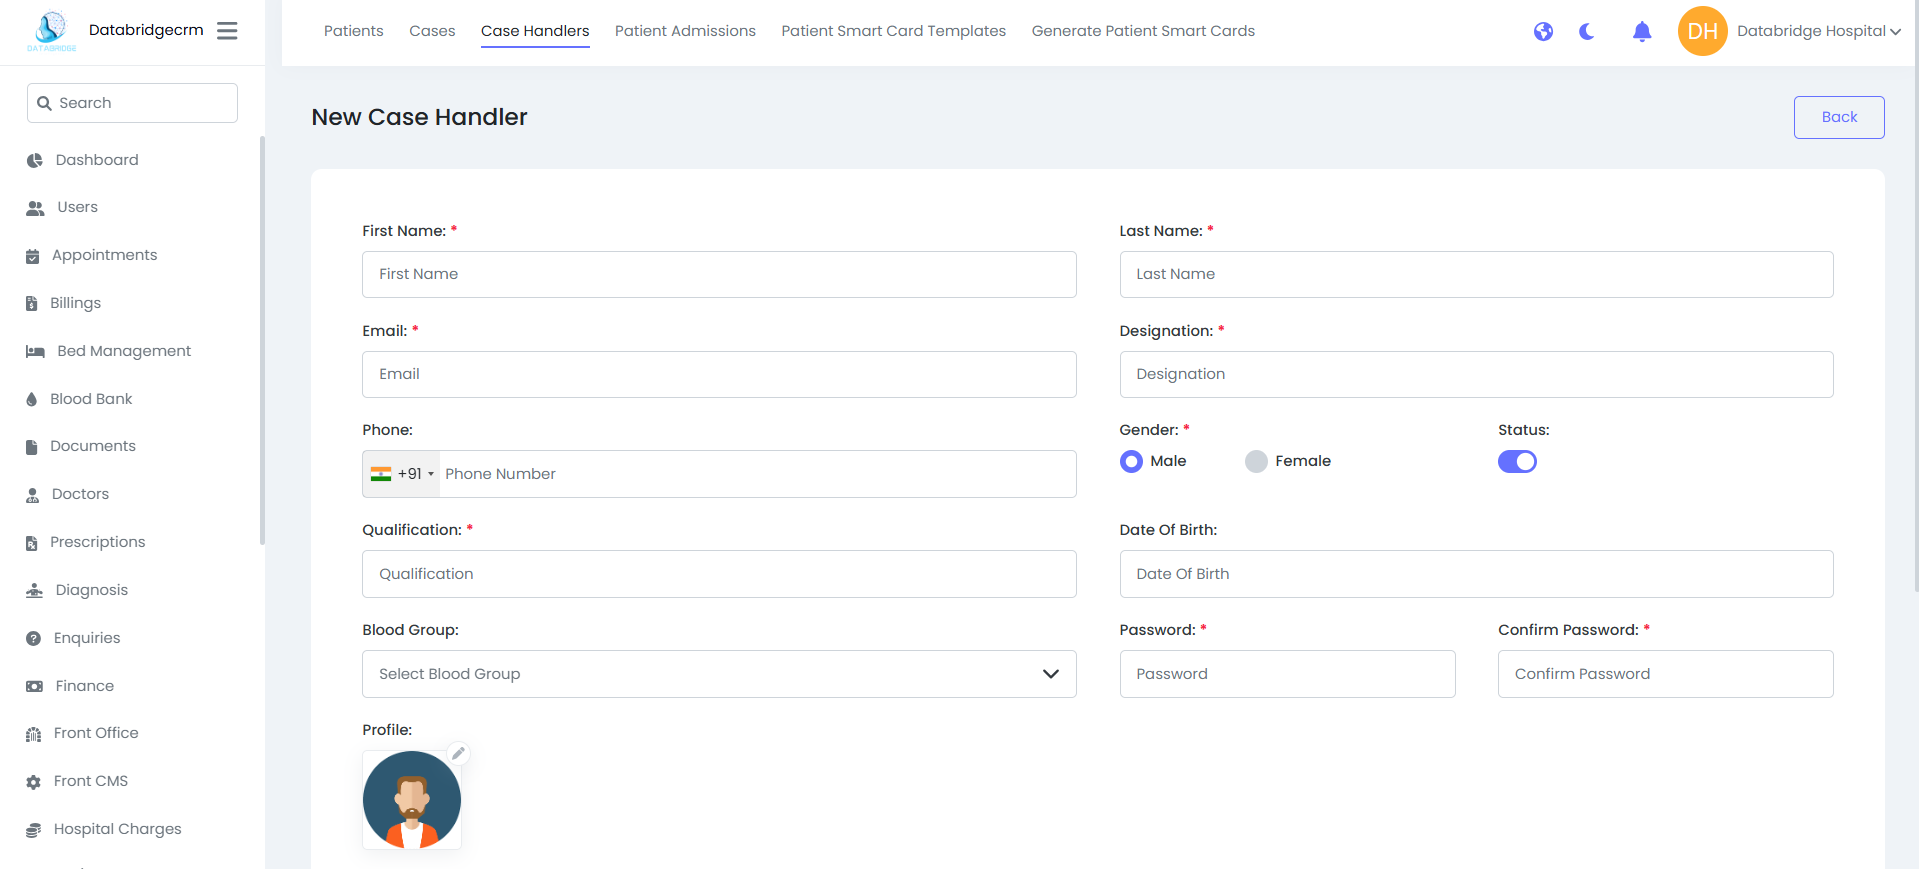
Case Handlers:
Used to manage staff who handle patient cases (assistants/support staff).
New Case Handler:
Fields:
First Name*
Last Name*
Email*
Phone
Designation*
Qualification*
Gender*
Date of Birth
Blood Group
Password*
Confirm Password*
Profile Image
Status
Used to manage staff who handle patient cases (assistants/support staff).
New Case Handler:
Fields:
First Name*
Last Name*
Email*
Phone
Designation*
Qualification*
Gender*
Date of Birth
Blood Group
Password*
Confirm Password*
Profile Image
Status
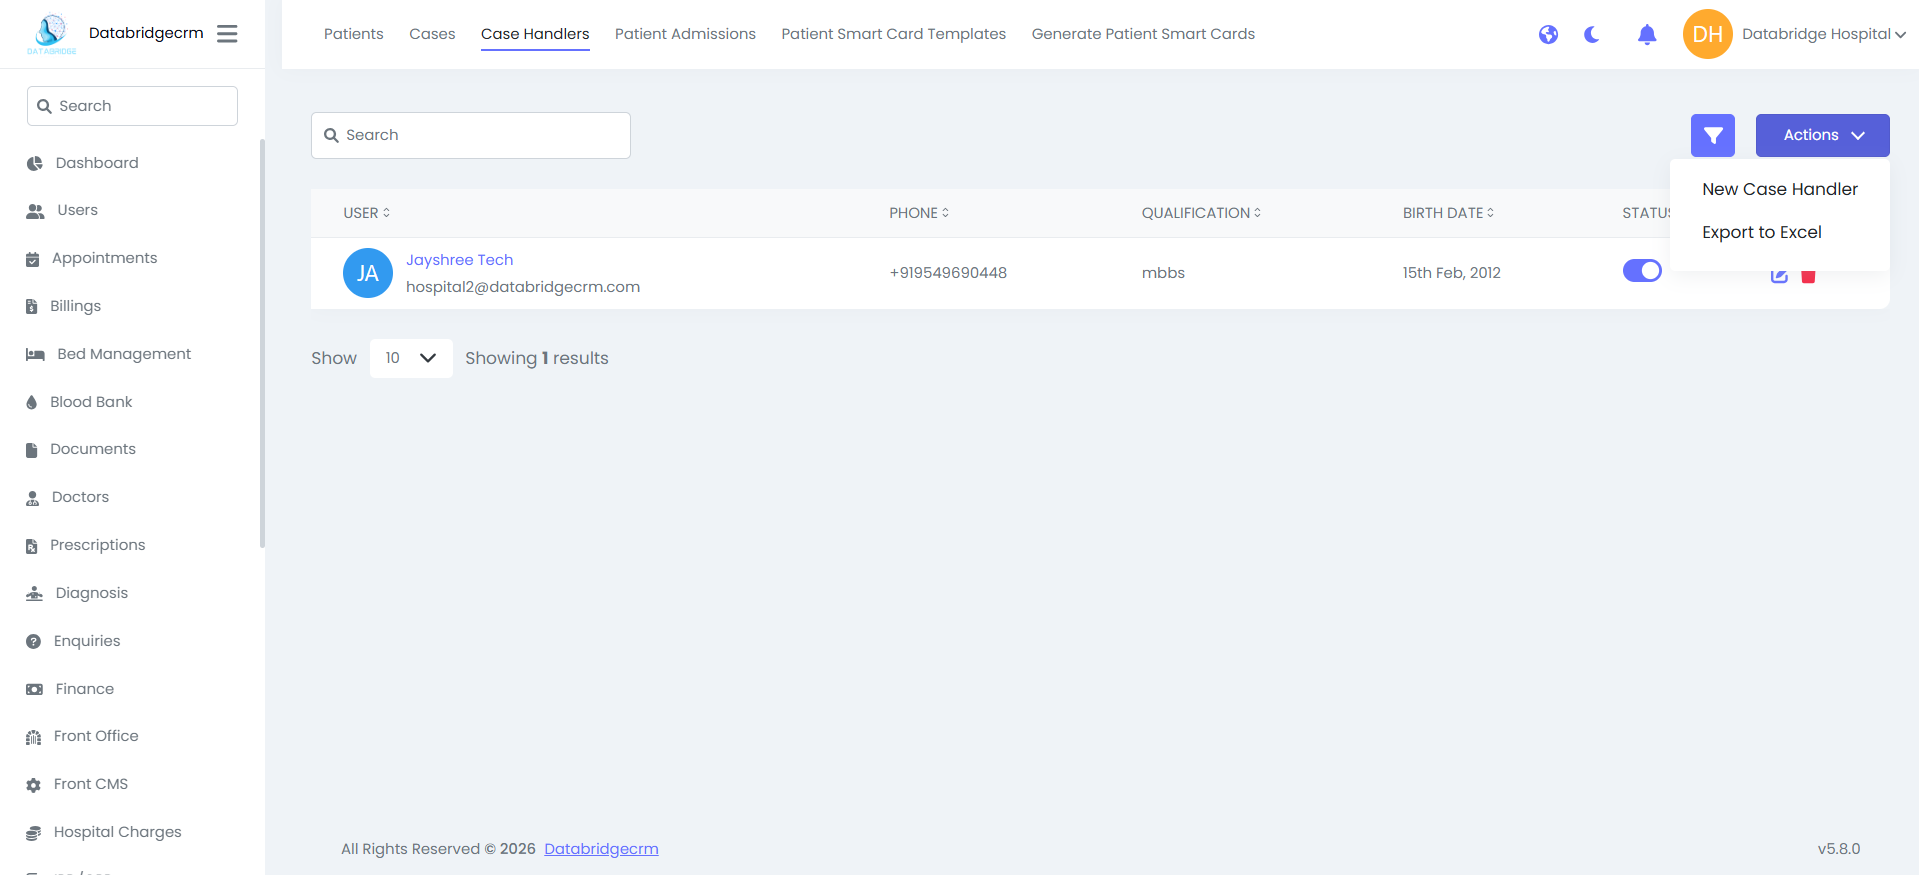
List View Shows:
Name
Email
Phone
Qualification
Birth Date
Status
Action
Name
Phone
Qualification
Birth Date
Status
Action
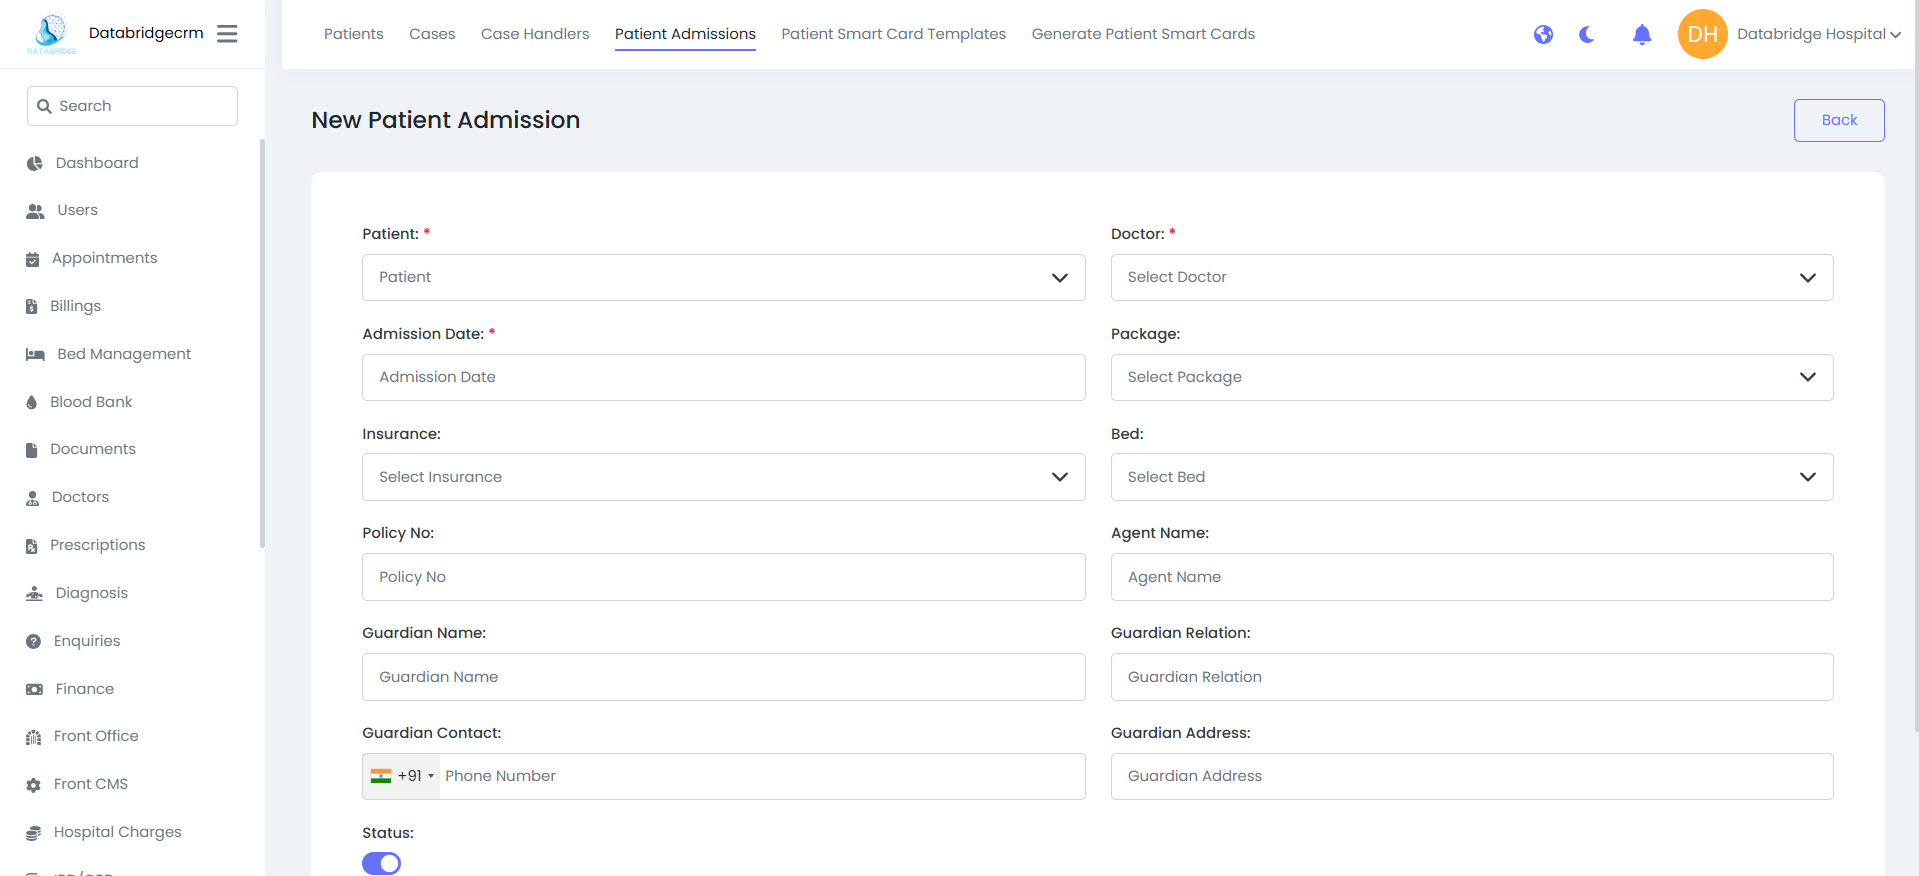
Patient Admissions:
Used to admit patients for in-hospital treatment.
New Admission:
Fields:
Patient*
Doctor*
Admission Date*
Package
Insurance
Policy No
Bed
Agent Name
Guardian Name
Guardian Relation
Guardian Contact
Guardian Address
Status
Used to admit patients for in-hospital treatment.
New Admission:
Fields:
Patient*
Doctor*
Admission Date*
Package
Insurance
Policy No
Bed
Agent Name
Guardian Name
Guardian Relation
Guardian Contact
Guardian Address
Status
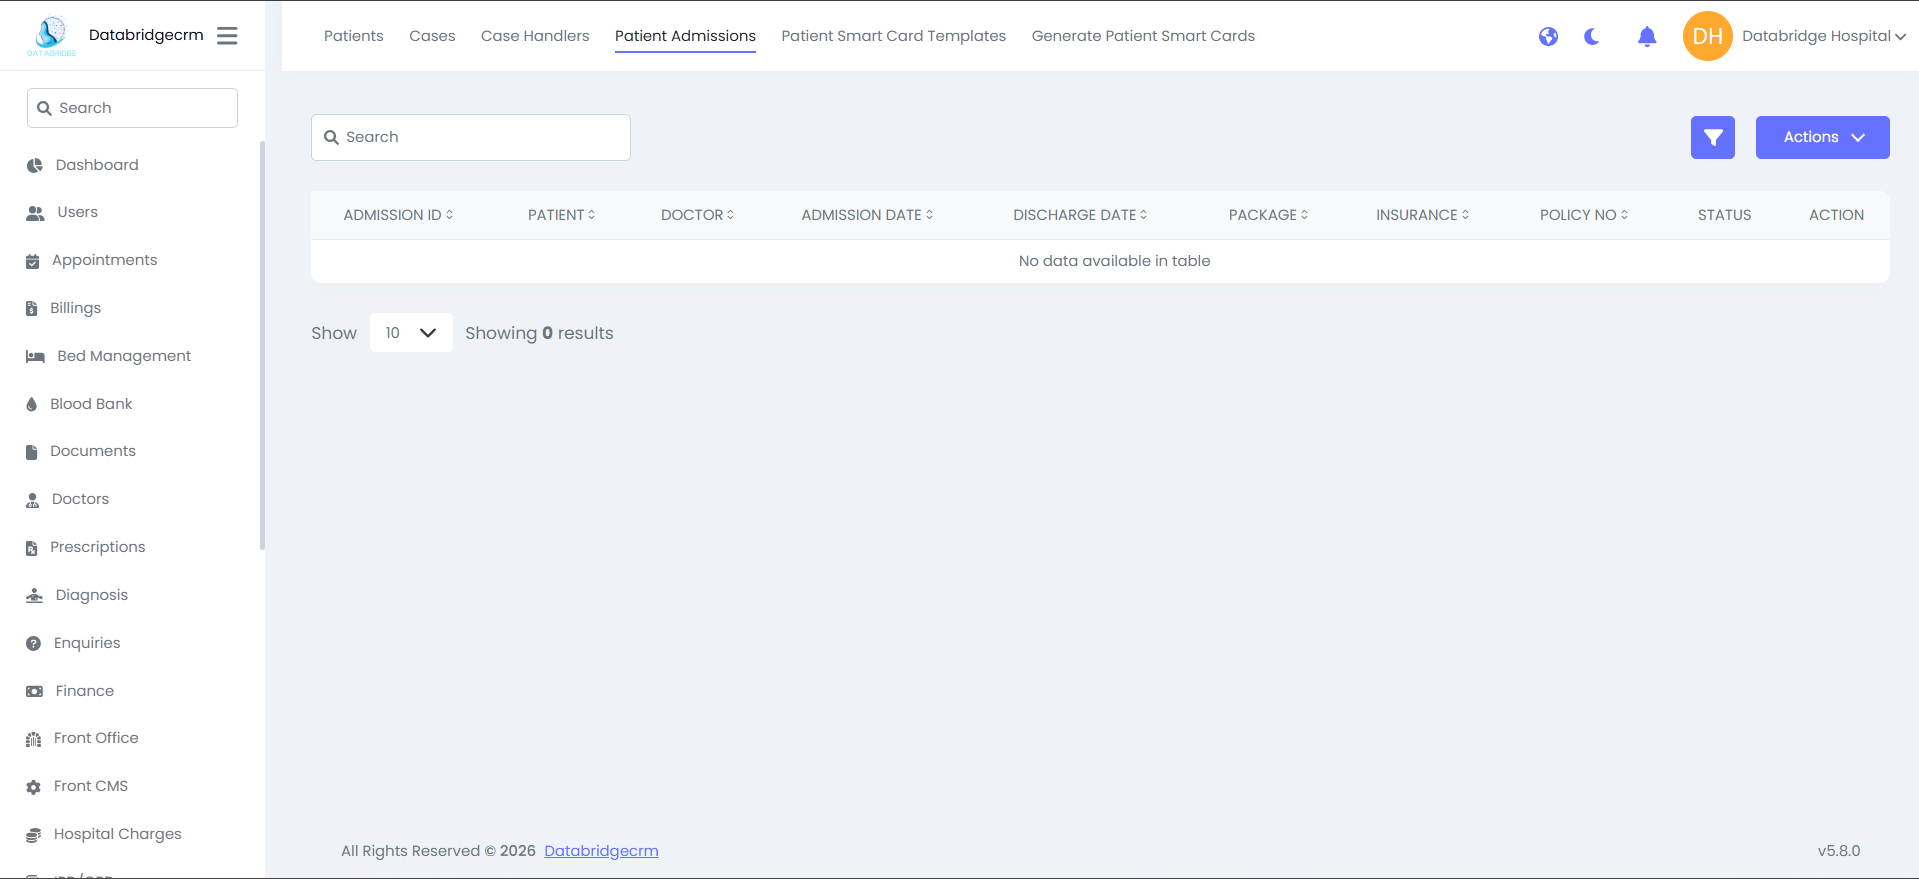
List View Shows
Admission ID
Patient
Doctor
Admission Date
Discharge Date
Package
Insurance
Policy No
Status
Action
Admission ID
Patient
Doctor
Admission Date
Discharge Date
Package
Insurance
Policy No
Status
Action
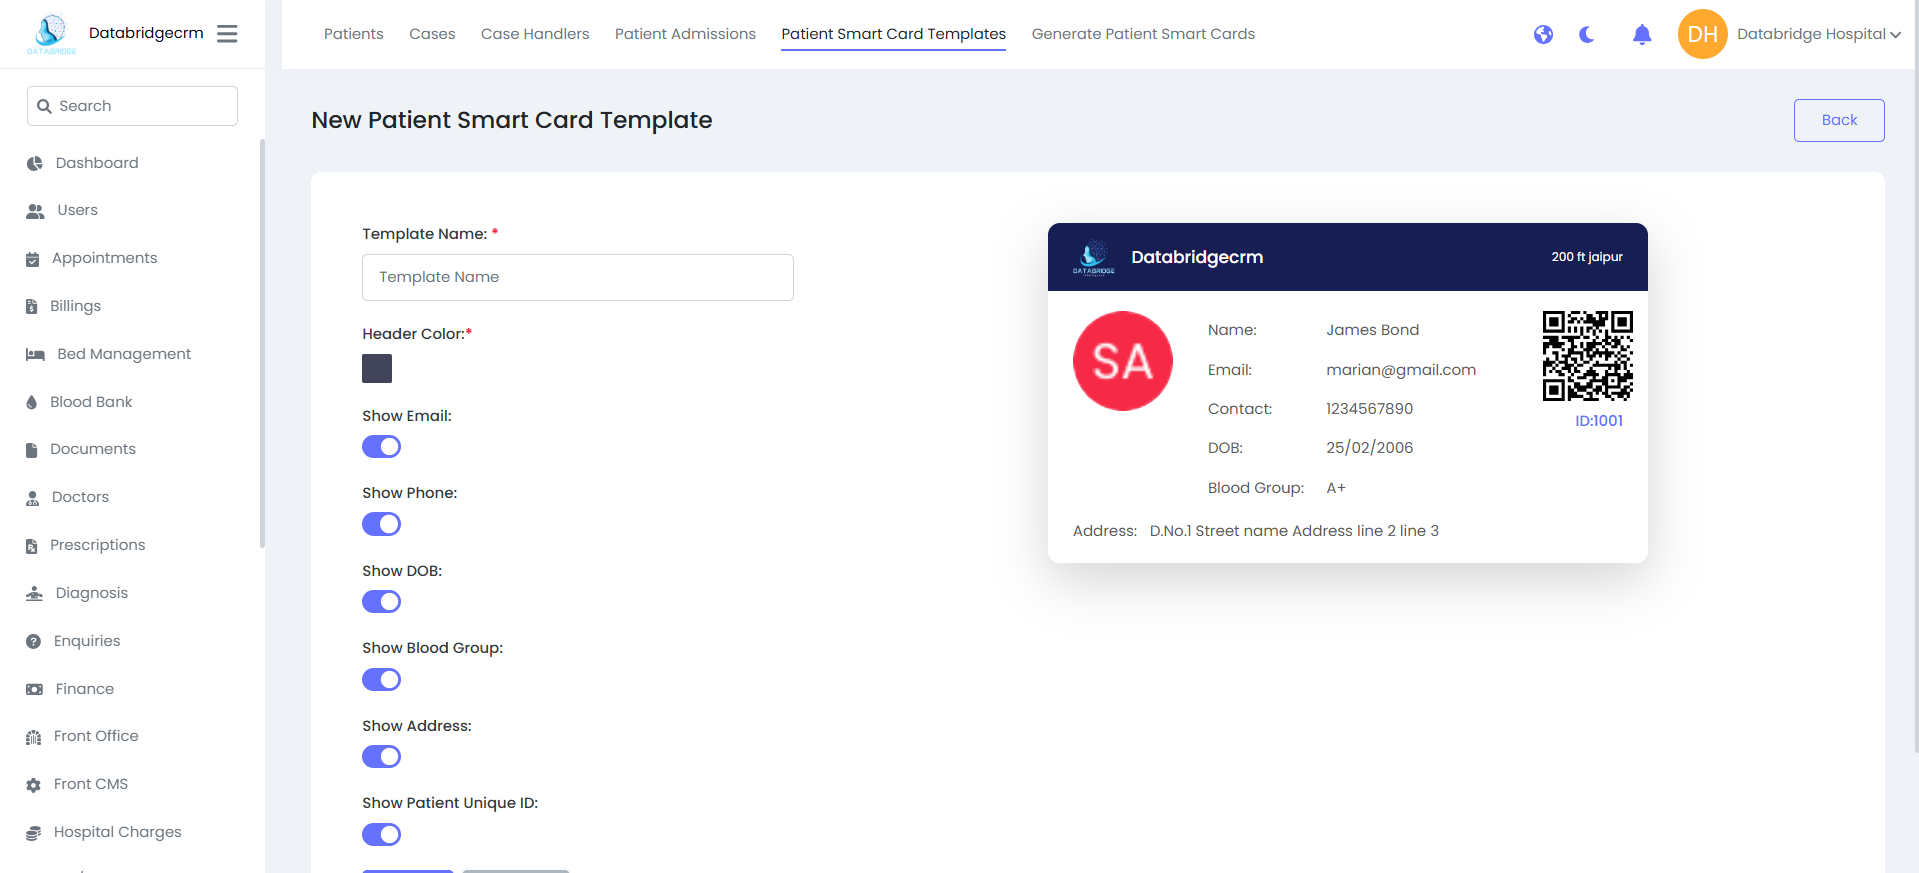
Patient Smart Card Templates:
Used to design smart card layout for patients.
New Template:
Fields:
- Template Name*
- Header Color*
- Show Email (Toggle)
- Show Phone (Toggle)
- Show DOB (Toggle)
- Show Blood Group (Toggle)
- Show Address (Toggle)
- Show Patient Unique ID (Toggle)
Used to design smart card layout for patients.
New Template:
Fields:
- Template Name*
- Header Color*
- Show Email (Toggle)
- Show Phone (Toggle)
- Show DOB (Toggle)
- Show Blood Group (Toggle)
- Show Address (Toggle)
- Show Patient Unique ID (Toggle)
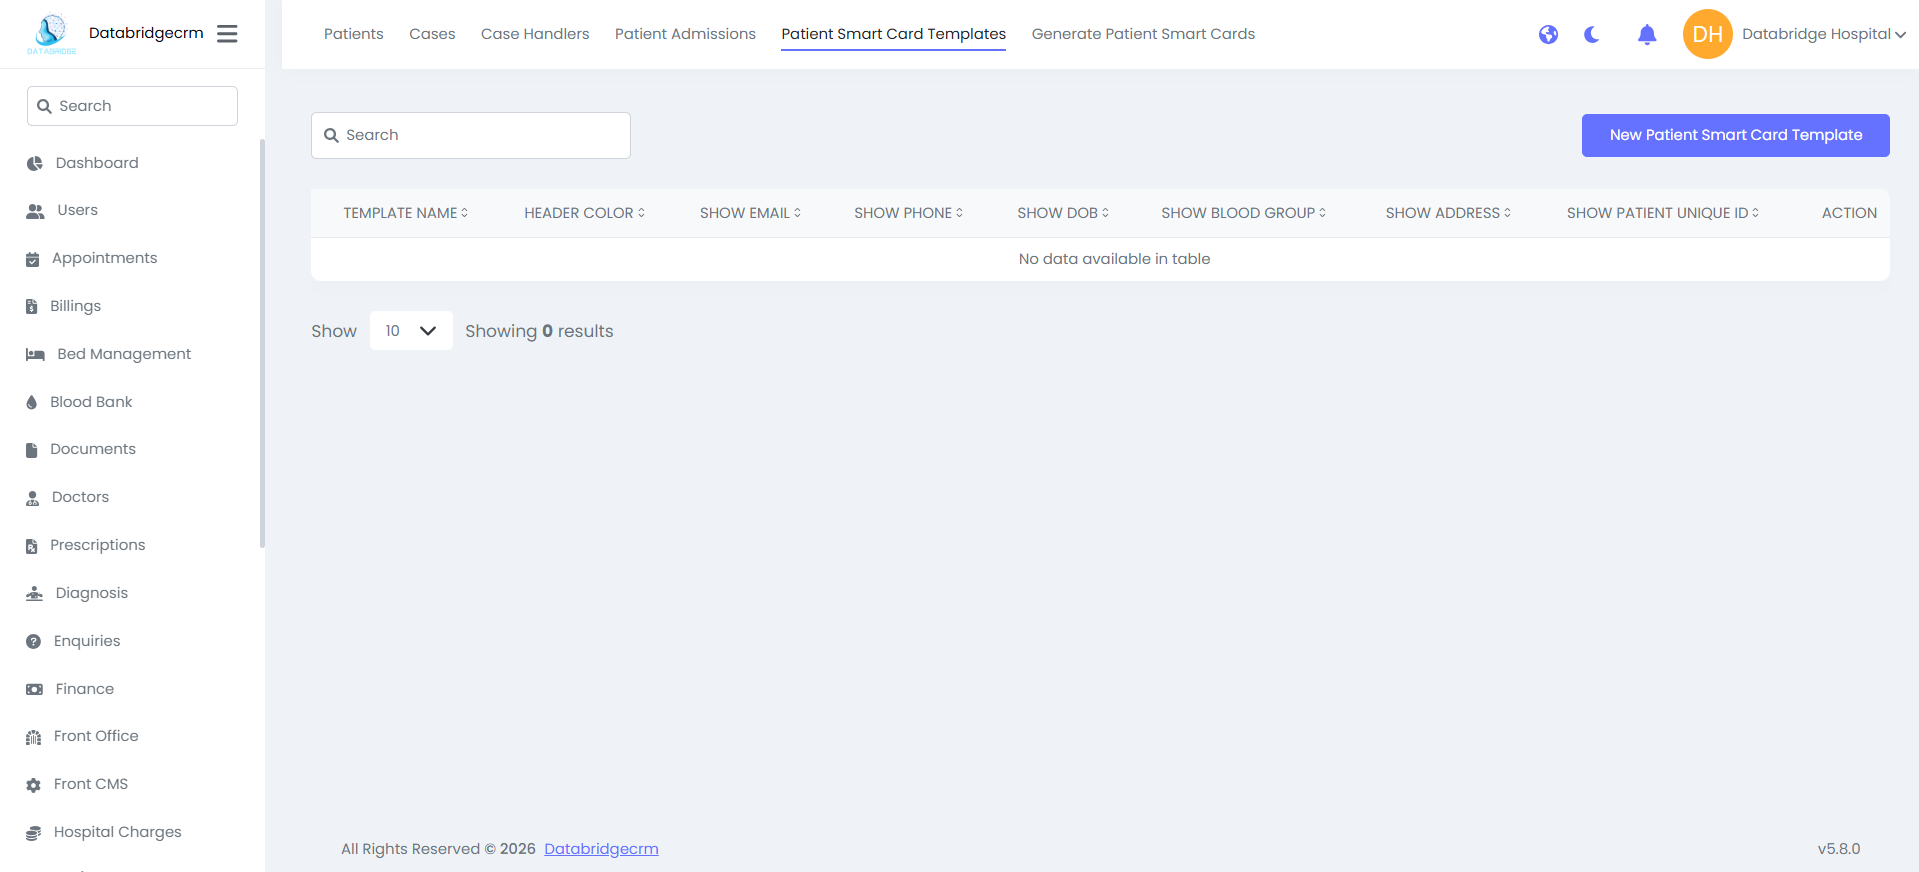
List View Shows:
Template Name
Header Color
Visibility Settings
Action
Template Name
Header Color
Visibility Settings
Action
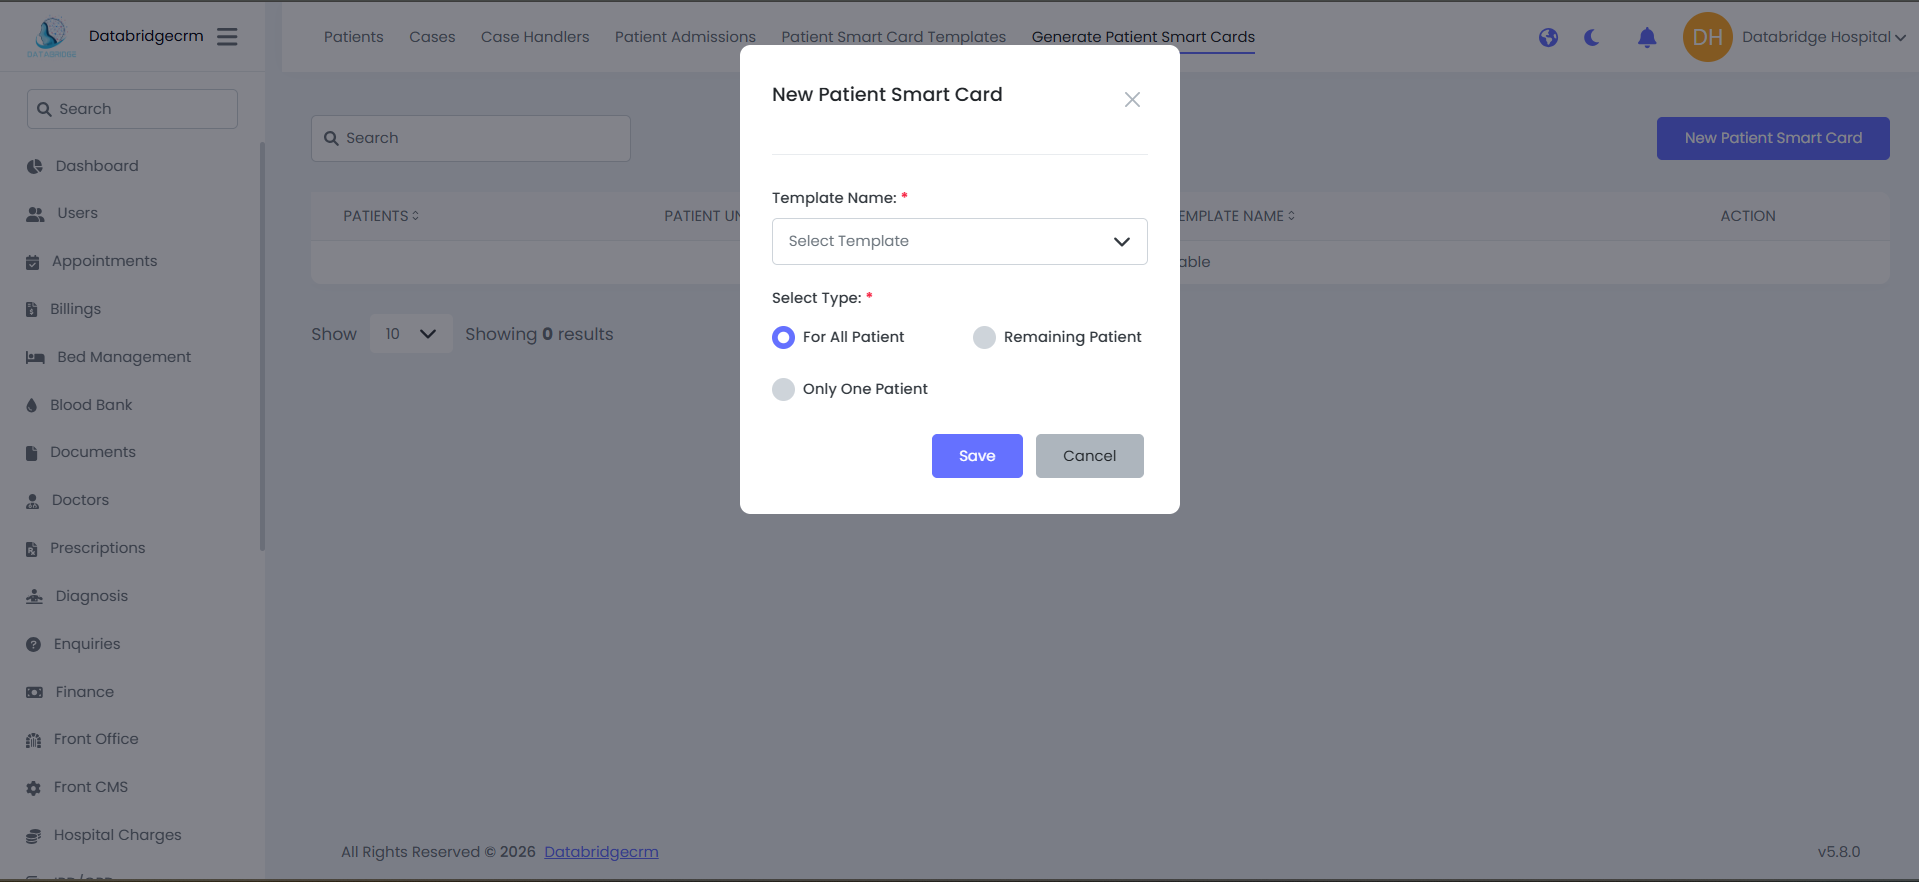
Generate Patient Smart Cards:
Used to generate smart cards for patients using selected template.
New Smart Card:
Fields:
Template Name*
Select Type*
For All Patients
Remaining Patients
Only One Patient
Click Save to generate card(s)
Used to generate smart cards for patients using selected template.
New Smart Card:
Fields:
Template Name*
Select Type*
For All Patients
Remaining Patients
Only One Patient
Click Save to generate card(s)
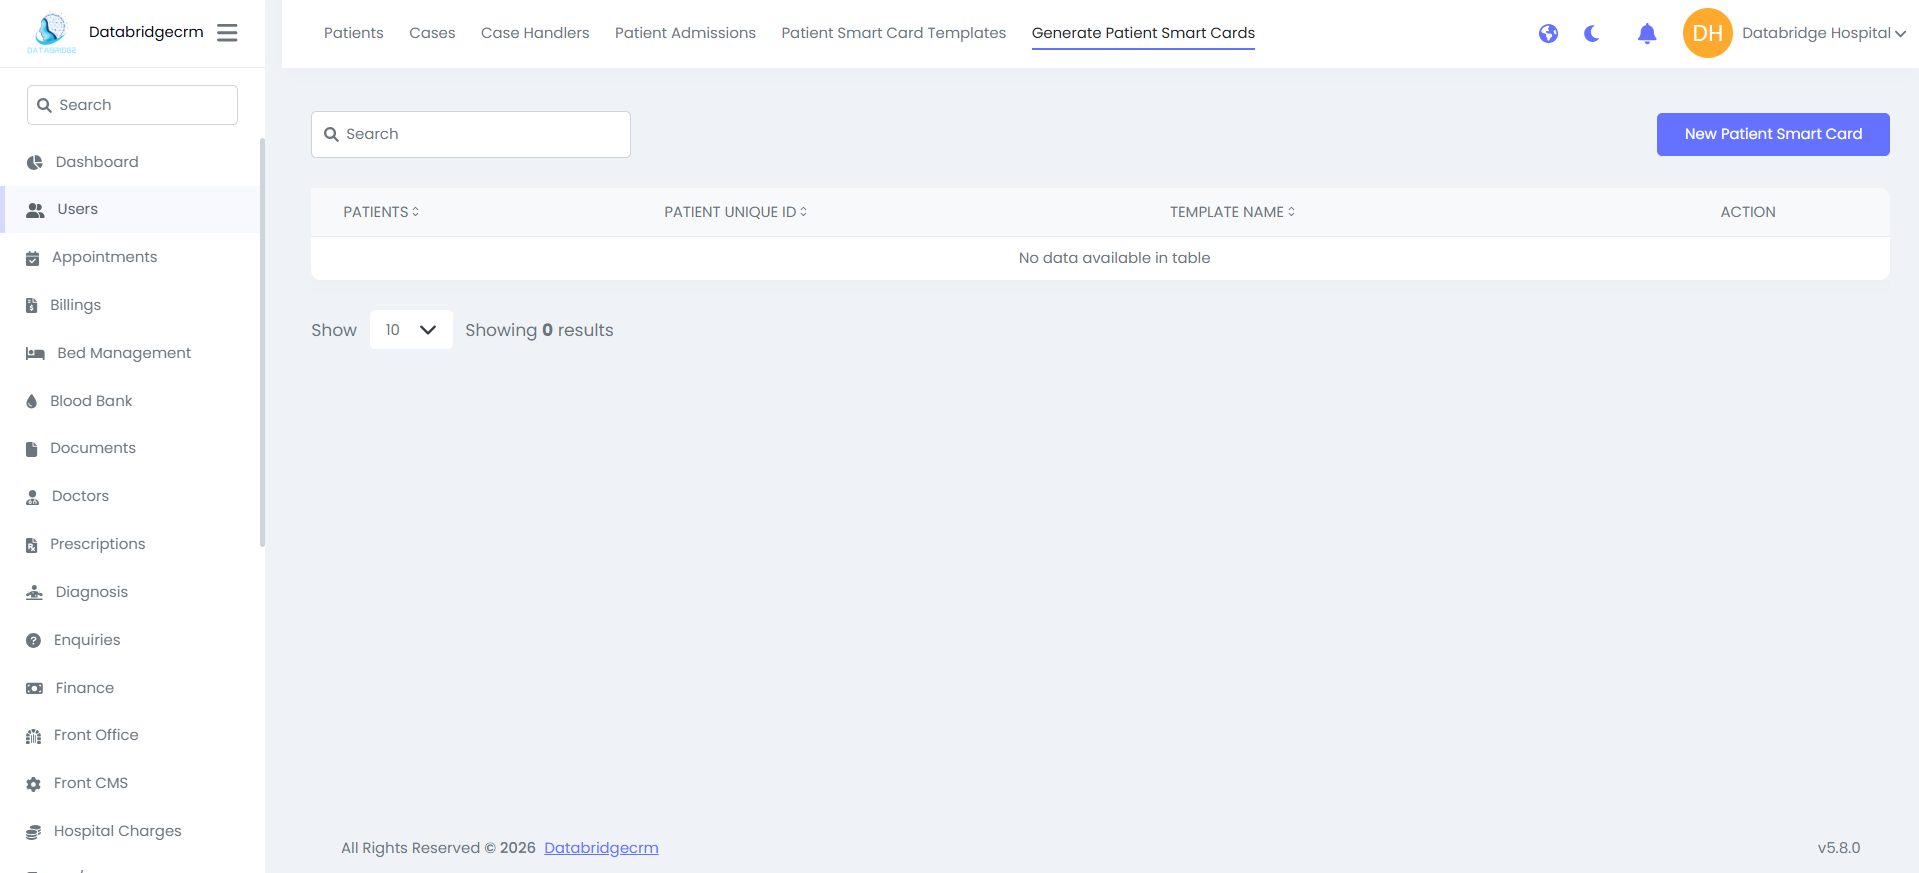
List View Shows:
Patient Name
Patient Unique ID
Template Name
Action
Patient Name
Patient Unique ID
Template Name
Action
Transactions
Transactions module is used to track hospital payments and financial records.
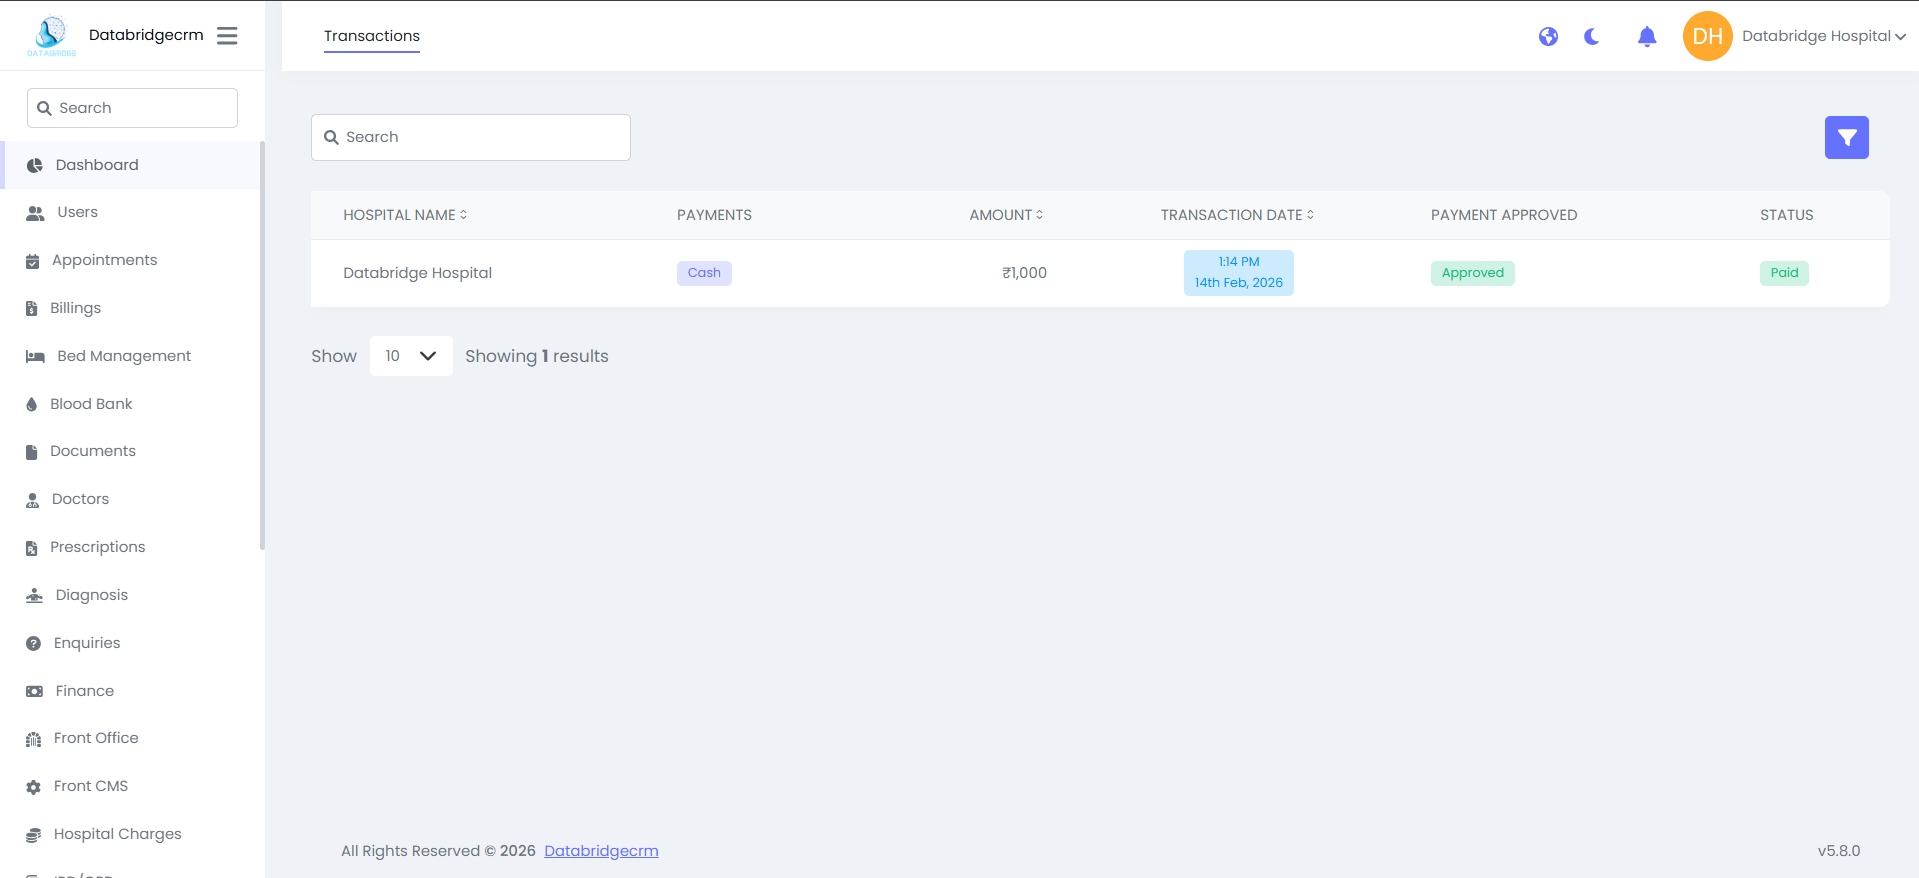
Transaction List:
List View Shows
Hospital Name
Payment Method (Cash / Online / etc.)
Amount
Transaction Date & Time
Payment Approved (Approved / Pending)
Status (Paid / Unpaid)
List View Shows
Hospital Name
Payment Method (Cash / Online / etc.)
Amount
Transaction Date & Time
Payment Approved (Approved / Pending)
Status (Paid / Unpaid)